Restoration Project
Retro Headphones Restoration with 3D-Printed Parts
How to design a 3D printable part in FreeCAD to bring back to life a set of retro headphones.
Restoration Project
How to design a 3D printable part in FreeCAD to bring back to life a set of retro headphones.
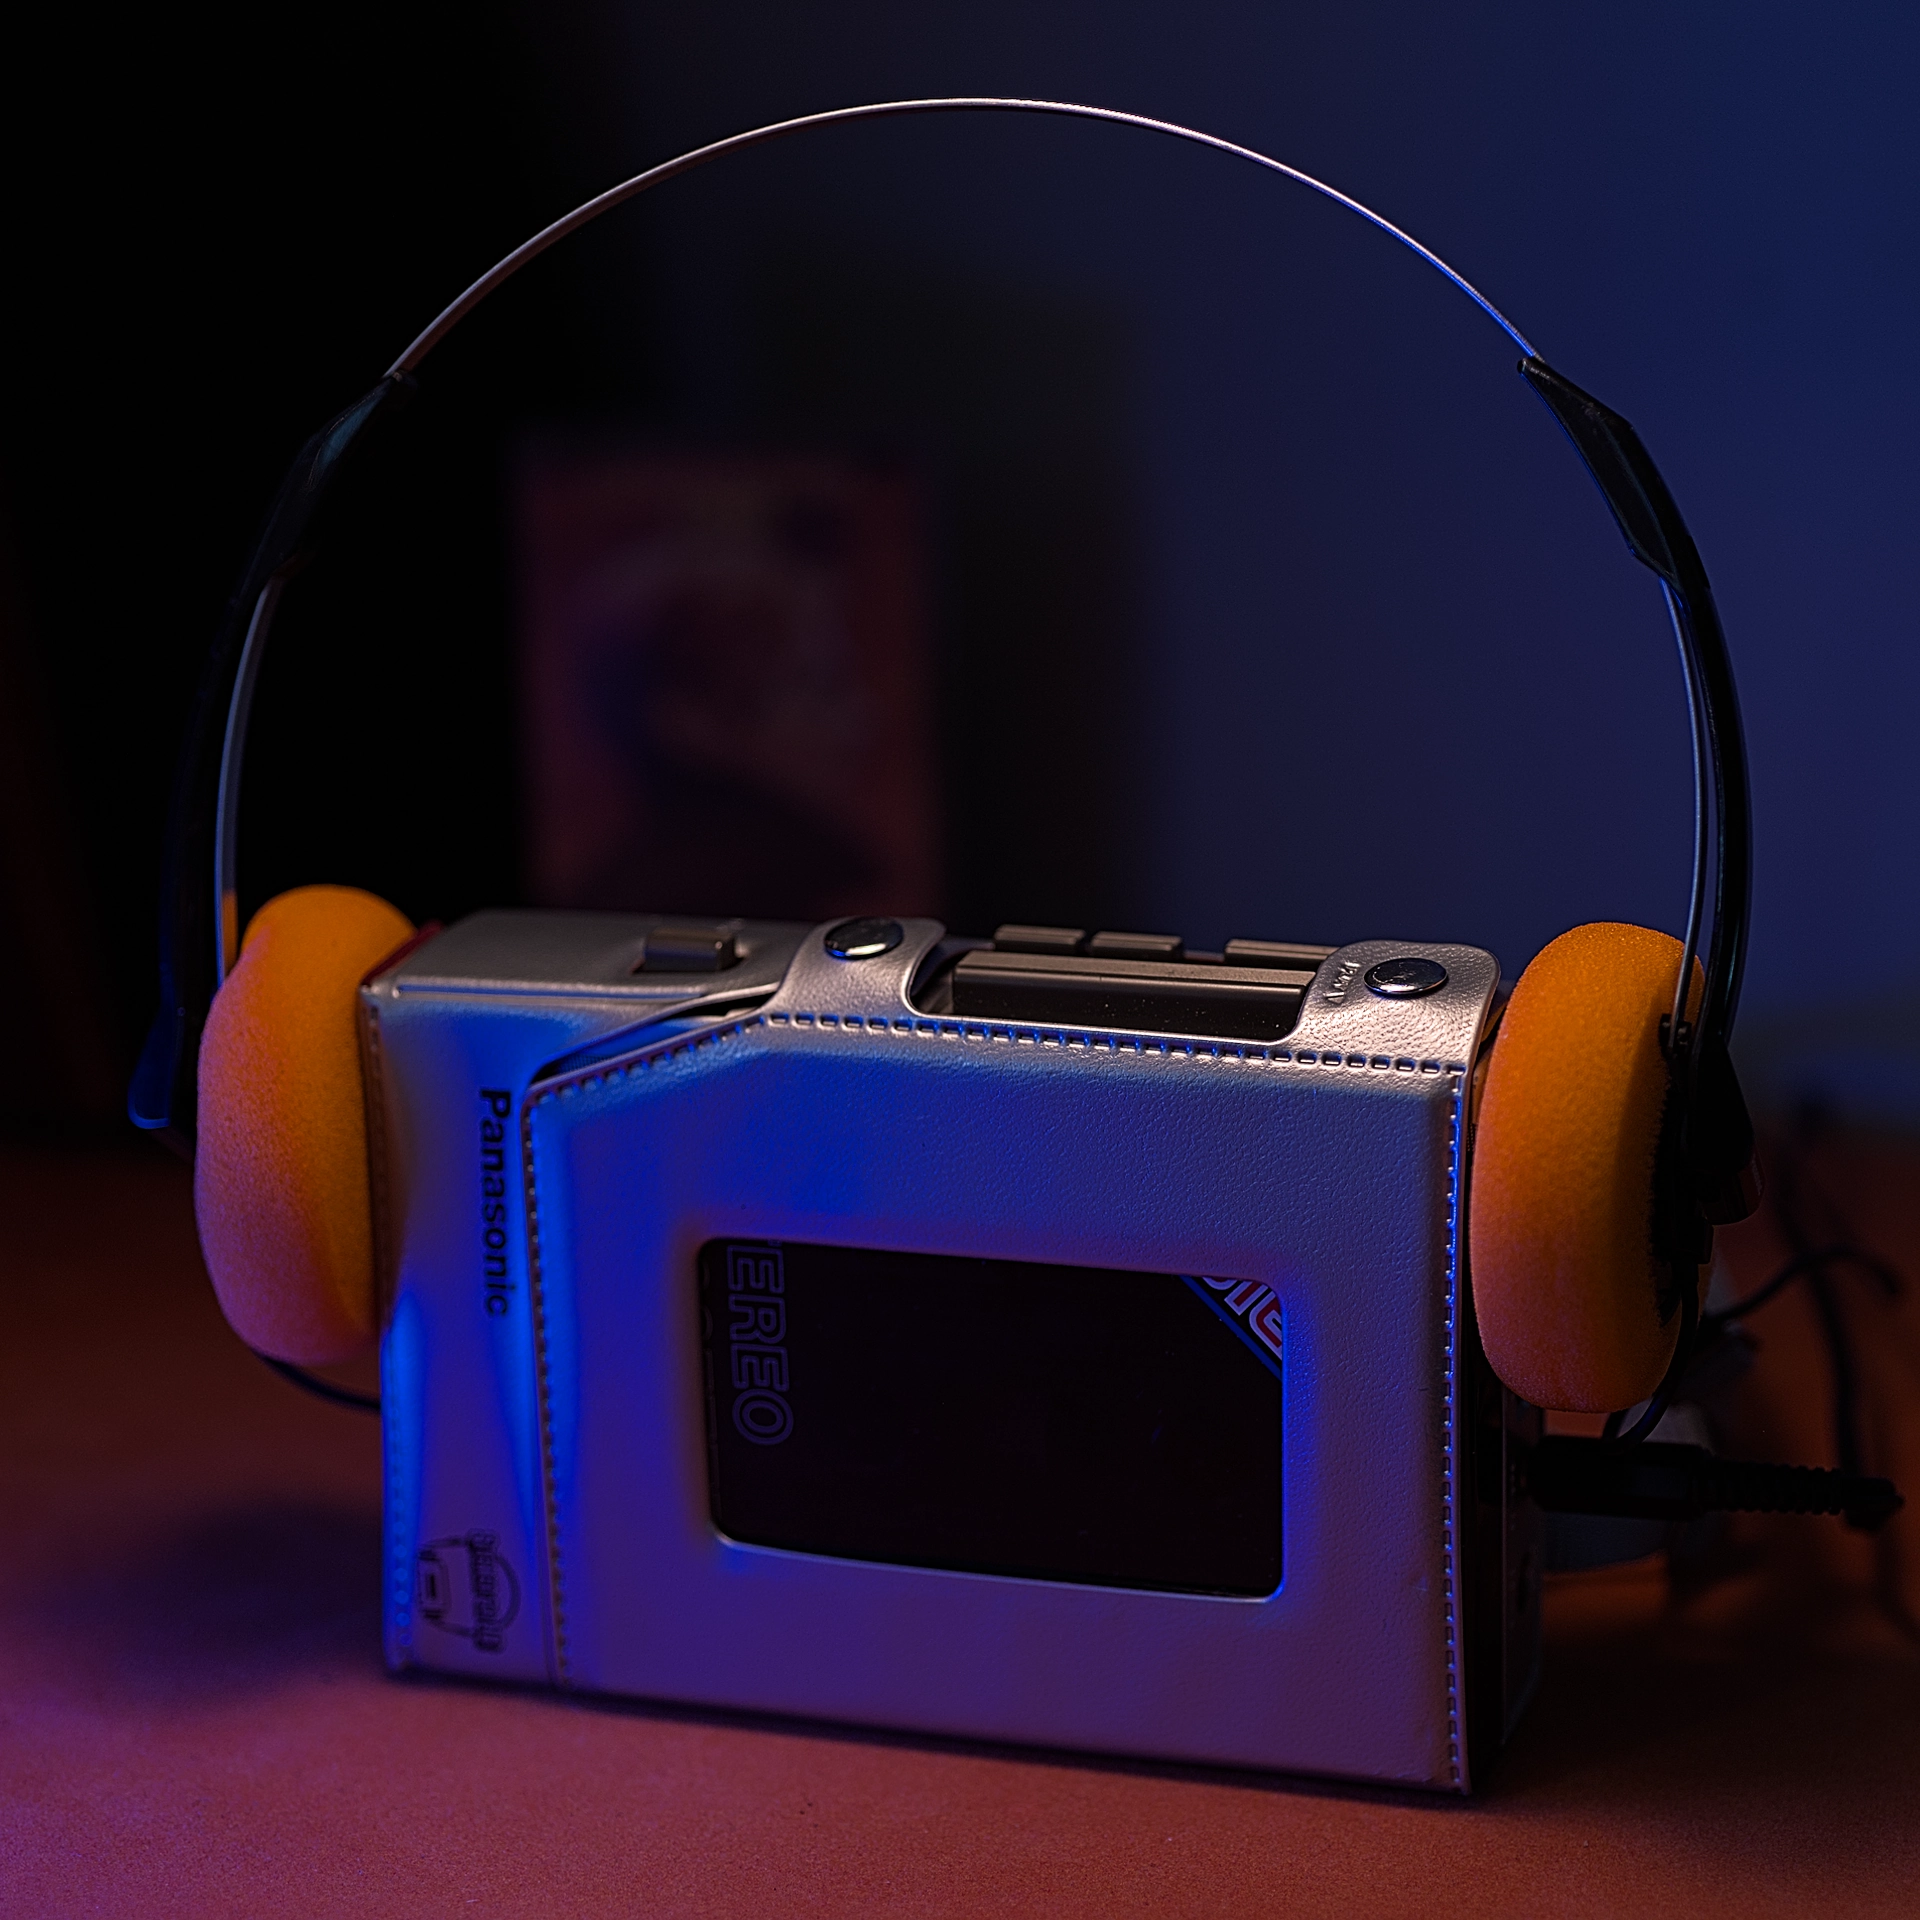
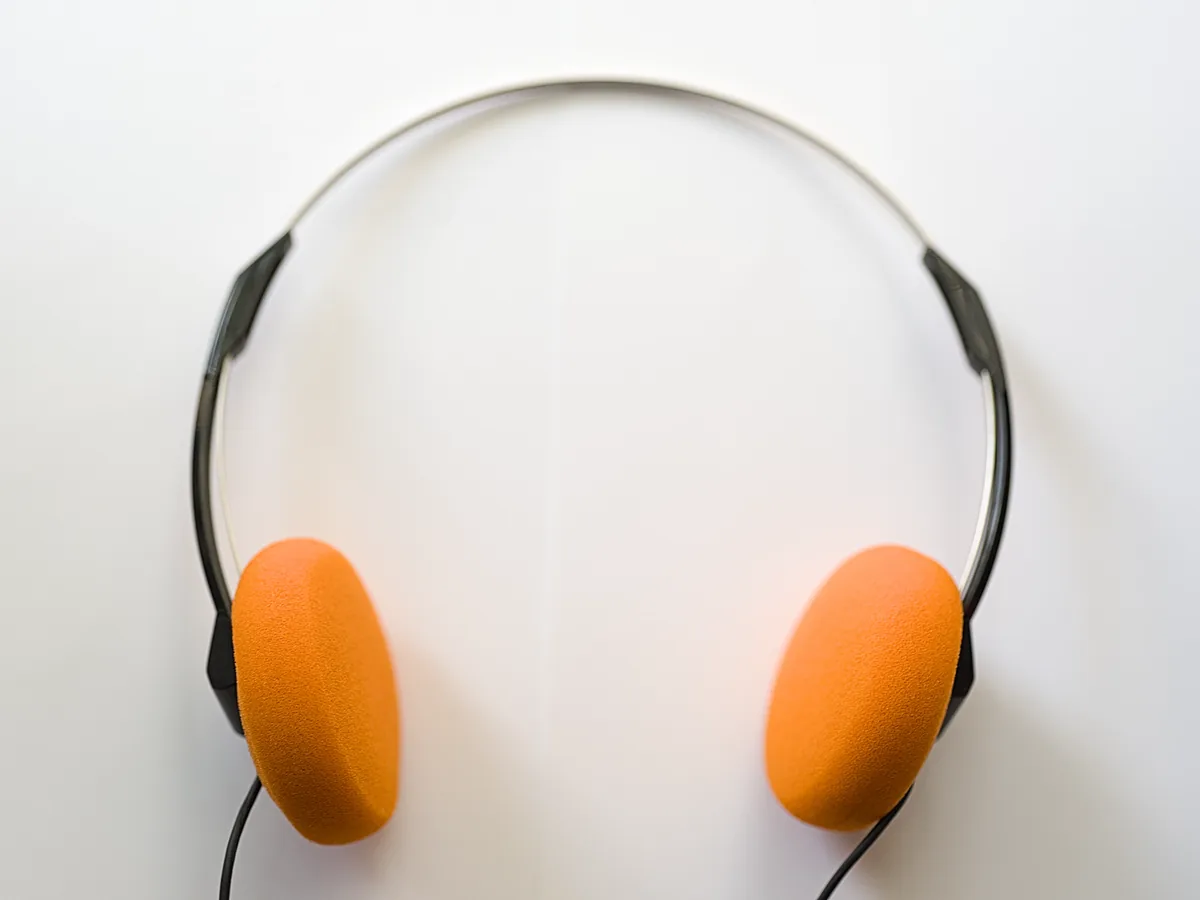
I enjoy restoring old audio gear—cassette decks, tape players, film cameras—anything that still carries the analog spirit. Recently, I picked up a vintage pair of Panasonic headphones, the kind that originally came with classic orange pads you may have seen in films or old catalogs. The problem? The pads were missing, and modern replacements were too large to fit. But the headphones themselves worked perfectly. So instead of modifying the headphones or hunting down rare parts, I decided to design a snap-on adapter to fit modern pads without damaging the originals.
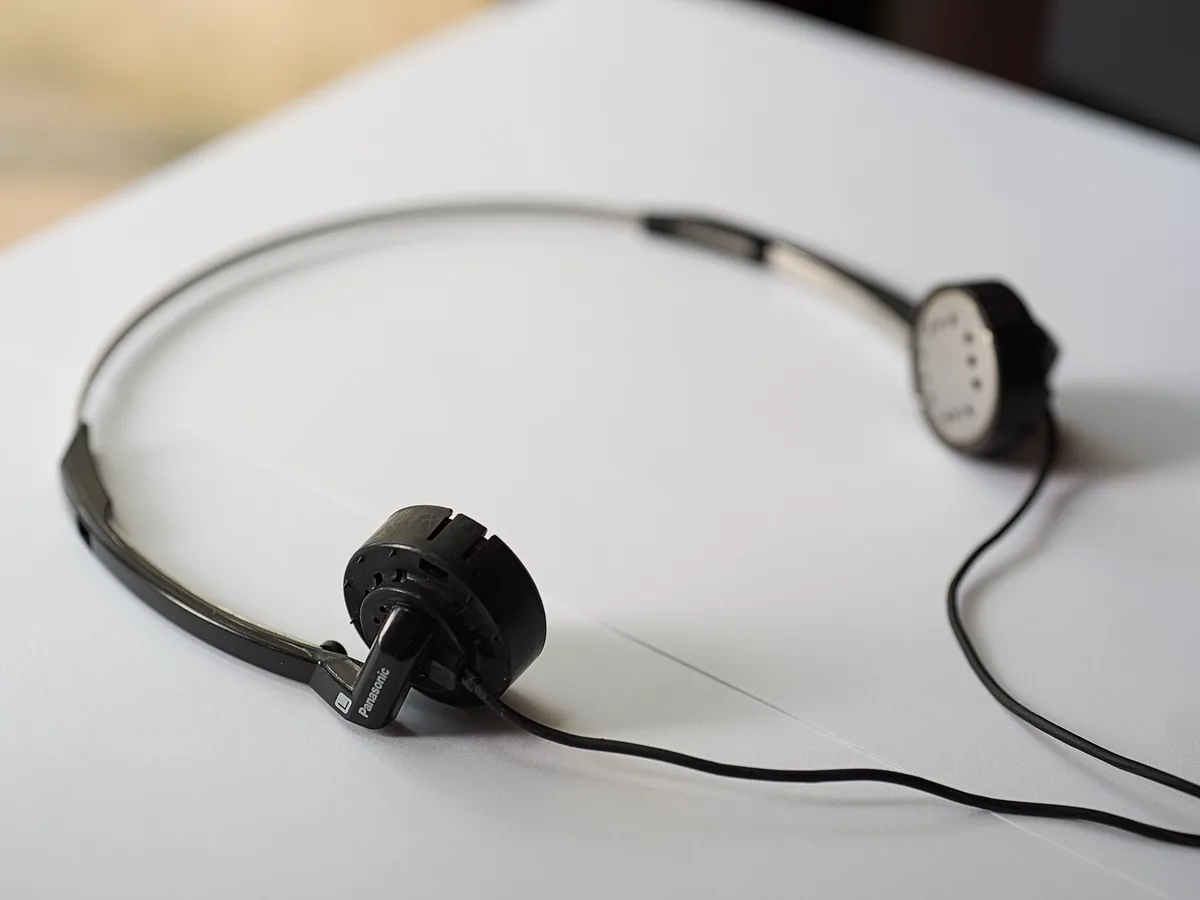
Panasonic Headphones
To design the adapter, I measured three things: • Outer diameter of the headphone: 30.7 mm • Inner/outer diameter of the new pads • Desired thickness of the adapter wall and ring. I wanted the part to: • Snap on securely • Not require modifying the headphones • Hold the new pads in place
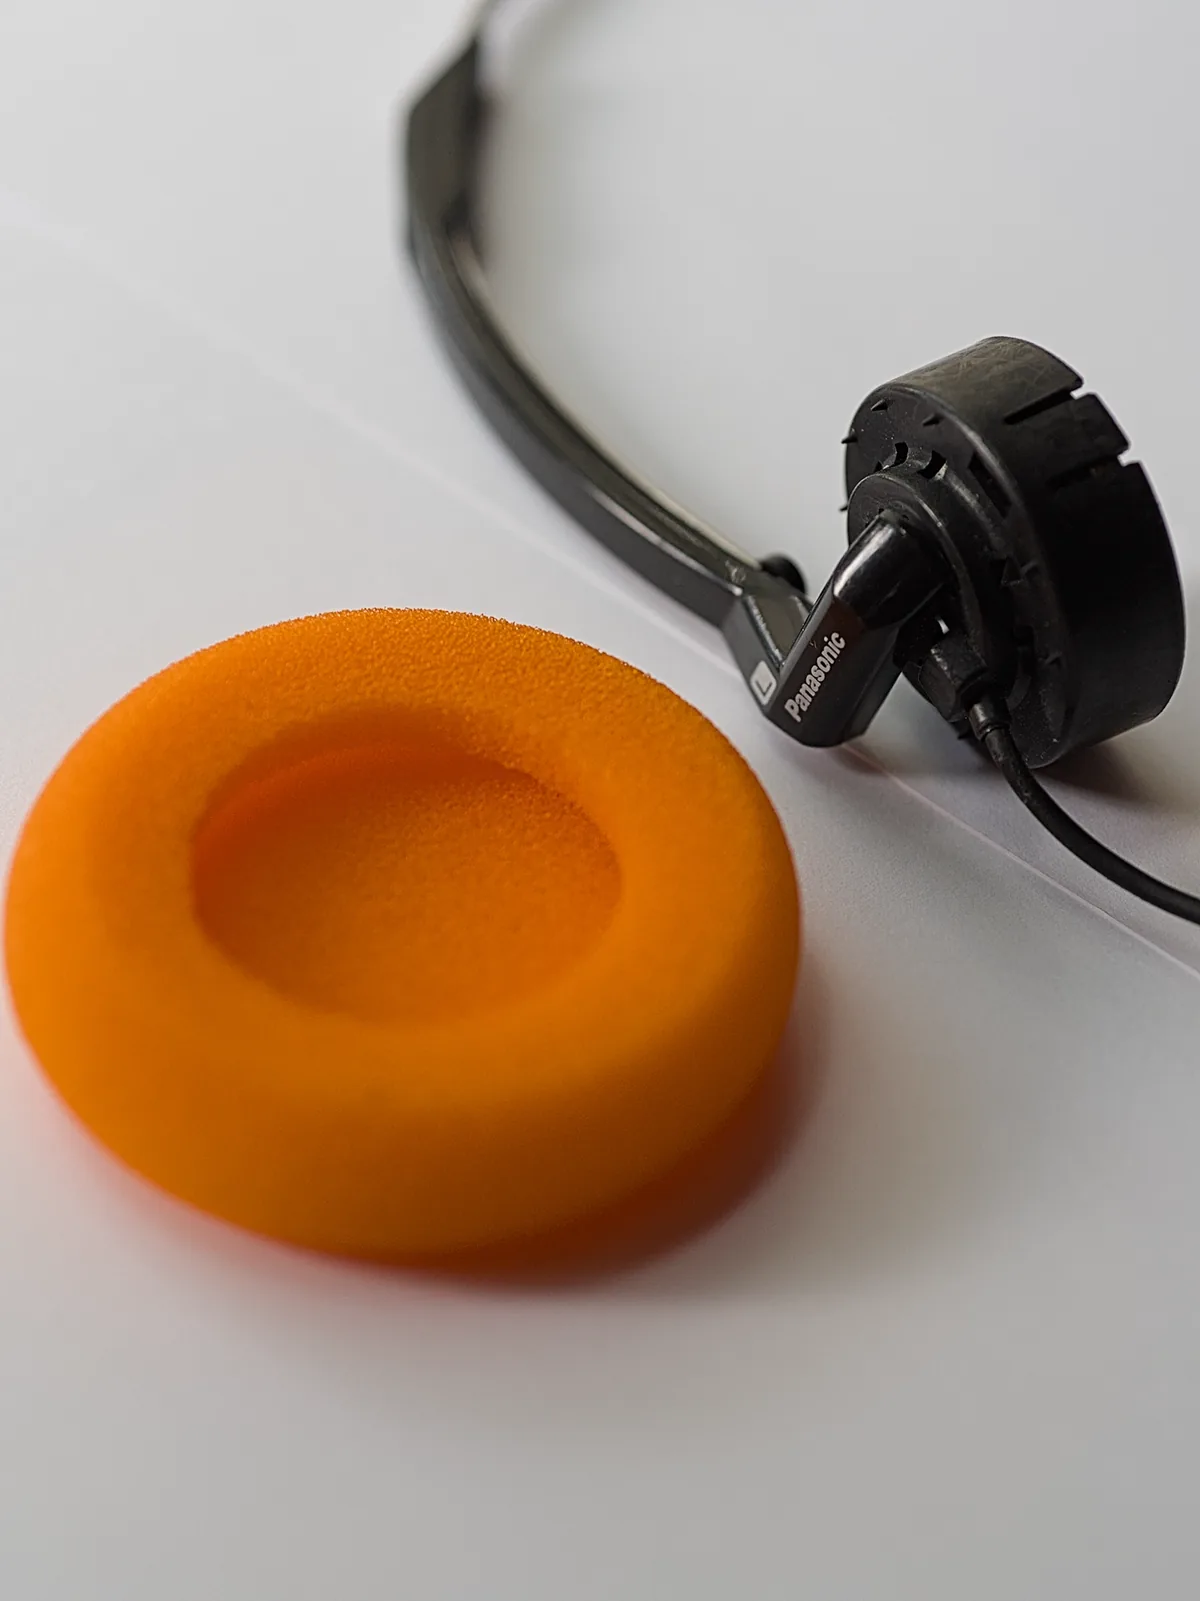
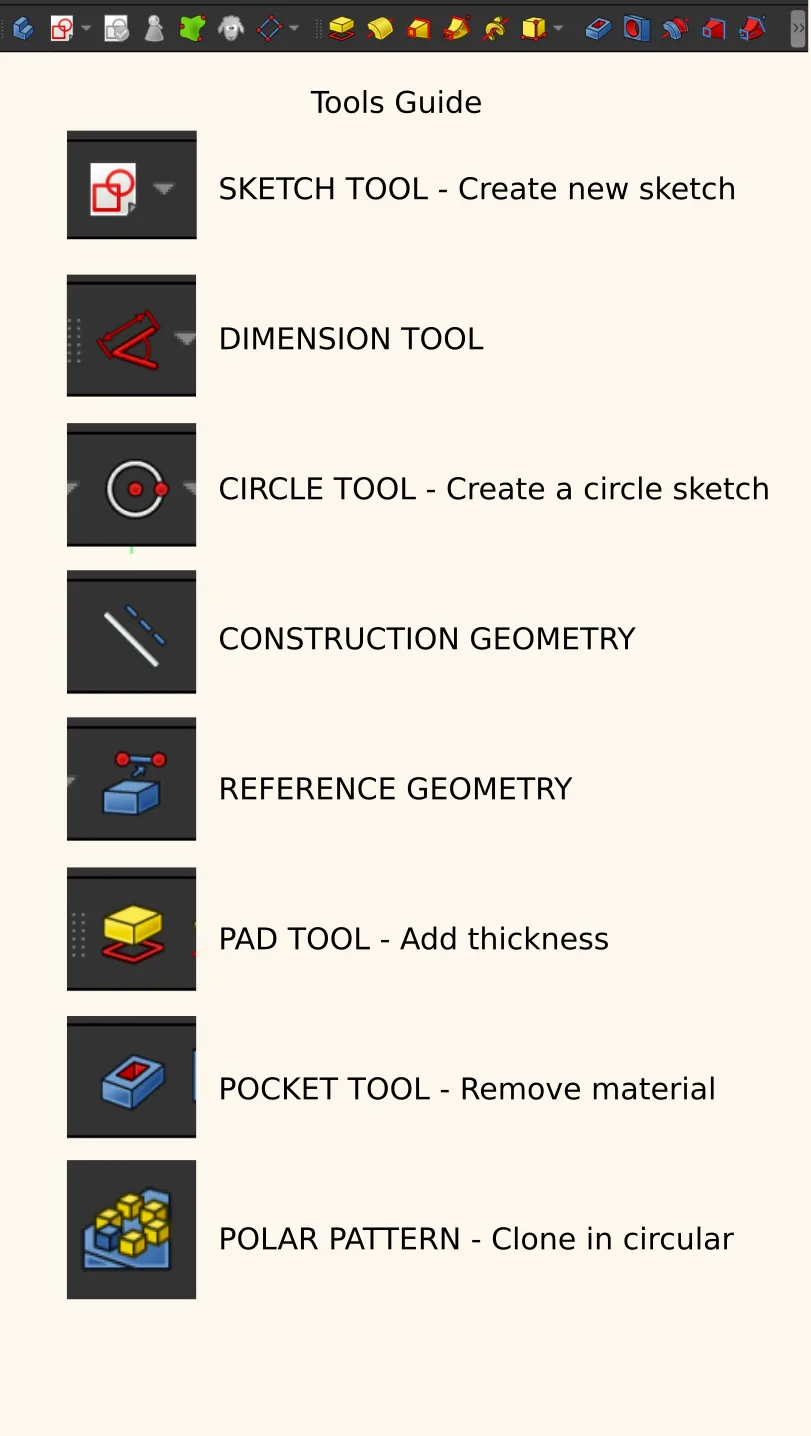
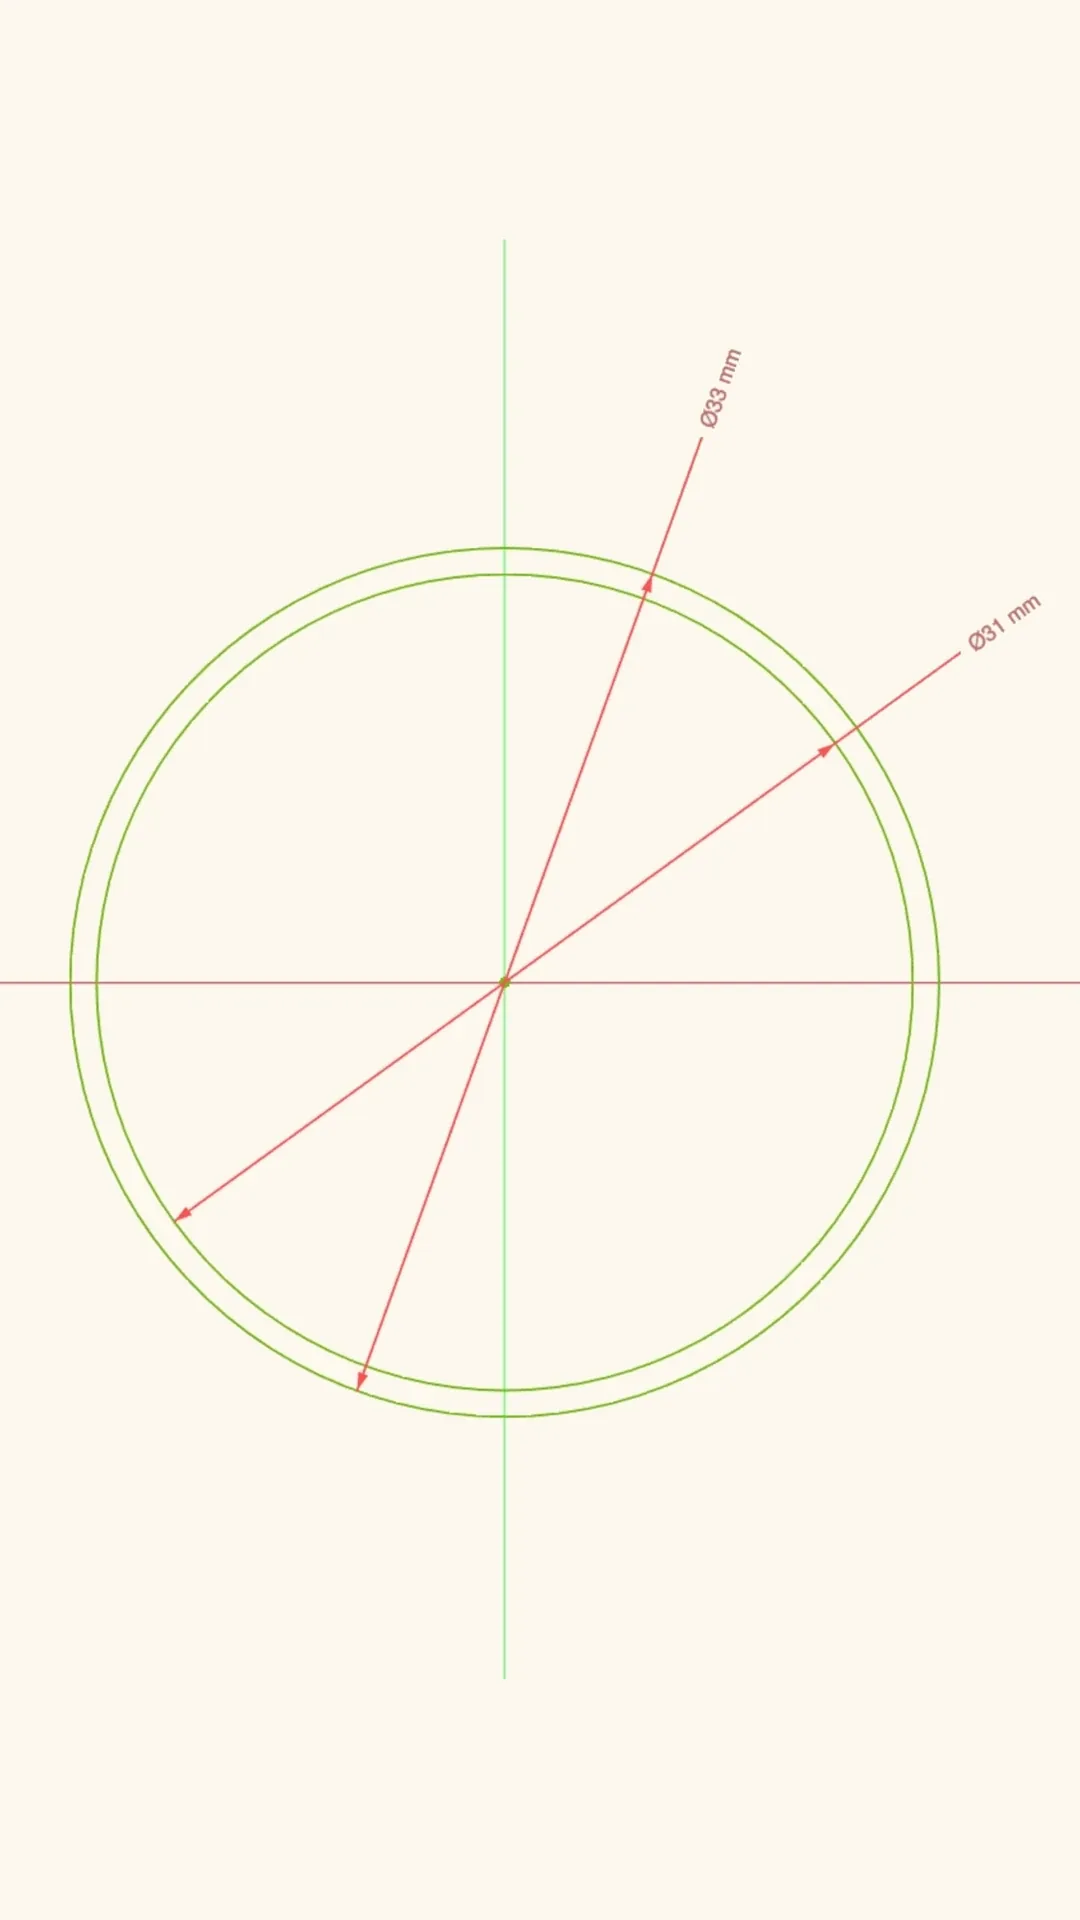
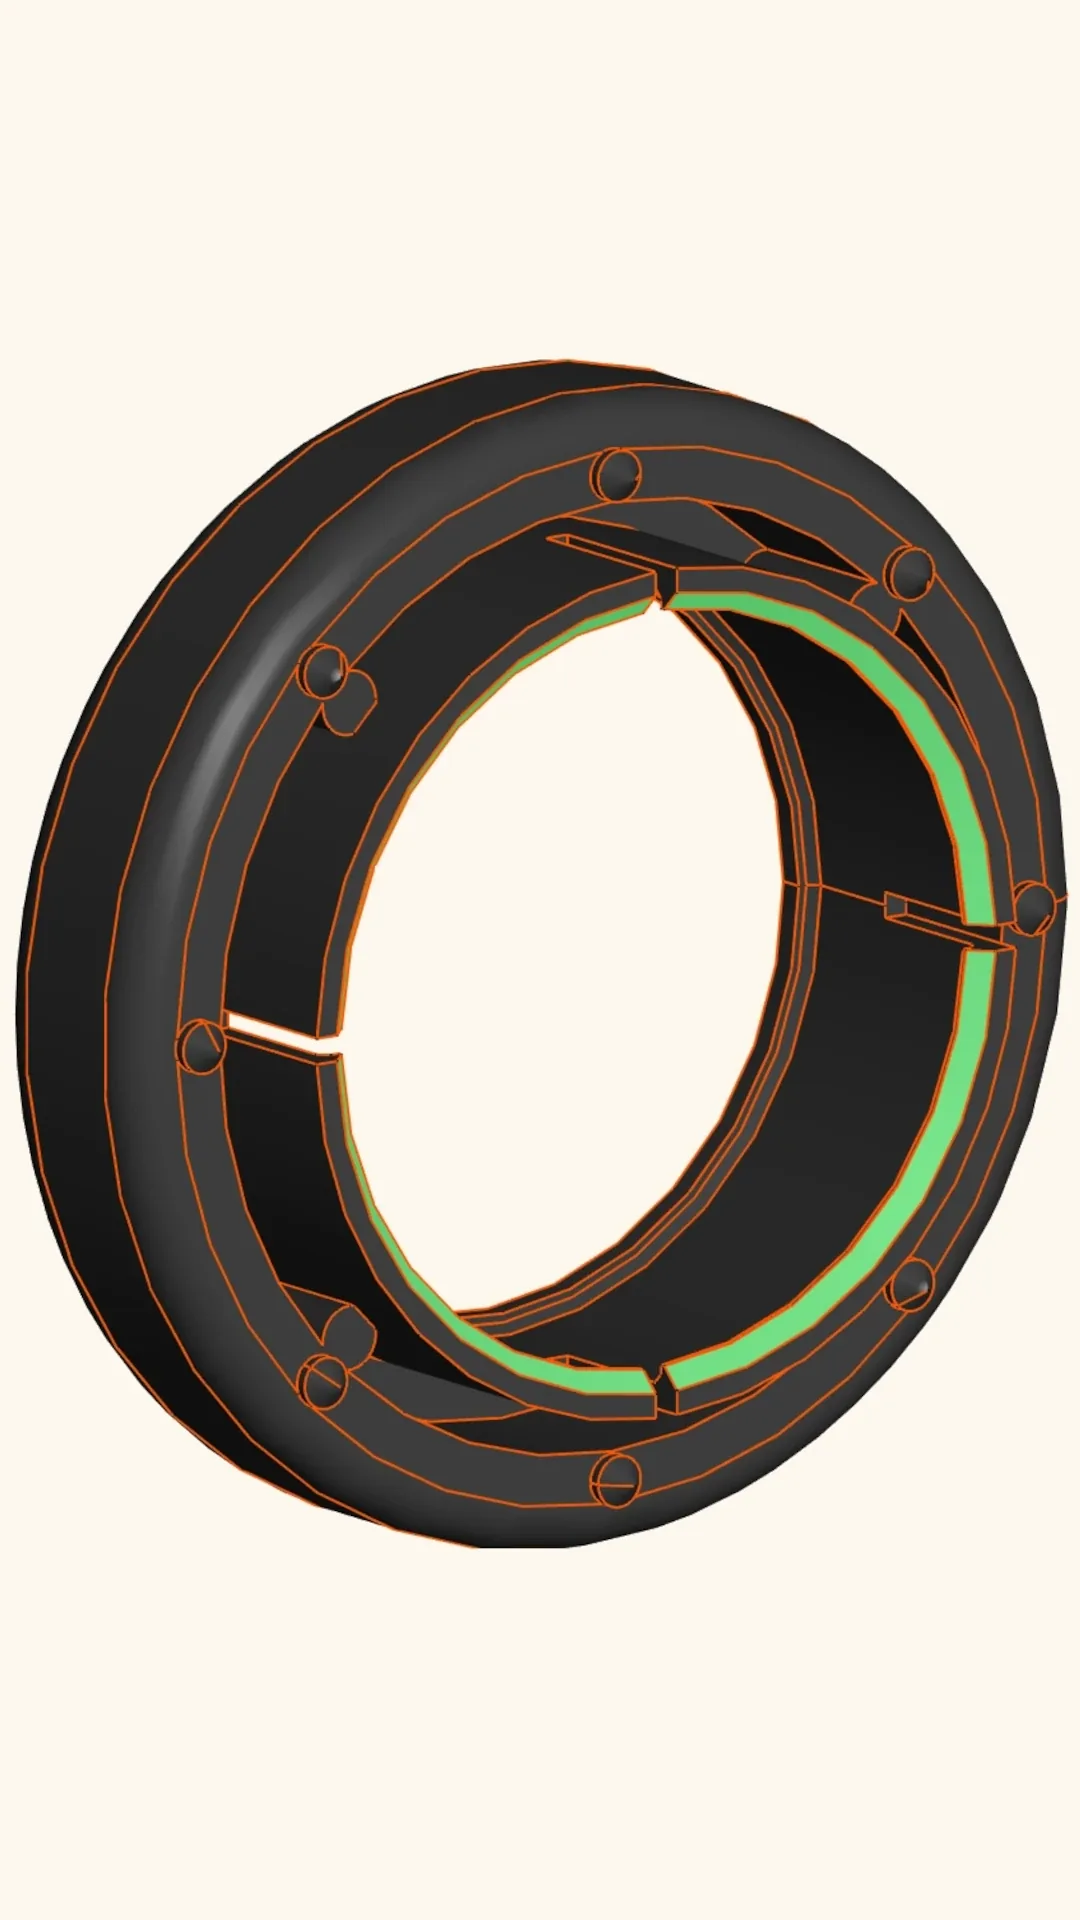
Back in to the awesome FreeCAD, I started with two concentric circles: • Inner diameter: 31 mm (just over headphone size) • Outer diameter: 33 mm This forms the adapter's base rim. I extruded the ring to 10.5 mm, enough to cover the headphone housing.
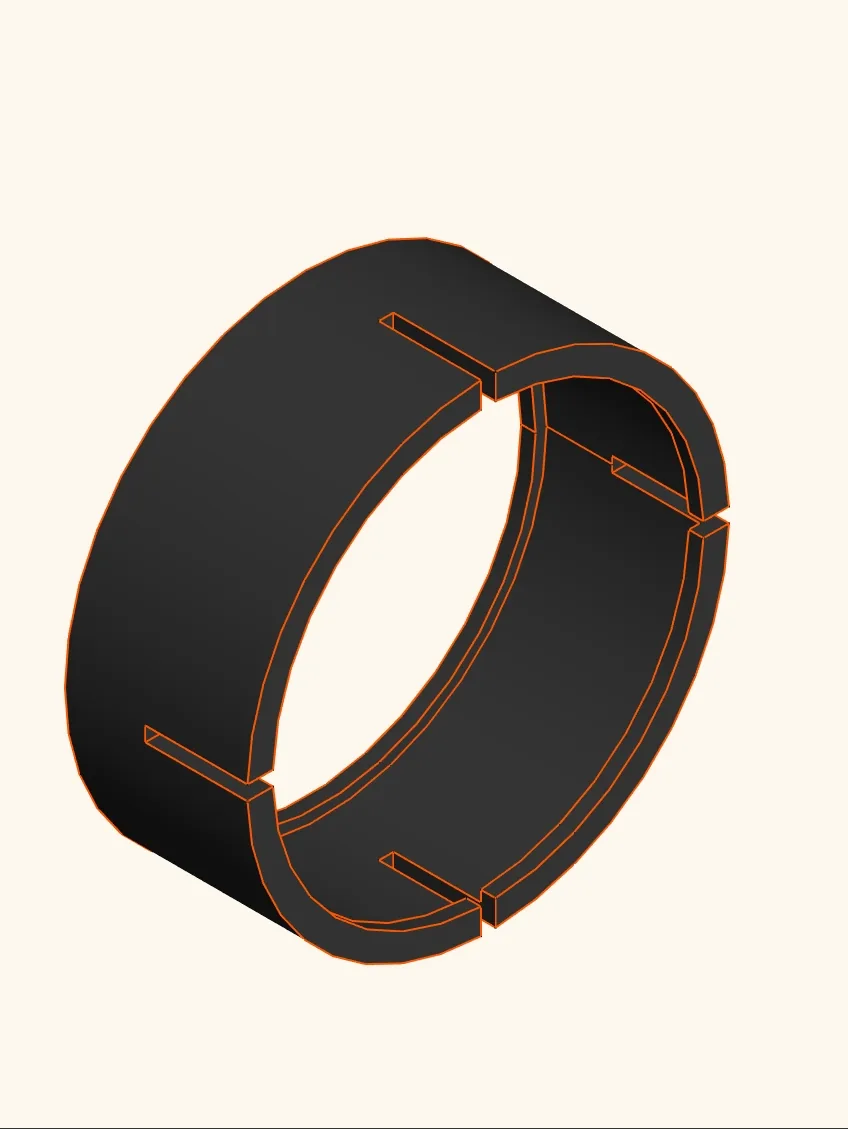
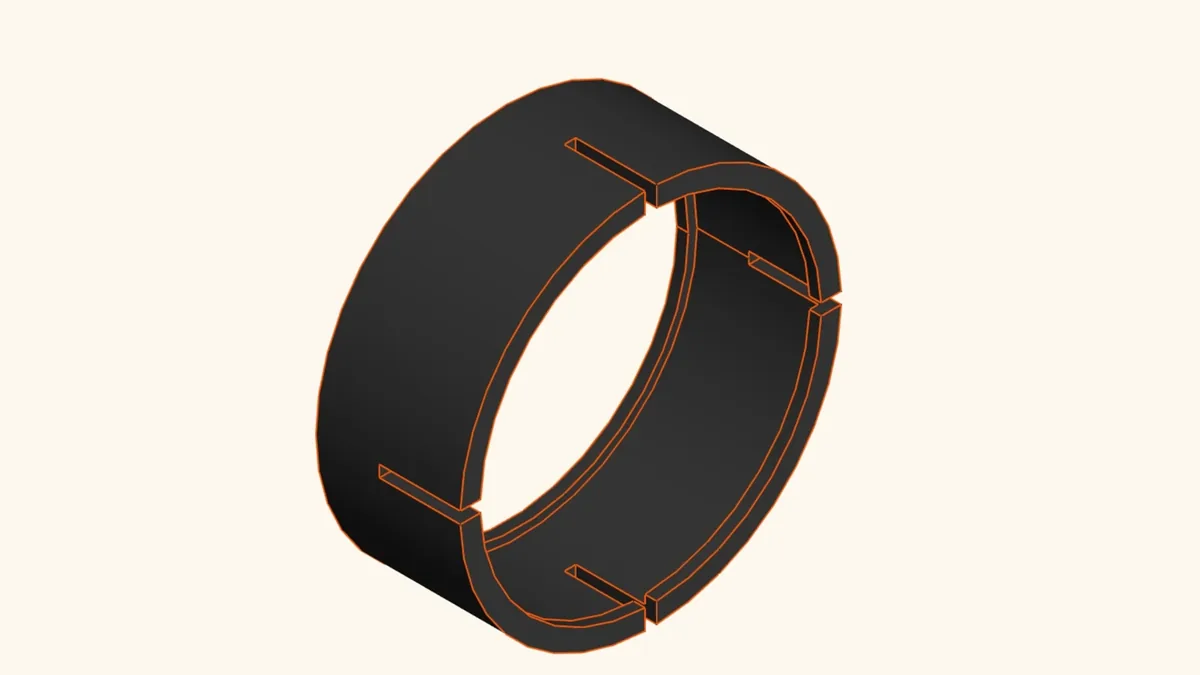
To hold the adapter in place, I added small snap rings that clamp onto the headphone from both sides. These were: • Diameter: 29.5 mm • Height: 1 mm I added one to the front face and one to the back face of the rim. To ensure the adapter can stretch over the headphone during installation, I designed relief cuts into the back face: • Two narrow vertical cuts, about 1 mm wide • Cut halfway through the rim These let the rim flex just enough during installation without cracking.
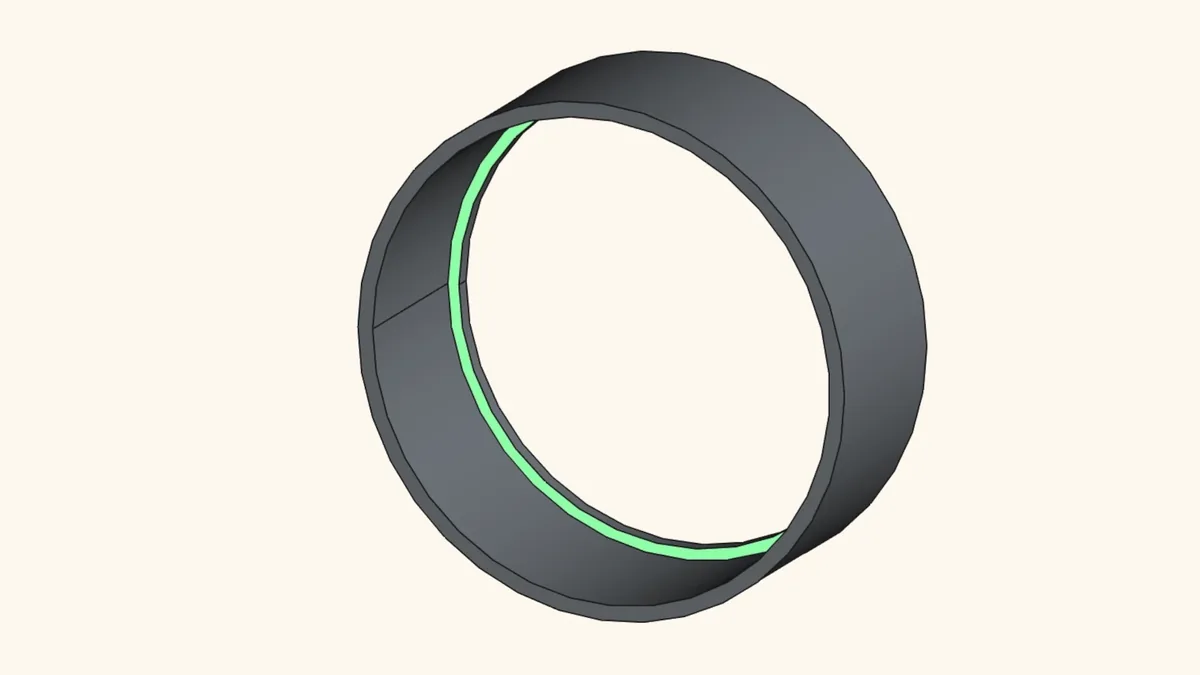
With the headphone side of the adapter complete, I designed the section where the new pad would mount. This was built in layers: • A circular wall sketched at 45 mm diameter, matching the inner size of the new pad. • The base (inner rim) remains at 33 mm, so the new wall floats outside the snap ring area. • Extruded this wall to 2 mm. To hold the pad securely: • I added another extrusion from 37 mm to 45 mm diameter • This formed a tire-like rim (but not fused with the relief-cut base) • Extruded to 7 mm height

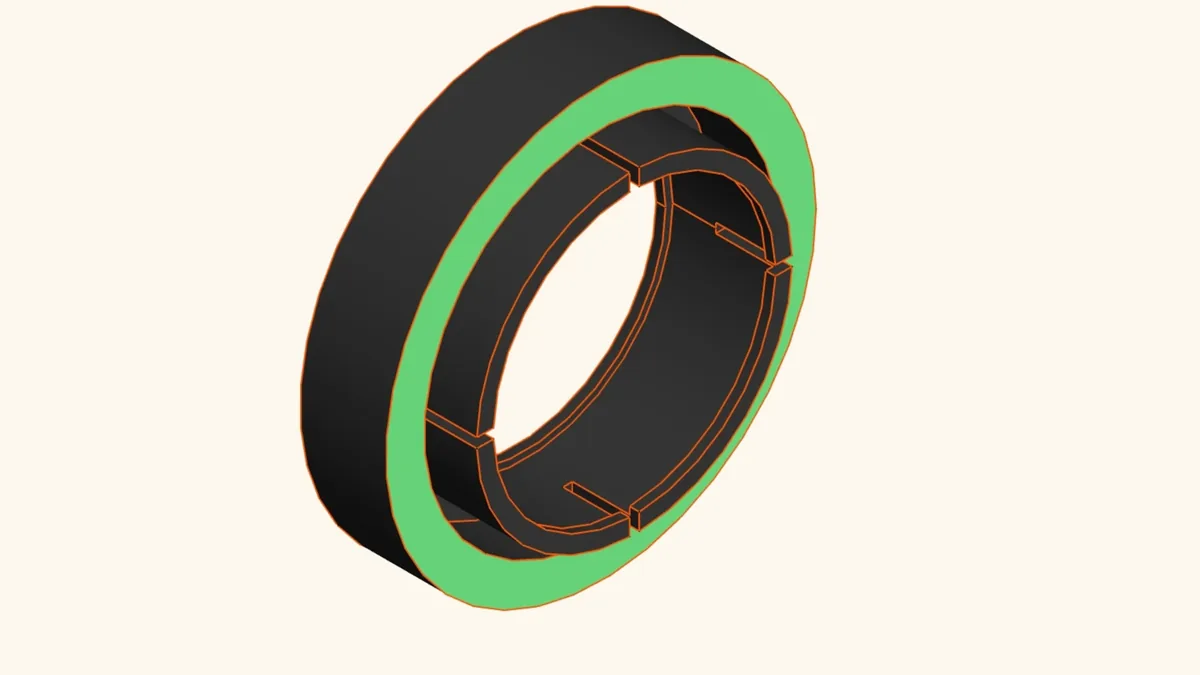
I added fillets to both sides of the outer rim to smooth sharp edges—especially since they'll be visible through the thin foam of the pad. Then I added four support ribs between the inner base ring and the outer wall: • These were created using a polar pattern to duplicate a single rib four times around the circle • They help prevent breakage while allowing flex
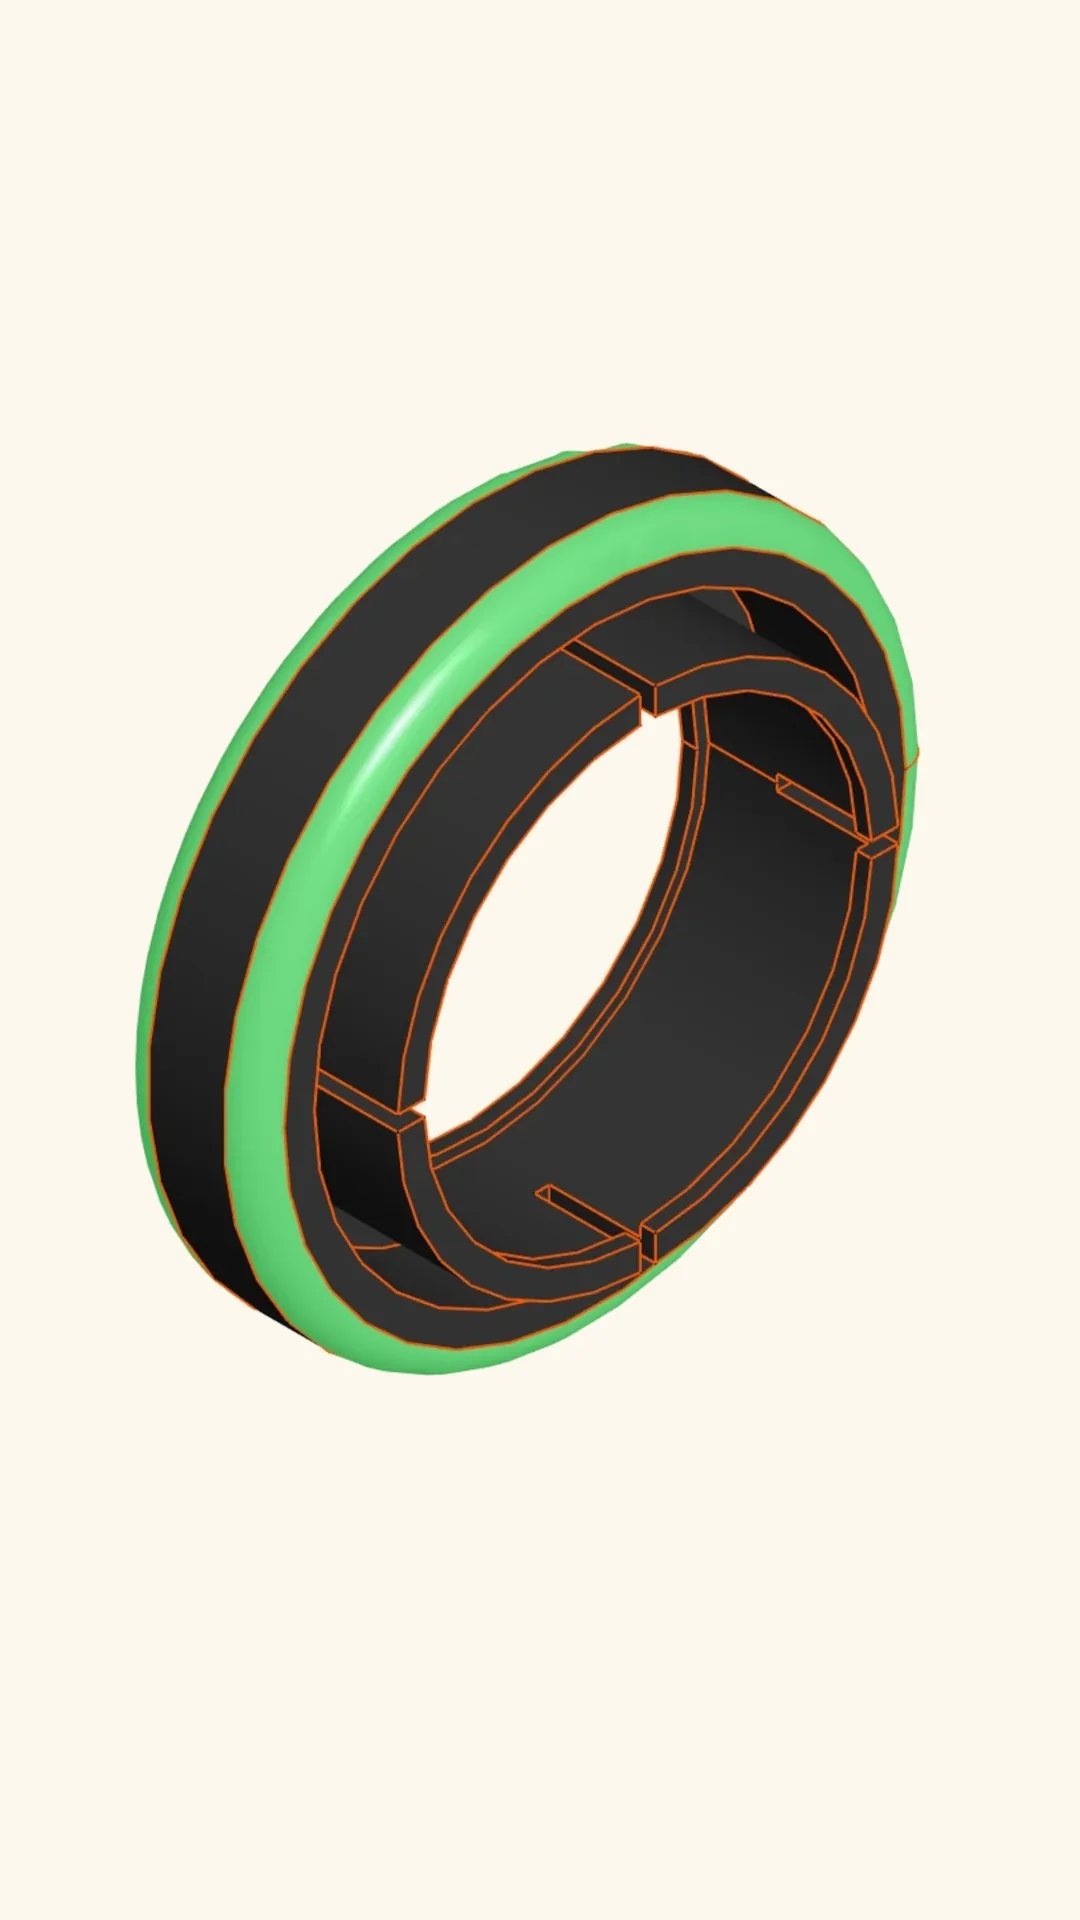
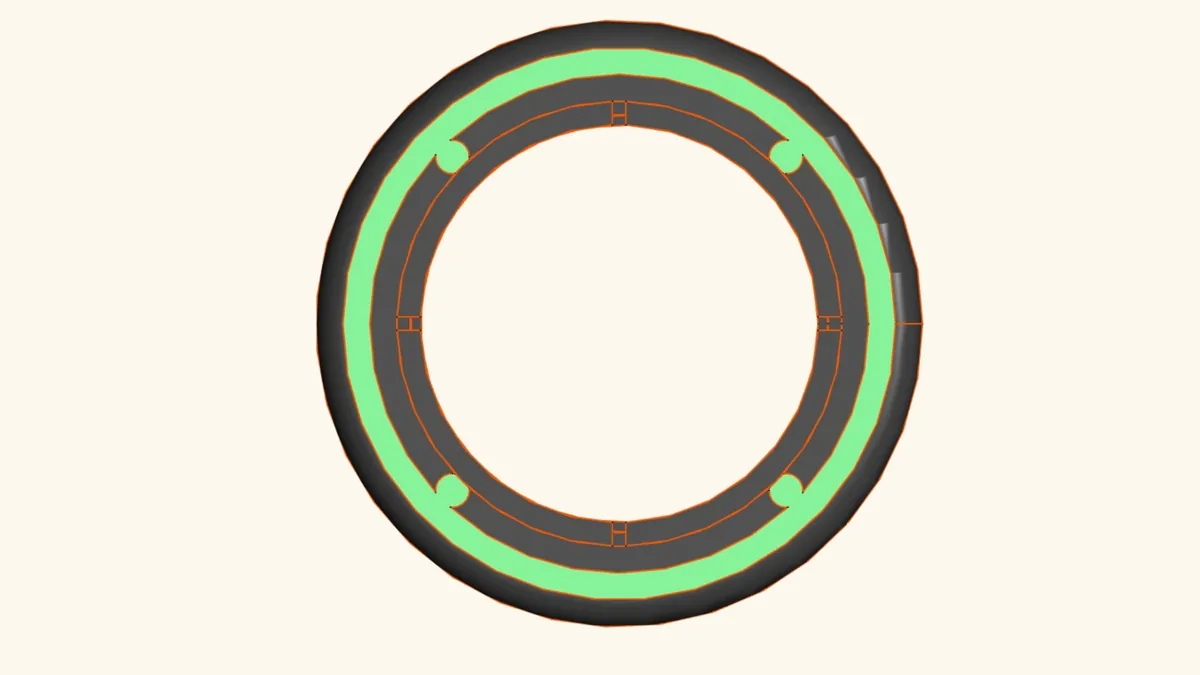
Polar Pattern
Original headphone mounts use small cone-shaped pins to lock into the pad ring. I recreated this: • Cylindrical extrusions 2 mm in diameter, 1.5 mm height • Chamfered the tips to 1 mm, forming a cone • Duplicated eight pins around the ring using a polar pattern These bite perfectly into the new pads.
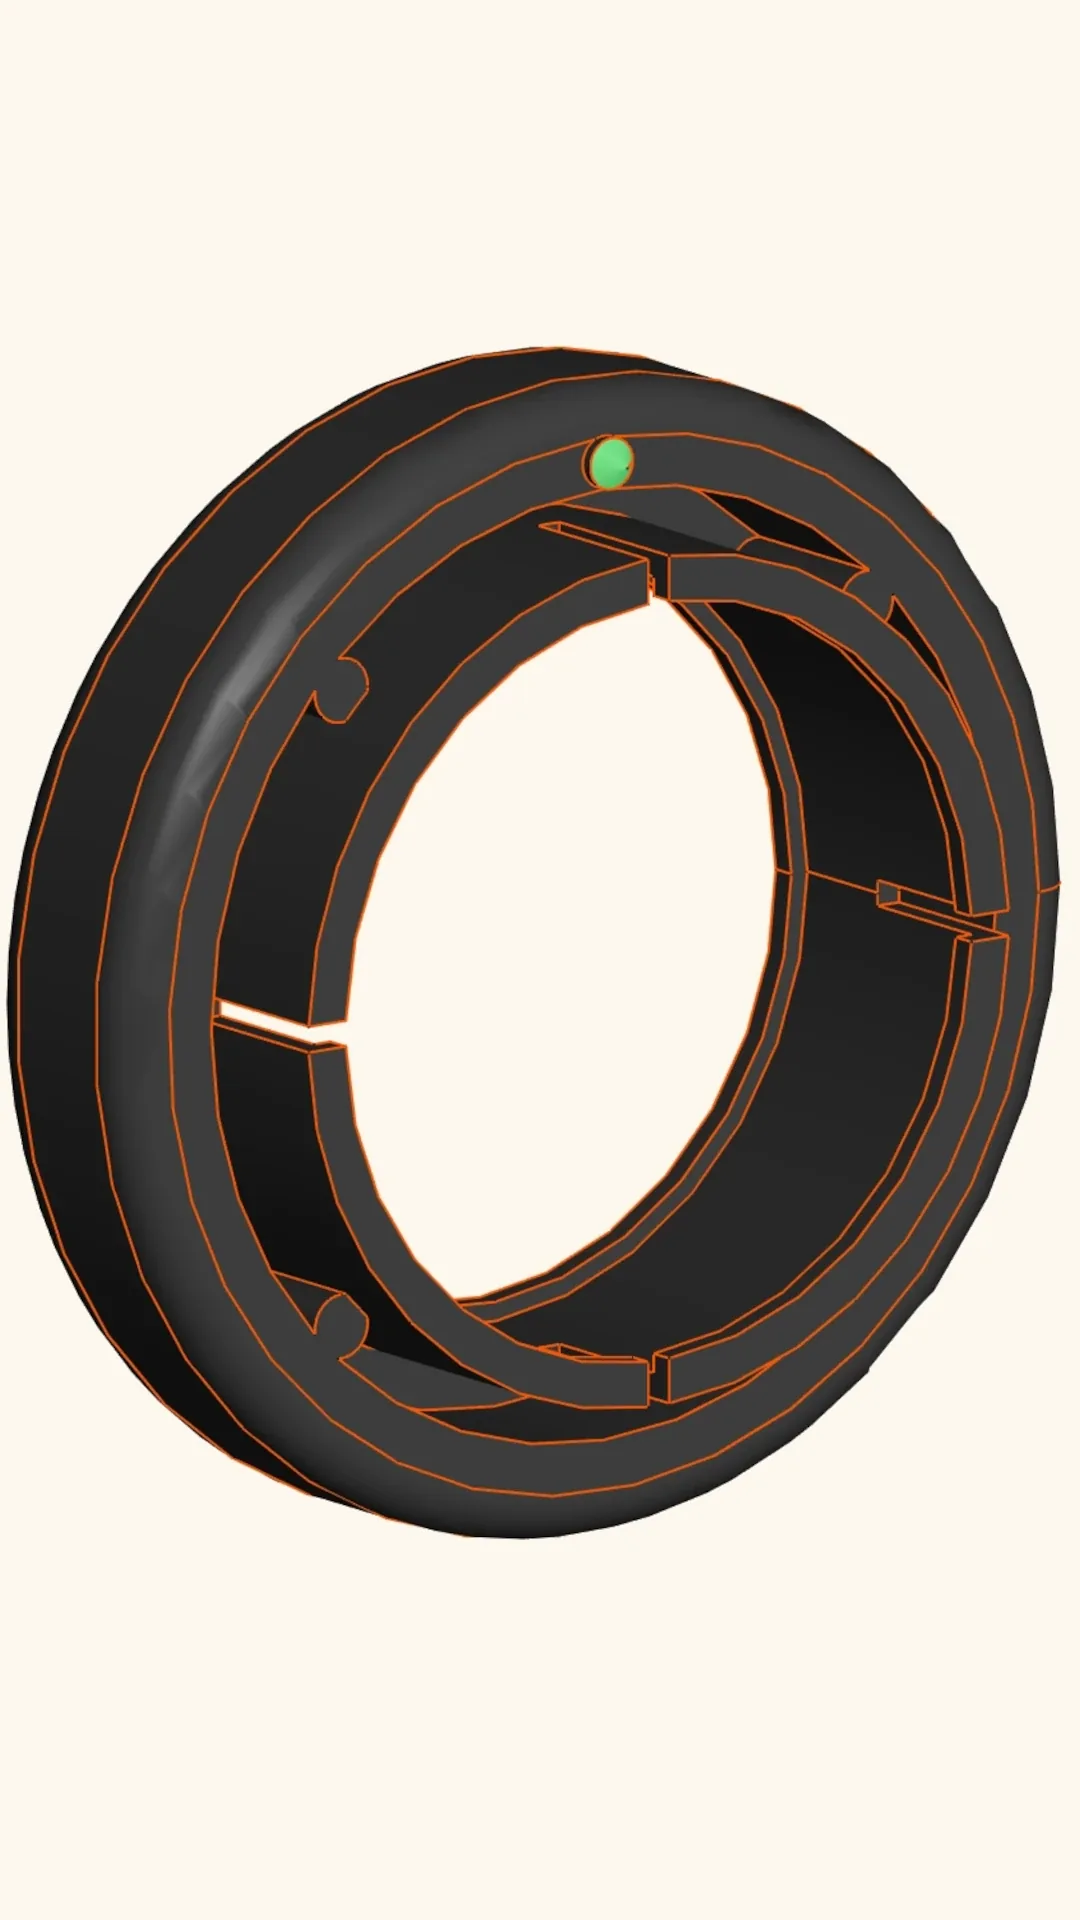
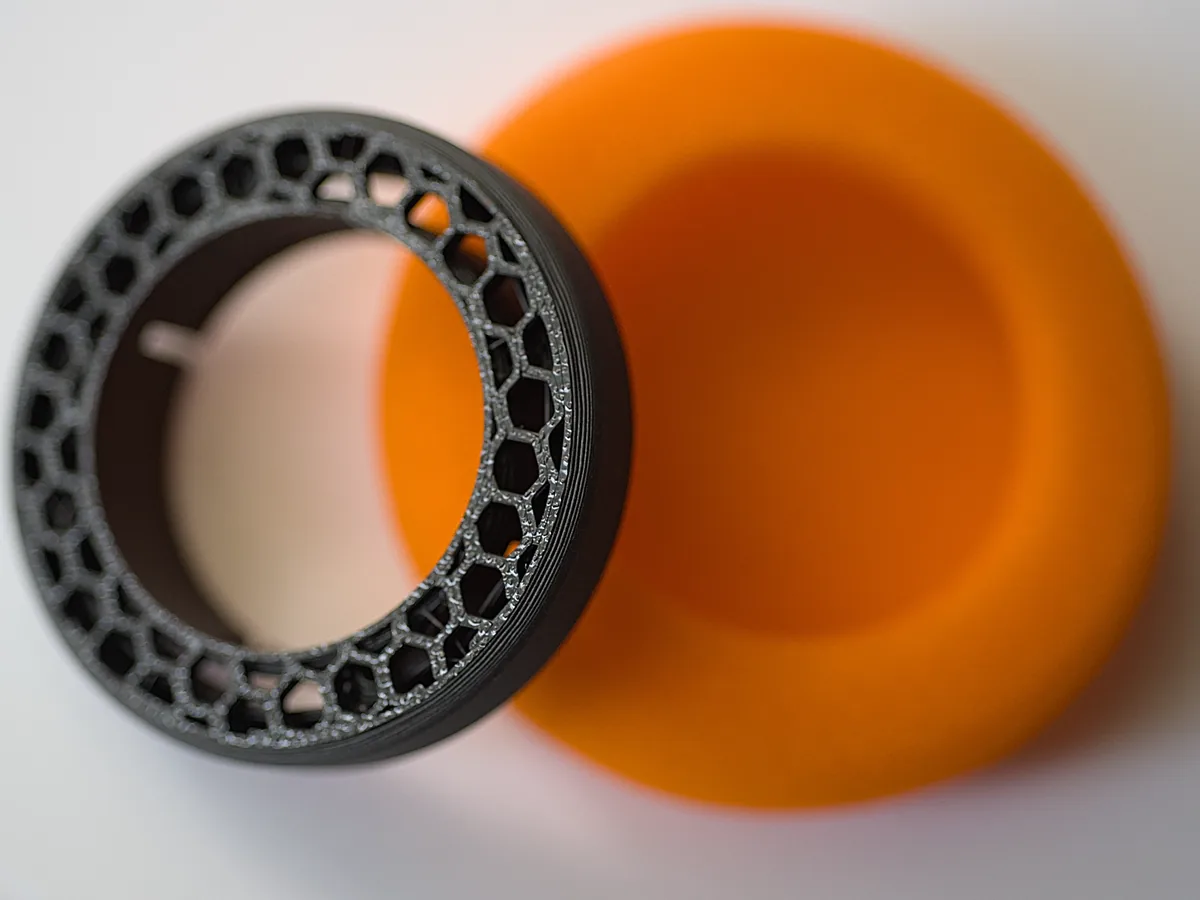
To finish, I added chamfers to the inner rim for easier mounting. I exported the model to Orca Slicer: • Placed face-down (pins facing up) • No supports needed at 0.16 mm layer height • Top/bottom shells removed, exposing honeycomb infill • Infill density: 20% This creates a lightweight, visually interesting interior even if it's not visible.
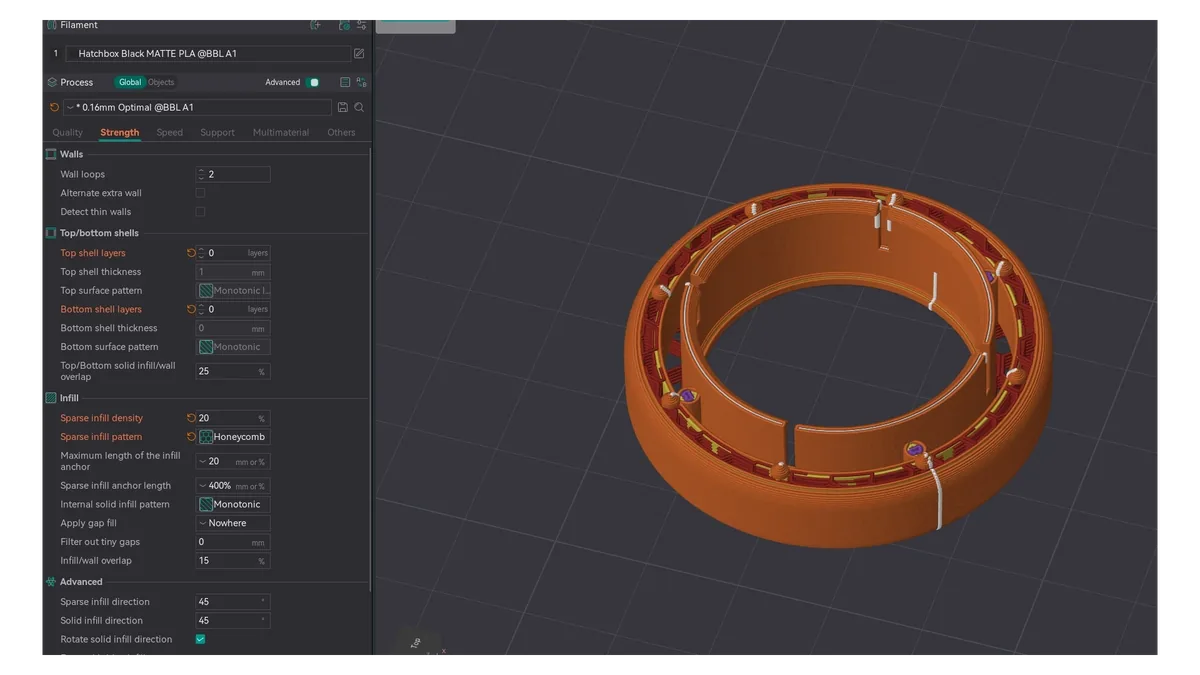
OrcaSlicer
Each print takes about 30 minutes. Once done, the adapter snaps securely onto the headphone. The cone-shaped pins grip the pads well without glue or force. The result? A set of restored vintage headphones, ready to pair with my Panasonic RQ-J75 player. Fully functional, no permanent modifications, and surprisingly elegant.
3D-Printed Adapter
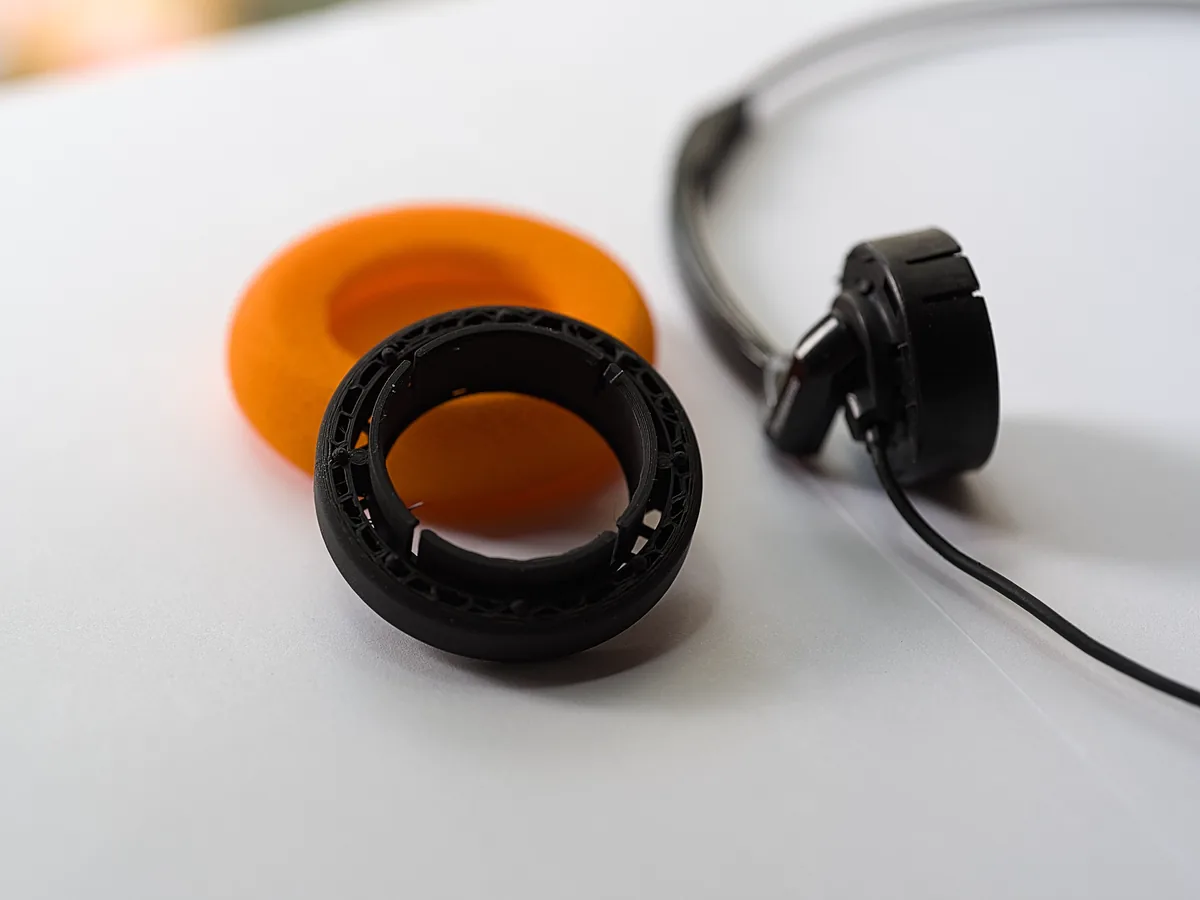
This project is a great example of using CAD and 3D printing not just to create new things, but to preserve and extend the life of old ones. This player is a special gift for a dear friend, I could have bought a new set of headphones, but this way, preserved the classic—with a personal touch. As always, thanks for following along. I hope this inspires you to bring something old back to life, one small part at a time.

Comments (0)
No comments yet. Be the first to share your thoughts!