Maker's Guide
Creating a 3D Printable Custom iPod Case
Create Ipod protection case using the boolean feature in FreeCad
Maker's Guide
Create Ipod protection case using the boolean feature in FreeCad
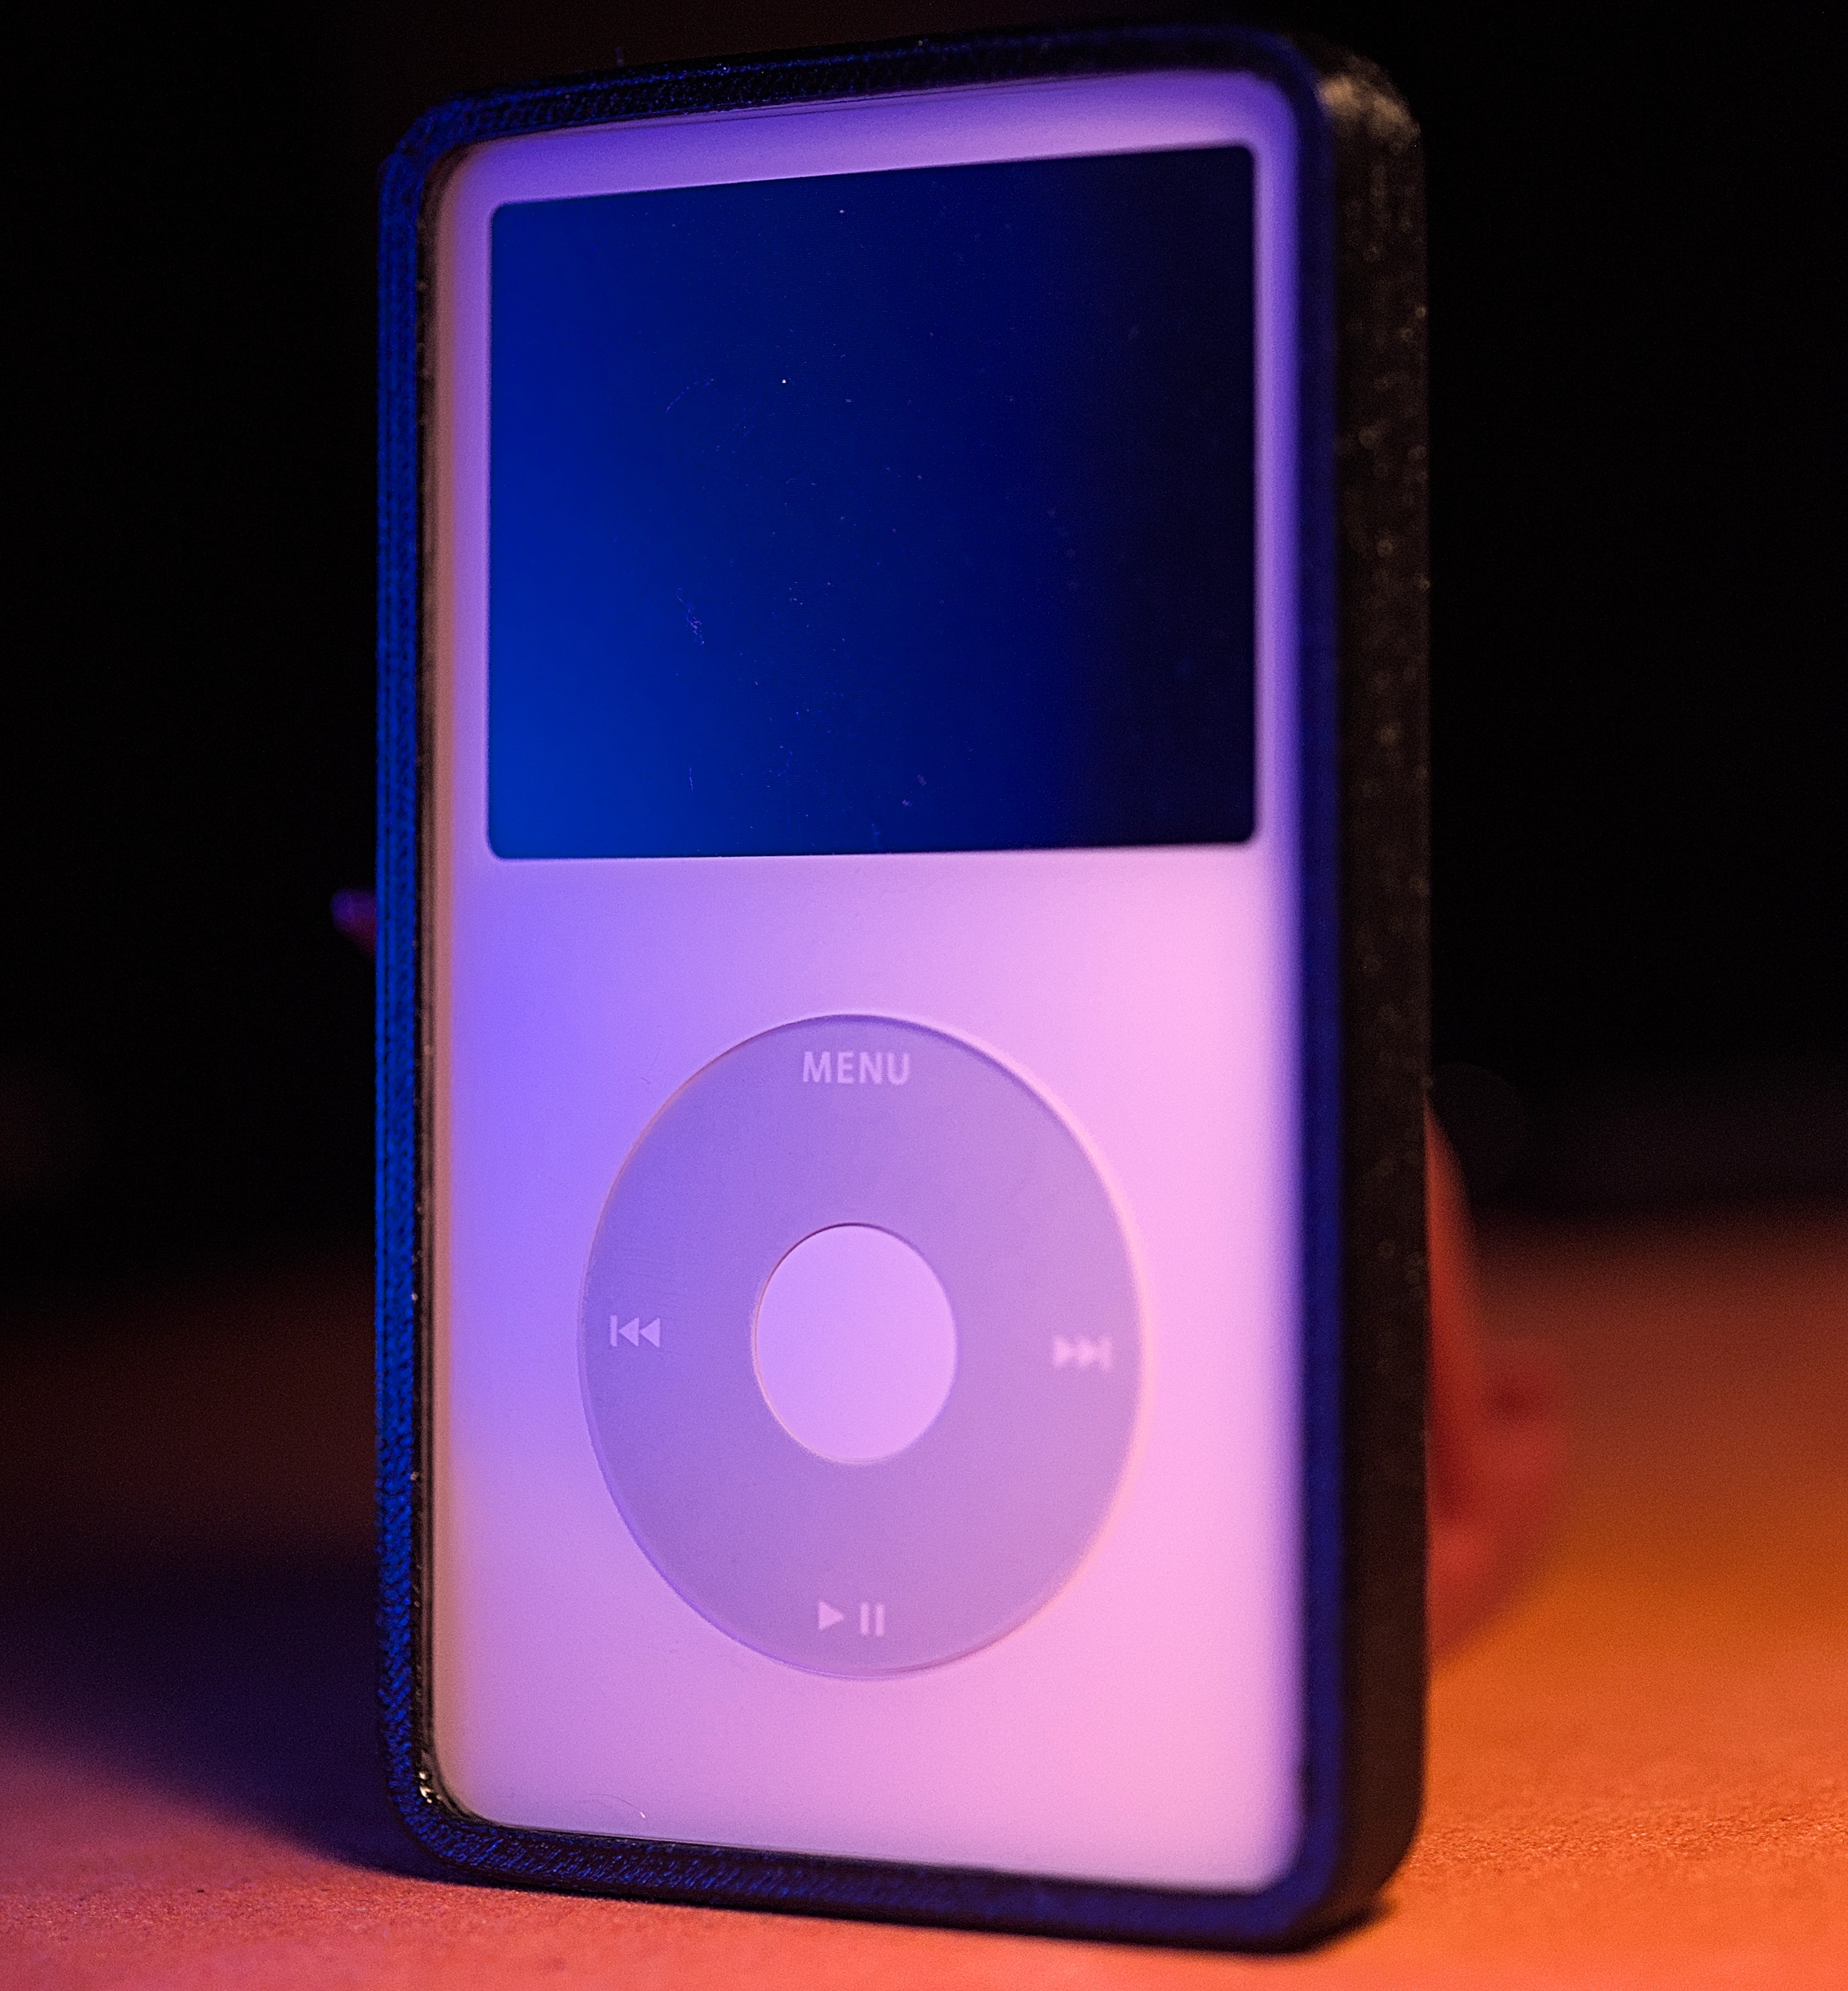
After a long pause, I decided to dive back into the world of music. But this time, with more intention—to truly listen and enjoy, not just let it play in the background. That shift in mindset led me to start restoring older audio gear: Walkmans, cassette decks, and recently, my old iPod 5th Generation. After restoring the iPod (video coming soon), I wanted a way to protect it and preserve the effort I had put in. So I designed a custom TPU case—minimal, protective, and easy to 3D print. In this Maker’s Guide, we’ll walk through how to use FreeCAD’s boolean features to create your own custom-fit case.
Manufactured phone cases are often made using molds. We’ll follow a similar approach: create a positive model of the iPod, then subtract it from a solid block to form the case. This method relies heavily on precision. The boolean operation works best when all components are built cleanly and positioned from the same origin.
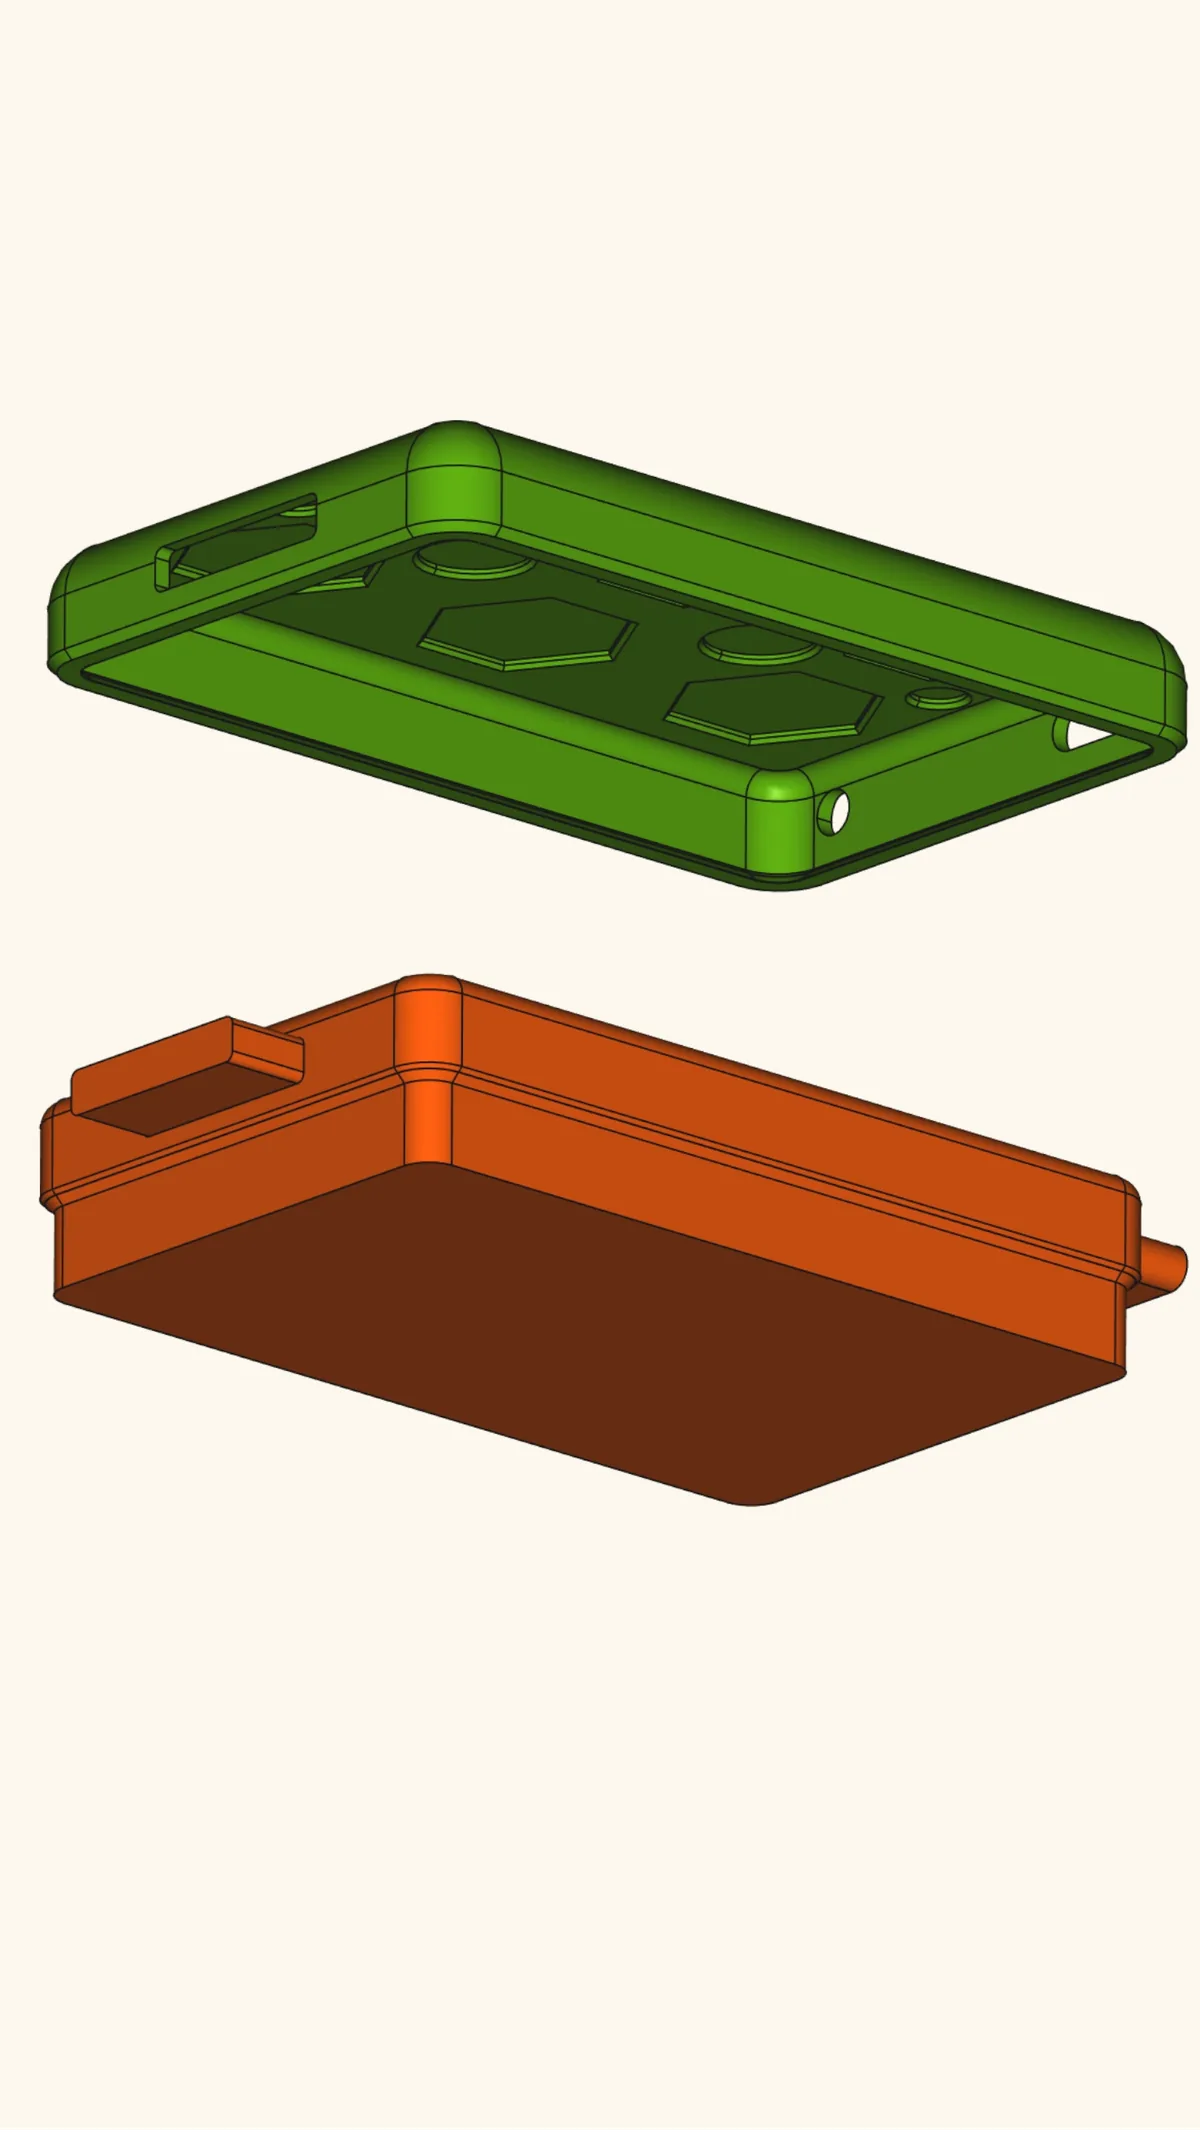
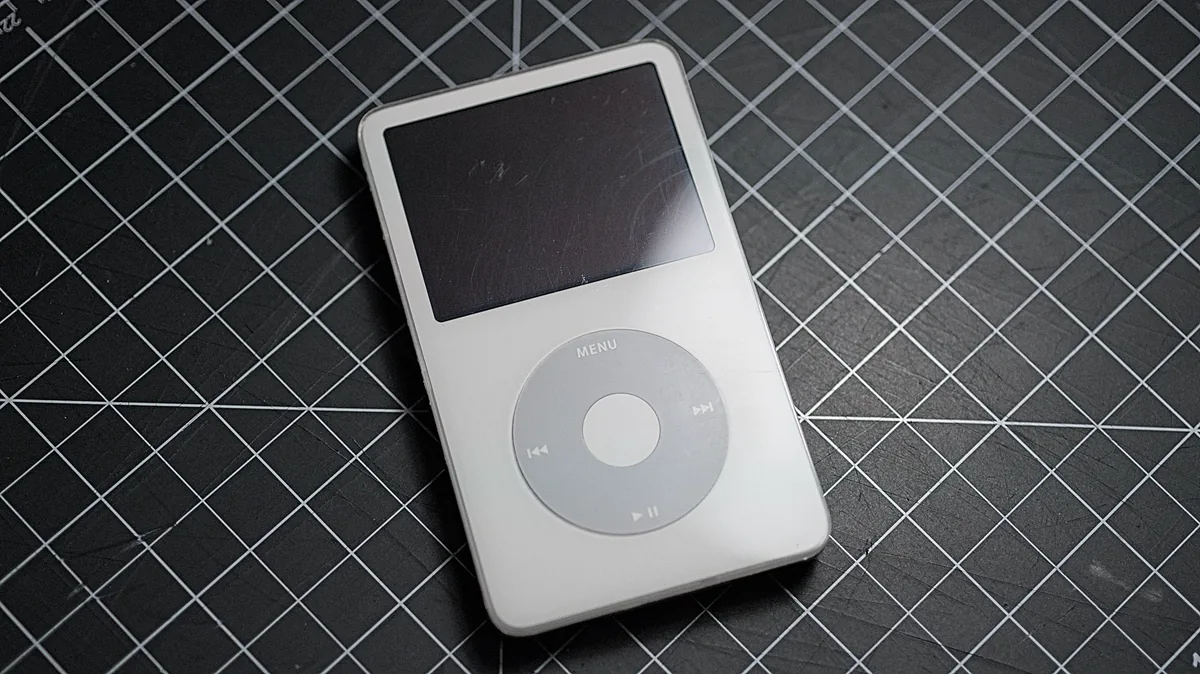
My newly restore Ipod 5th Gen.
We begin with measurements. I carefully measured the overall size of the iPod, then the location and size of: • The 3.5mm headphone jack • The hold switch • The charging port These cutouts will be part of the positive mold, later subtracted from the final block.
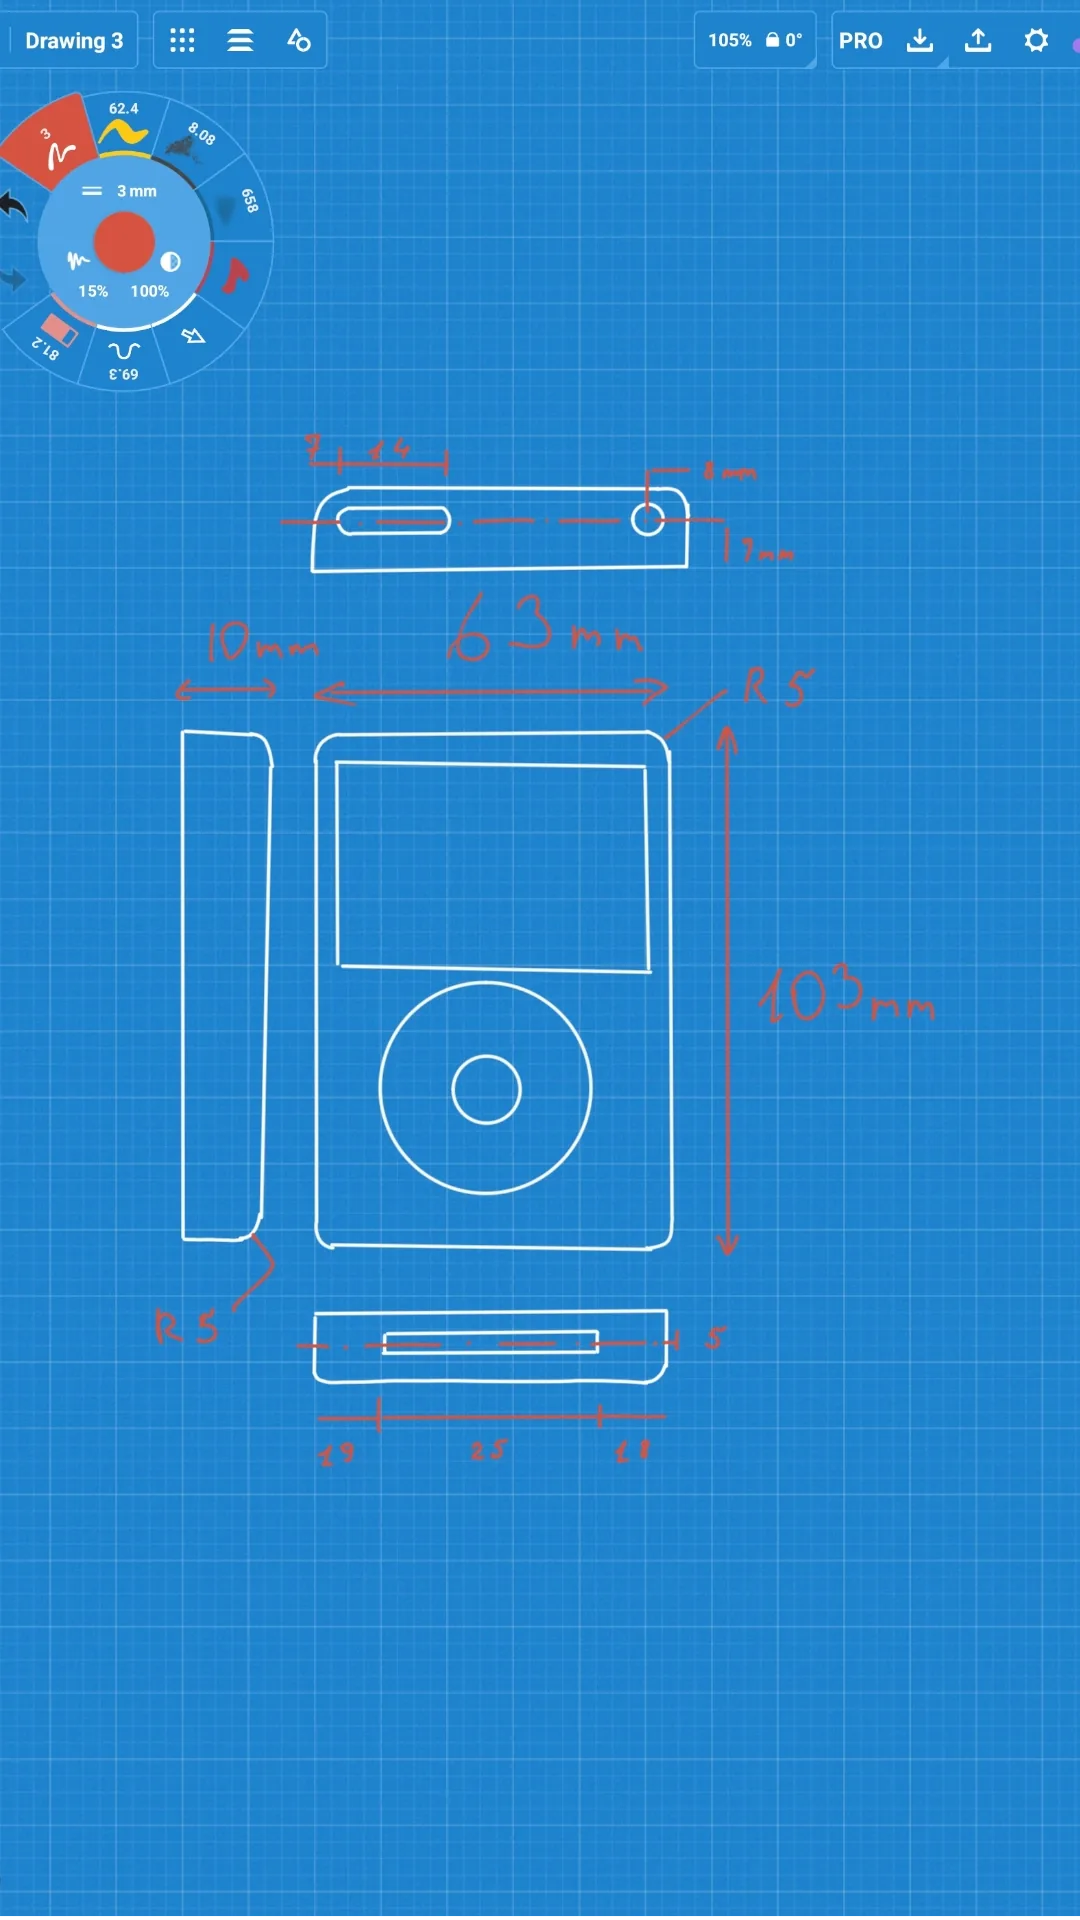
I started by modeling a simplified body of the iPod in FreeCAD. If you need guidance to model the body, please check out my guide on making a camera cap. I skipped details like the scroll wheel and screen. What matters is the body shape, corner radius, and port placements. Using sketches, I added small extrusions to represent the headphone jack and hold switch, padded to about 10mm. I repeated the process for the charging port, positioning it at the bottom center using the centerline as a reference. At this point, we have a positive mold. To optimize print time and add some visual texture, I added: • Hexagonal and circular cutouts to the back • Chamfers on the outer edges, which also help with printing overhangs
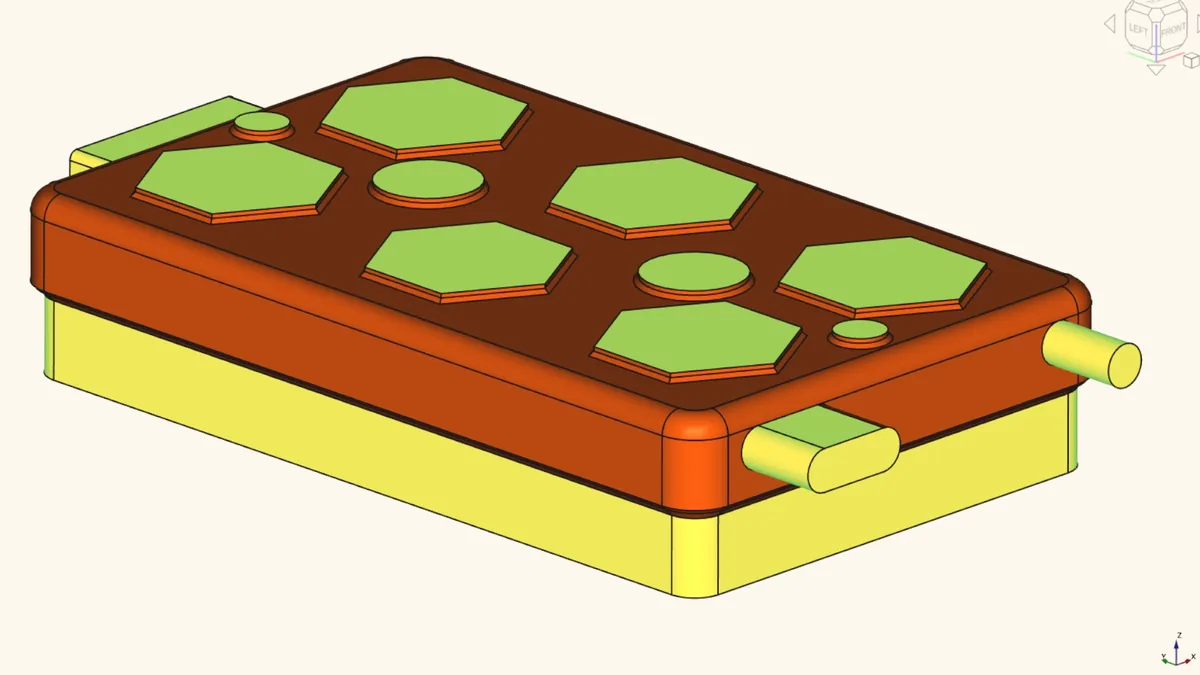
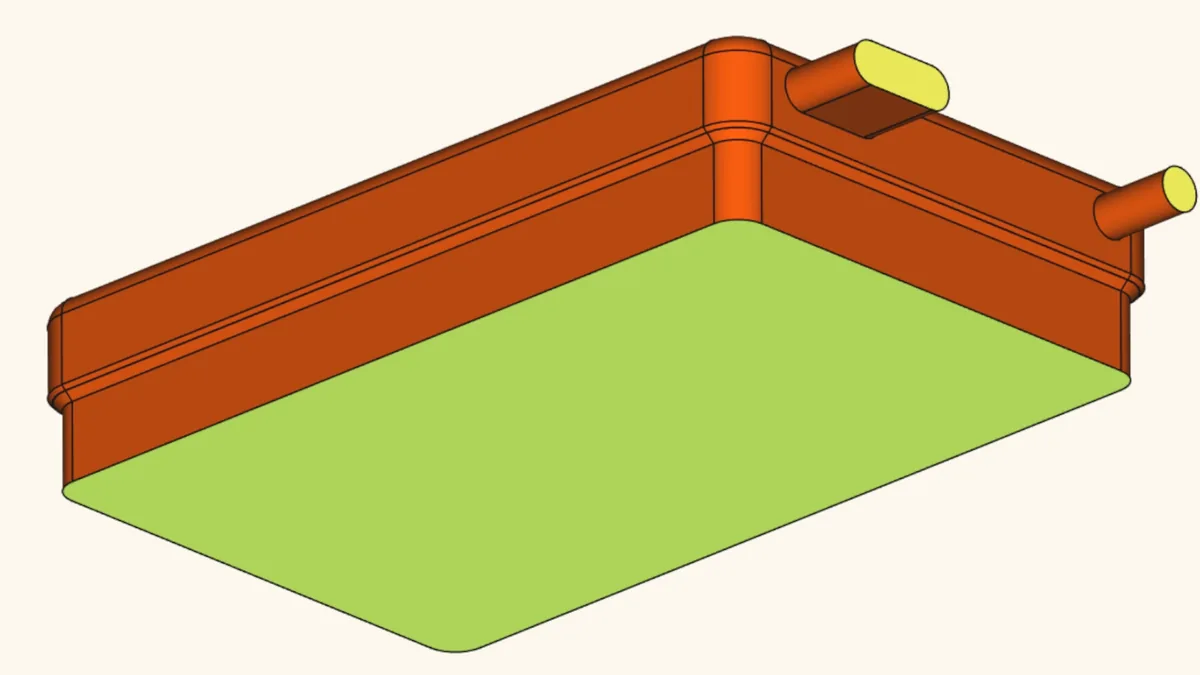
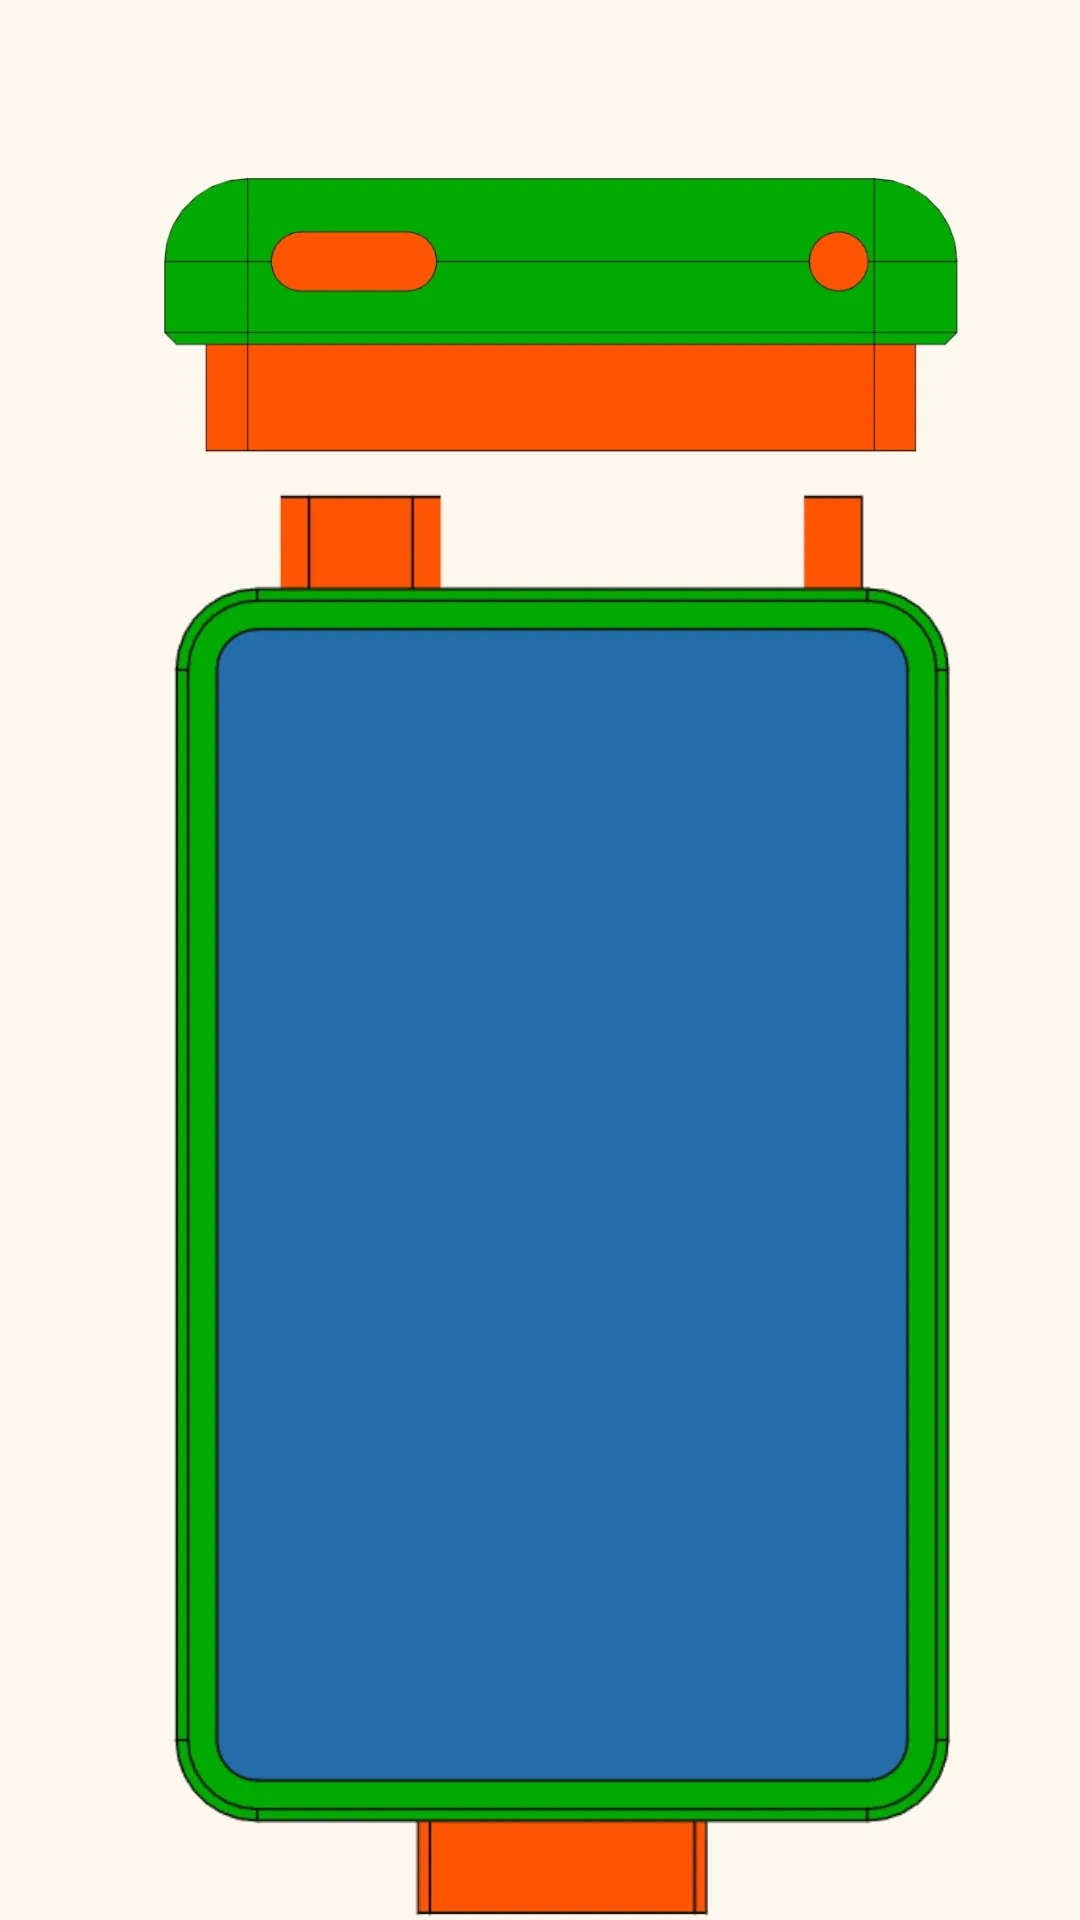
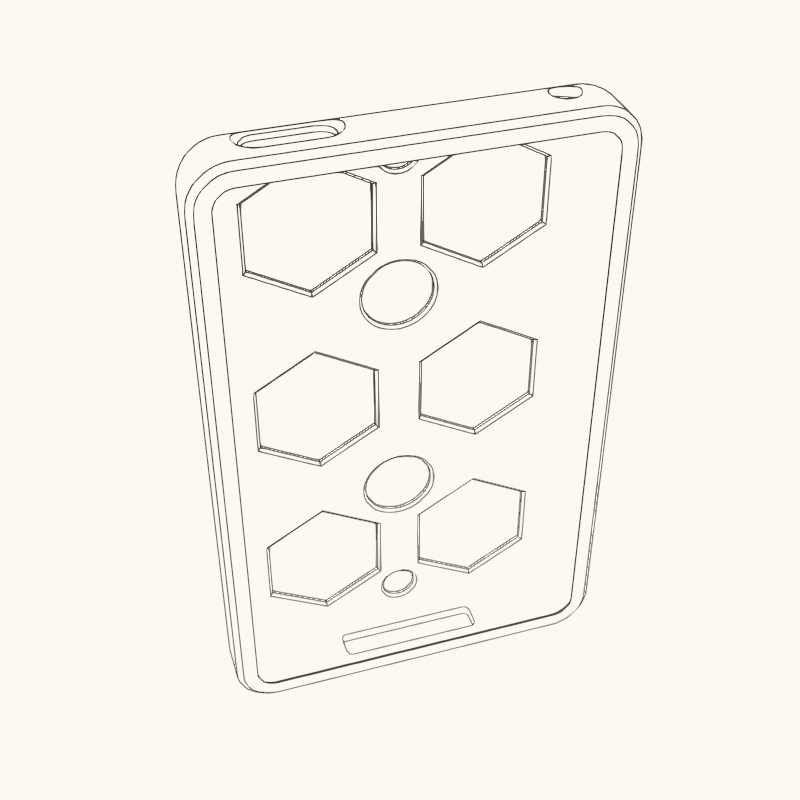
Next, I modeled the second body—the case material itself. This is essentially a hollow shell built around the iPod mold. I created a block with: • 2mm of thickness on all sides except the front (left thinner for screen visibility) • Proper compensation in width and height (e.g., 63mm iPod width becomes 67mm for the case) It’s important to build this new body using the same plane and origin as the iPod mold. This ensures clean subtraction in the next step. If the front face of the case is thinner than the back (as mine is), the height adjustment must be modified accordingly—typically a 3mm difference instead of 4mm, with a +1mm offset.
TO BE CONTINUED...

Comments (0)
No comments yet. Be the first to share your thoughts!