How to:
Create and 3D Print Hard Cover Case for Field Notepad
A how-to guide to creating a protective case for our notepads - this time it's a hard case.
How to:
A how-to guide to creating a protective case for our notepads - this time it's a hard case.
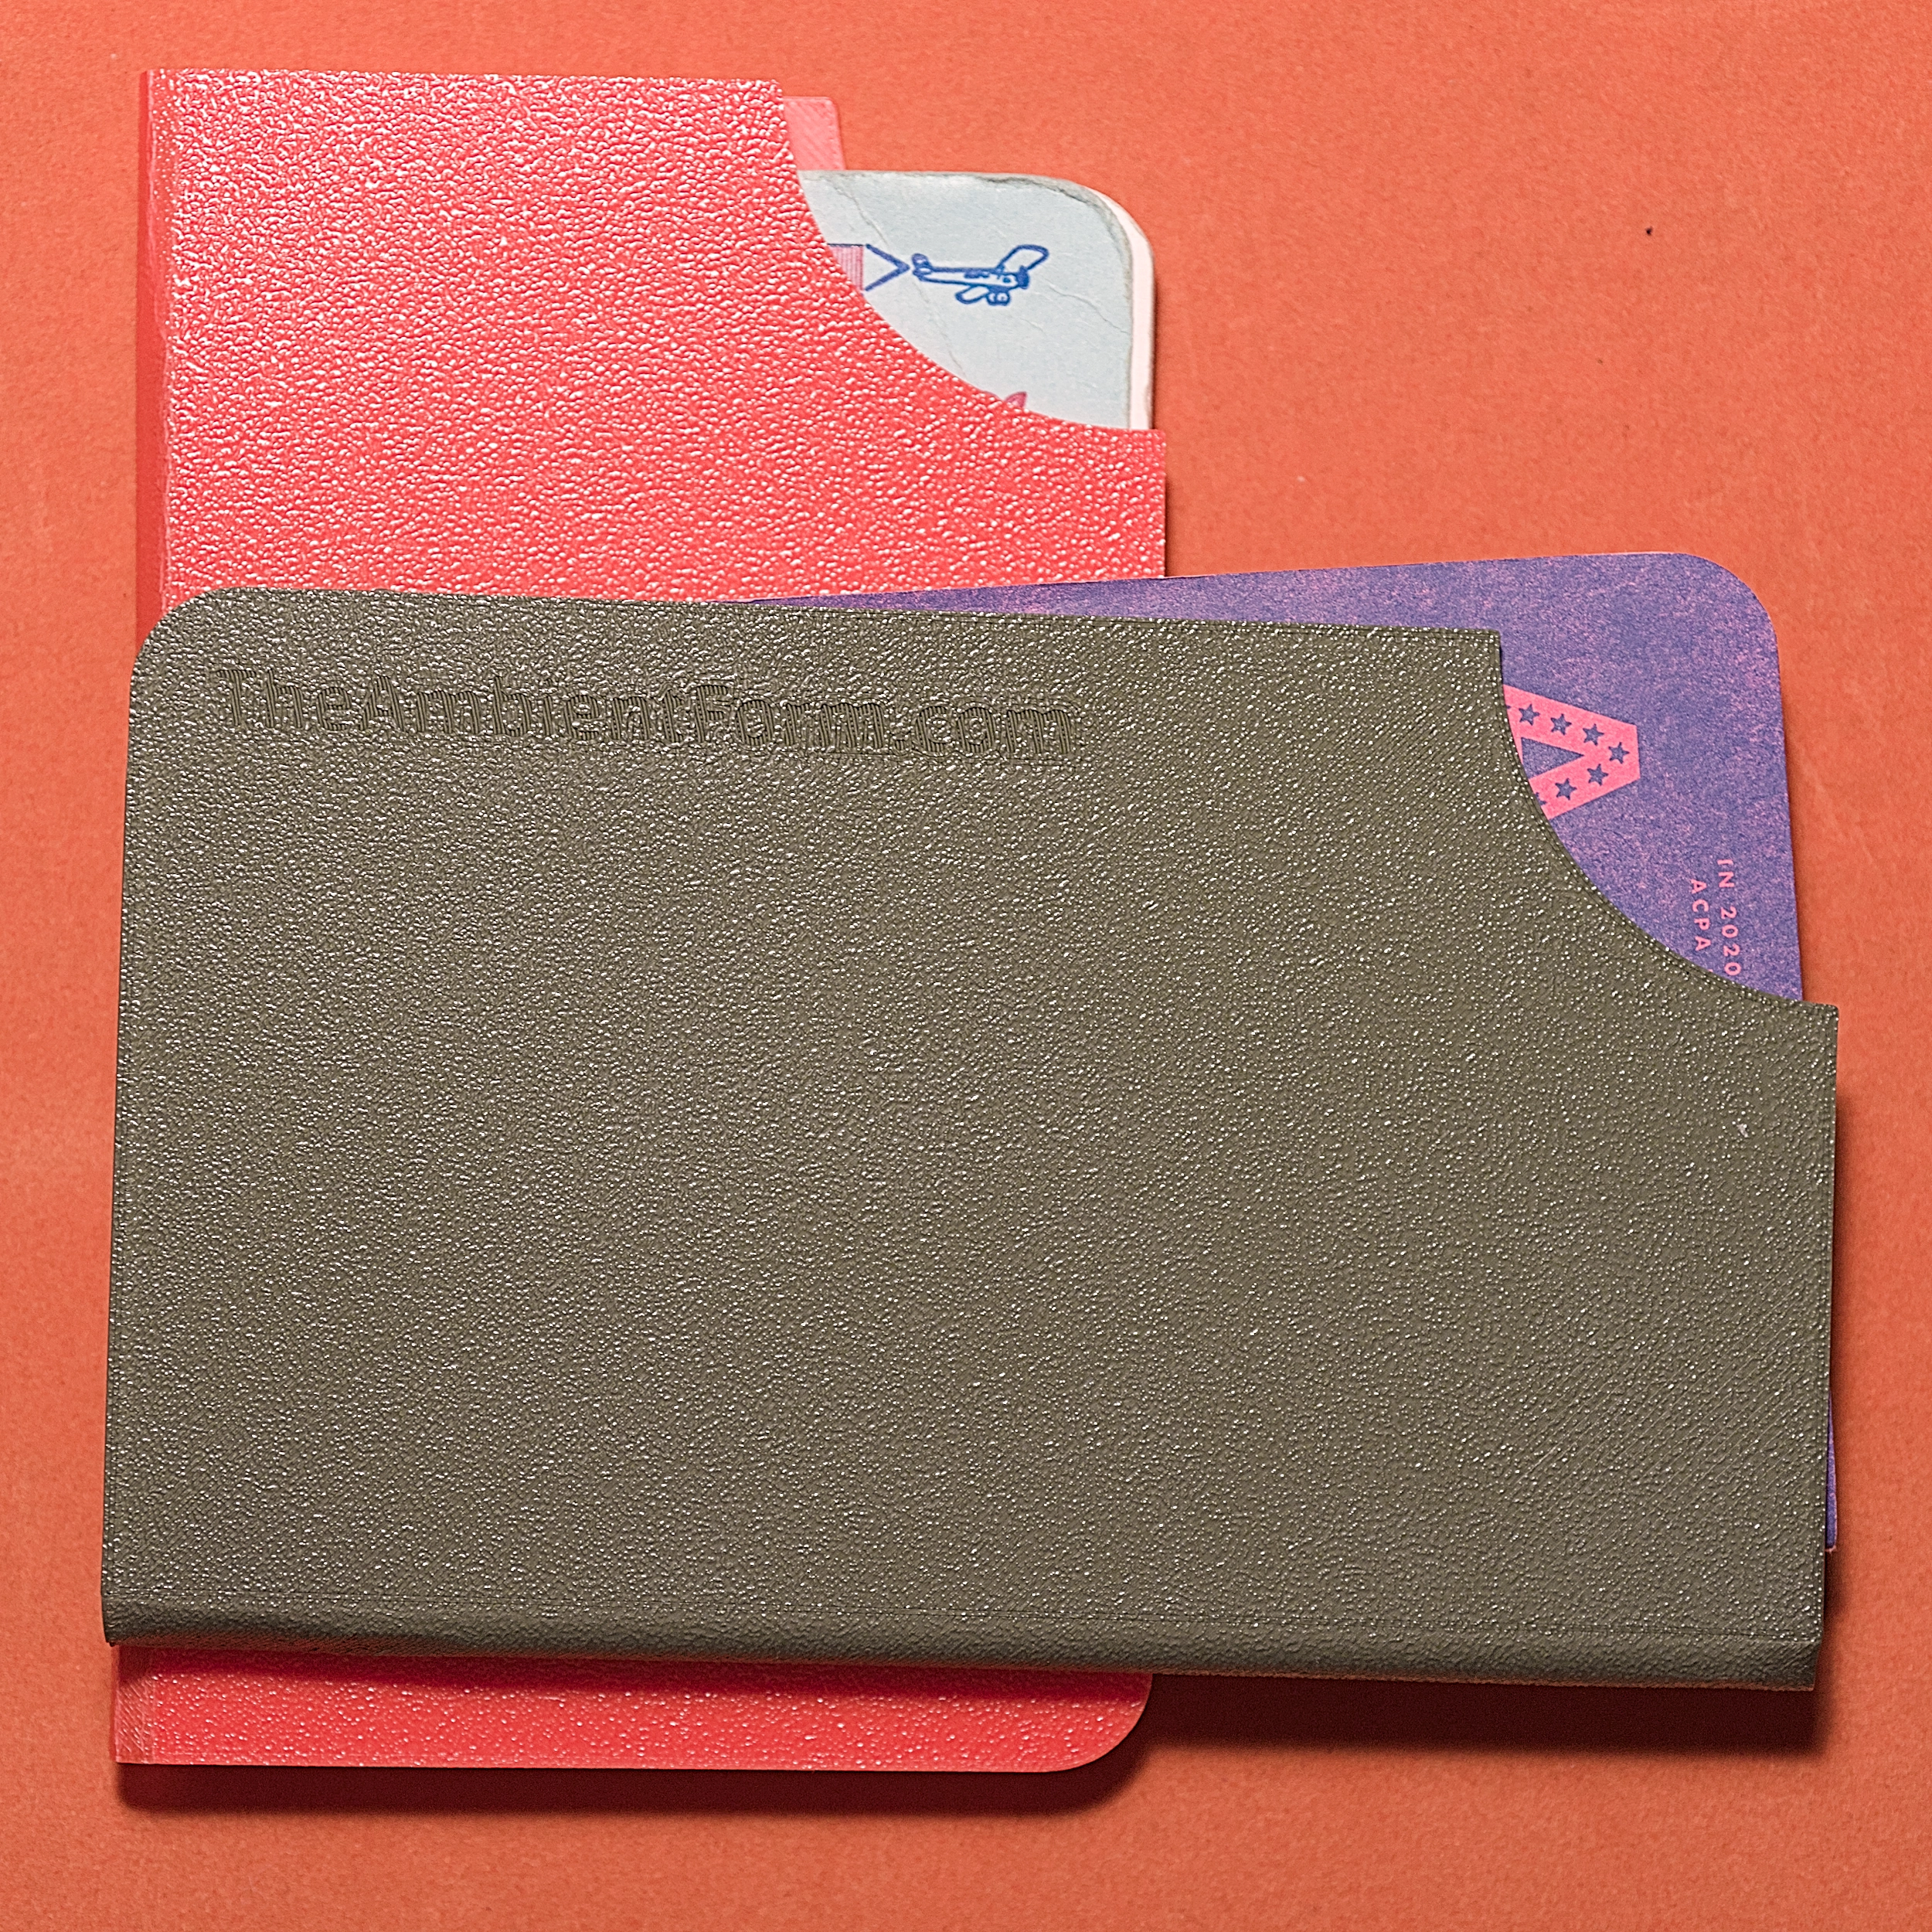
In one of my previous blogs we looked at creating a flexible, passport‑style cover for our beloved notepads, Field Notes in my example. While I really enjoyed using my lime‑green cover and also received a few comments about it, it has its design flaws. If you are interested in checking out the guide, you can find it <a href="https://theambientform.com/blog/field-notes-case" target="_blank">Here</a>. Once the notepad wears out slightly, it starts to lose its rigidity and the cover slides off much more easily. So, I decided to create a holster case as an alternative to the flexible cover. The idea came when I saw someone using a hard case to hold playing cards. One of the criteria I wanted the new case to meet was that the overall thickness of the case with a notepad inside had to be almost identical to the thickness of a notepad inside the soft case. Another criterion was that it should be easy to 3D‑print as a single part. That meant I had to design the case so it could be printed in the unfolded state. I could 3D‑print a box‑shaped case, but the print time would be too long and there is also a concern about layering strength.
Hand Sketch
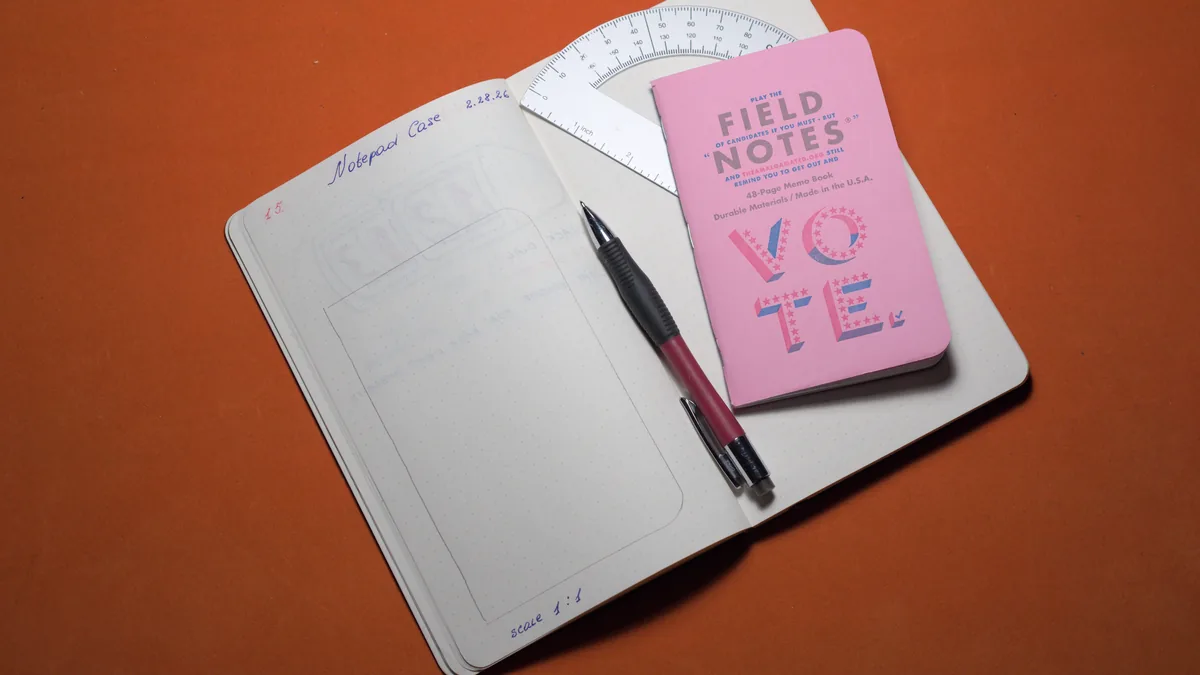
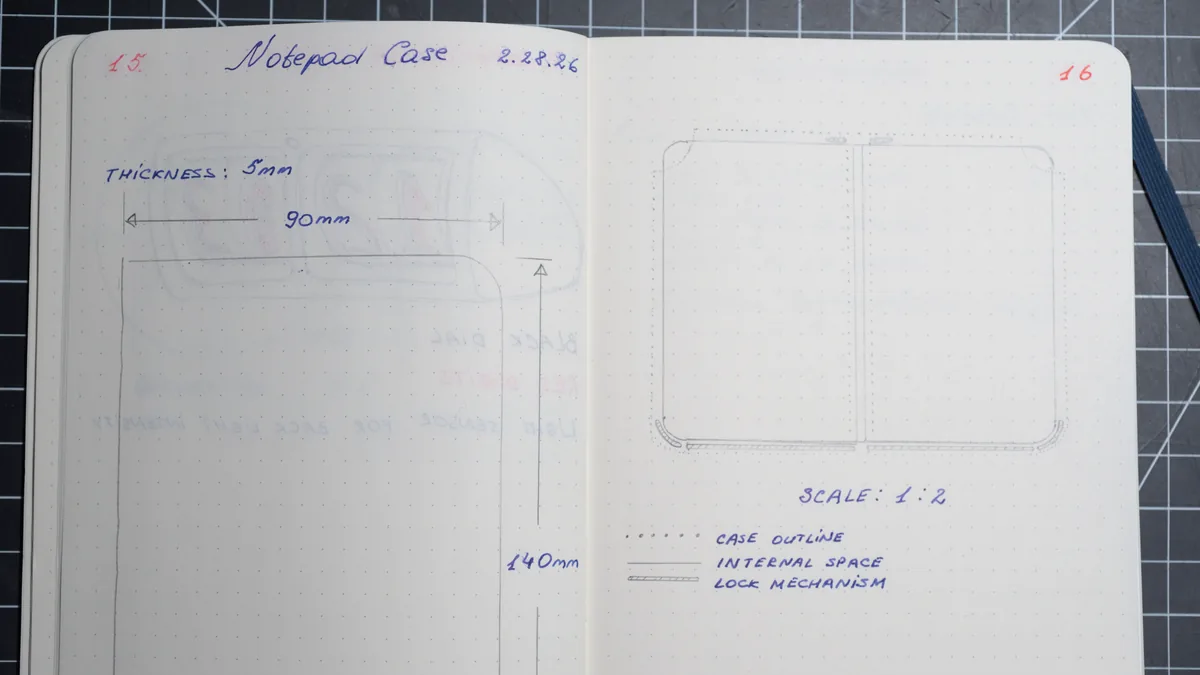
As before, I started with an outline trace of my notepad on a piece of paper, as it was slightly easier to take measurements.
I started with a new part‑design sketch in FreeCAD, using construction geometry to build an outline of the notepad. In the following steps I can copy and paste the sketch to keep all features tied to it as a reference point.
I created a sketch representing the unfolded notepad. I tried to follow the contours of the notepad as closely as possible to minimize the footprint and ensure a good fit. I did find out later, after the first print, that the case height of the holster had to be 5 mm taller than the notepad to allow the notepad to slide inside without interference.
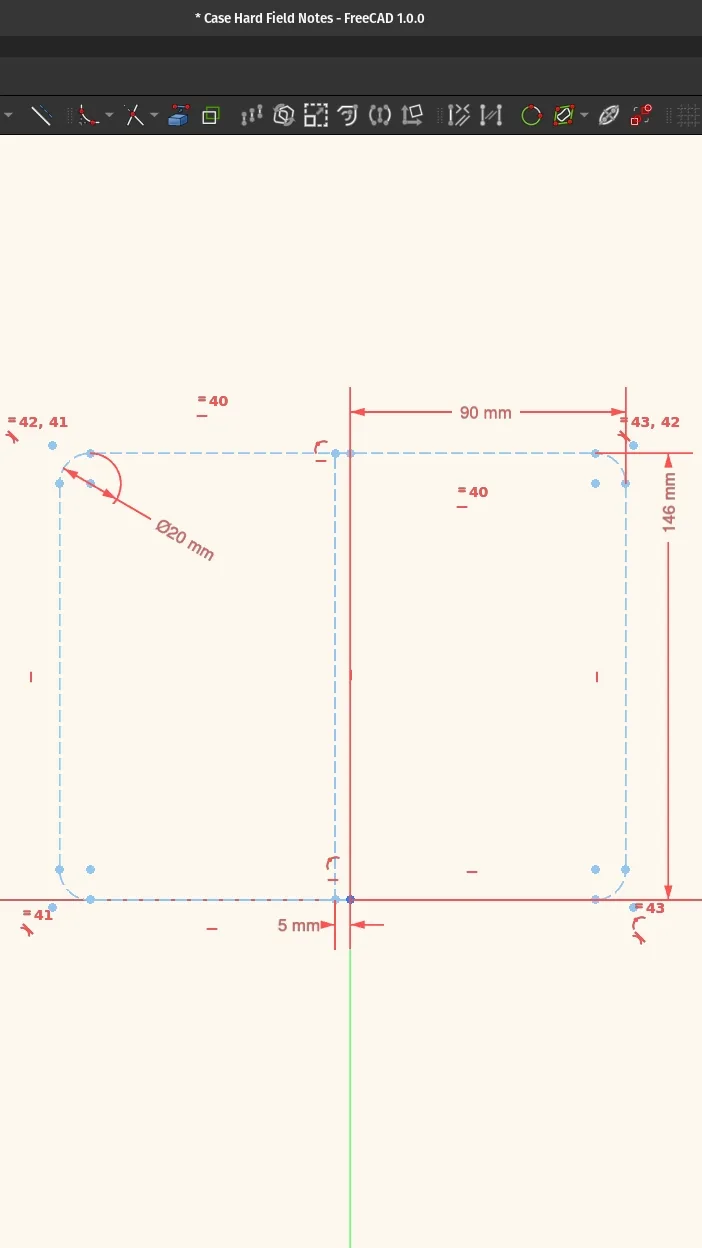
Next I created a regular sketch outline that is 2.4 mm larger than the construction sketch to accommodate the wall thickness.
I extruded the sketch to 3.9 mm thickness. This thickness provided enough rigidity without adding too much bulk.
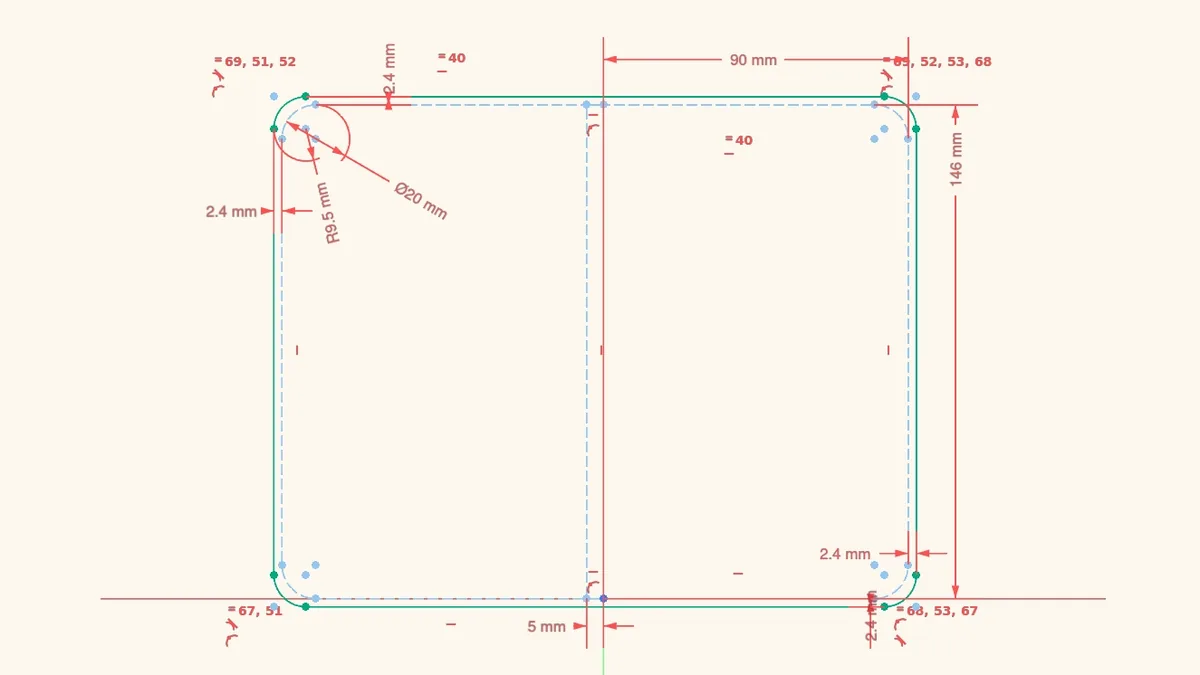
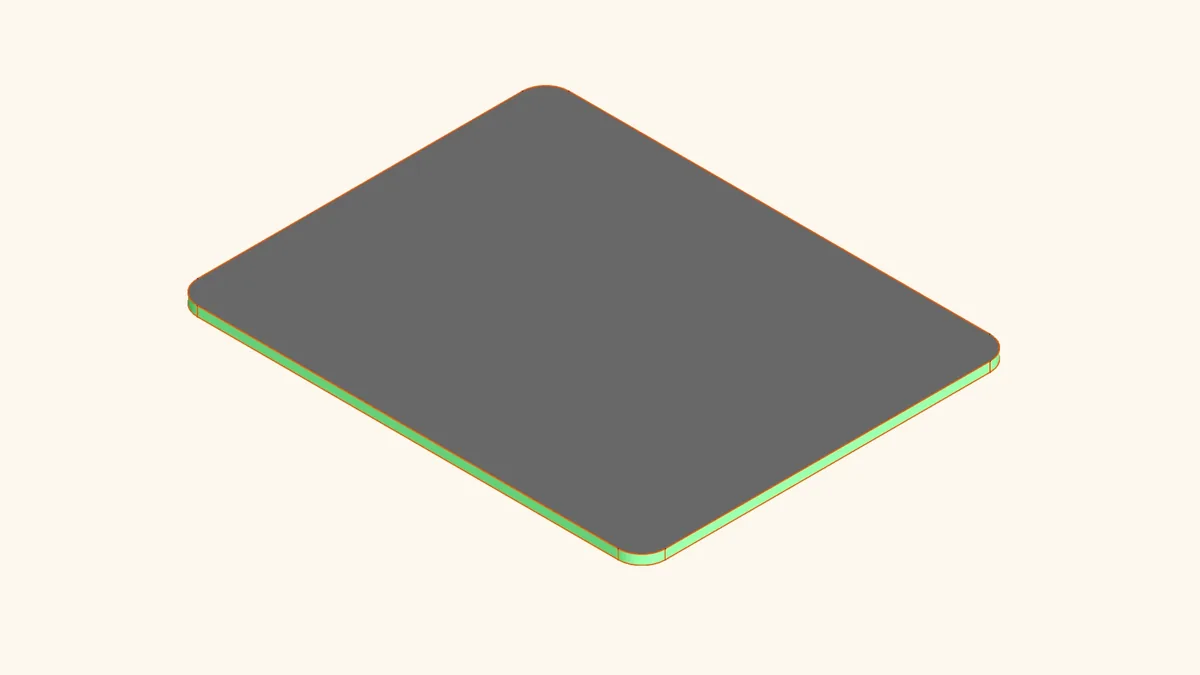
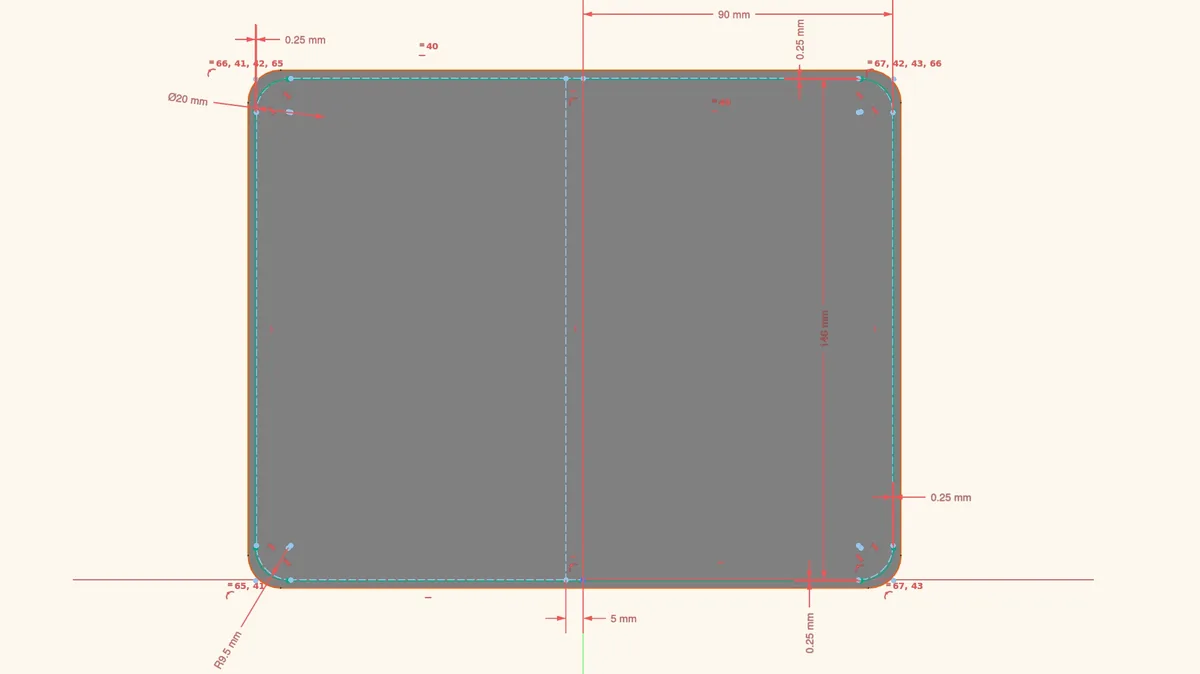
Next, I created a new sketch on top of the extruded body, pasted the construction sketch from the previous step, and made sure it is properly constrained. This new sketch will be used to remove material to create an internal cavity to hold a notepad. I added a 0.25 mm clearance around the perimeter to provide enough room for a notepad.
Once the sketch was fully defined, I created a 2.7 mm pocket.
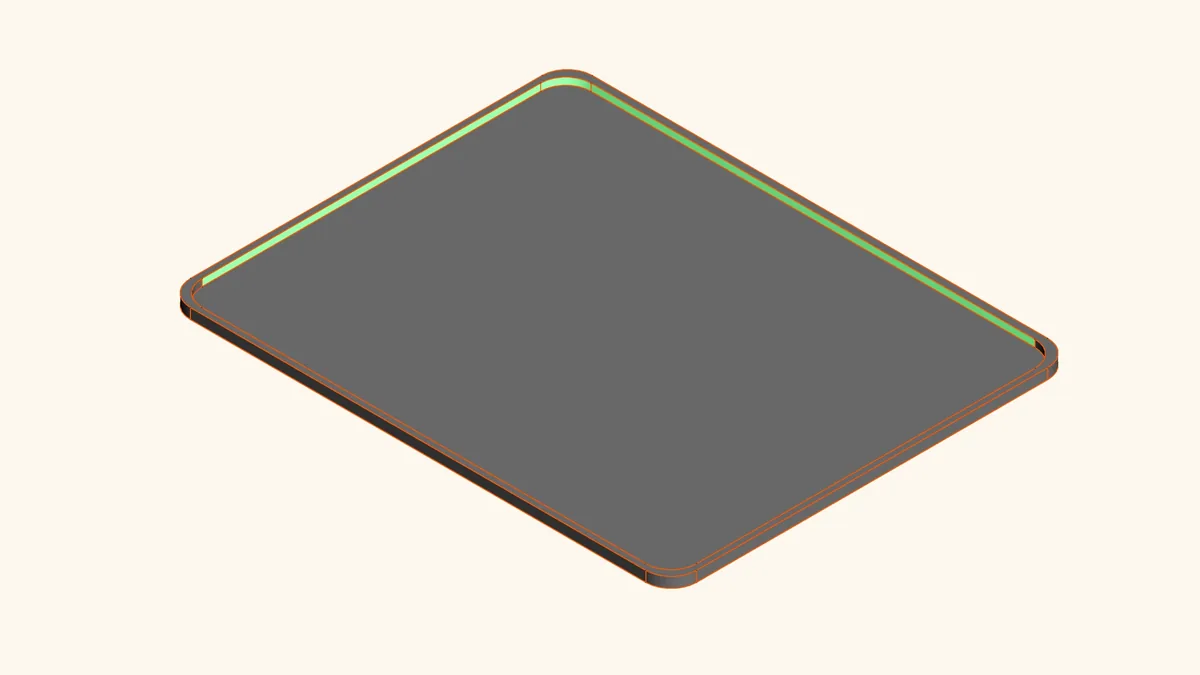
The next feature allows for the case to be folder after it is 3D-printed. I created a thin spine section to allow the material to bend. We achieve this by using a pocket feature that is 3.7mm deep. The remaining spine material is 0.2 mm in thickness and bent well to for the final shape.
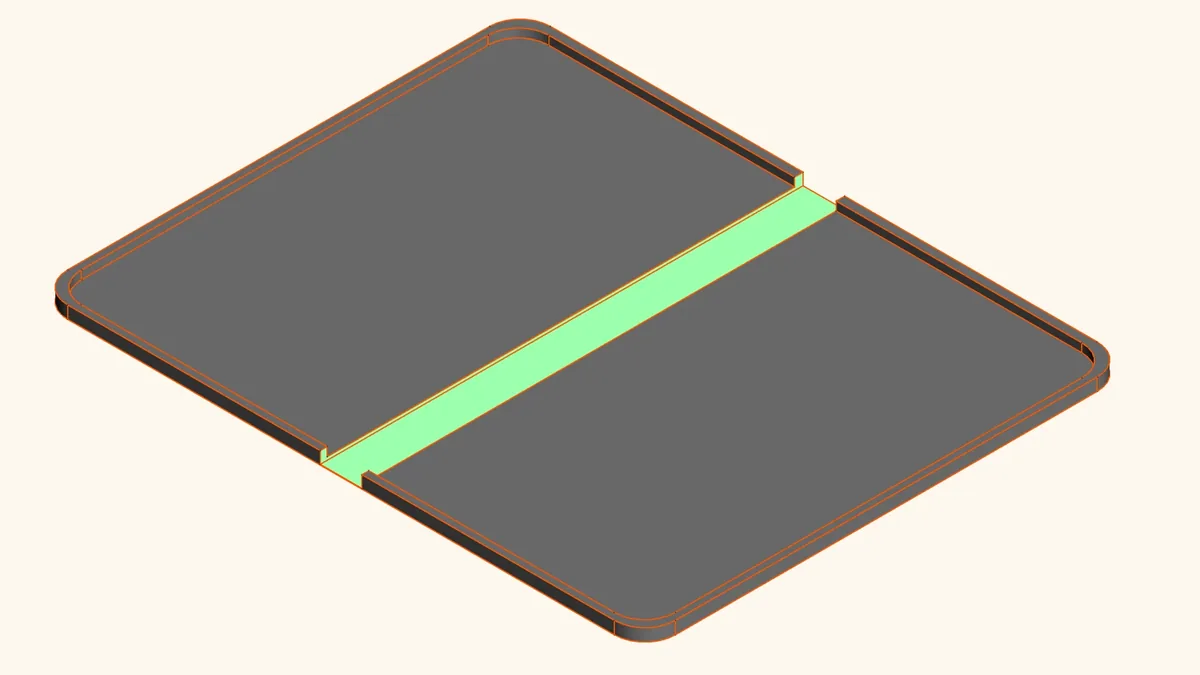
Once I had my outer shell ready, I proceeded to remove materials to create an opening for the notepad to slide through.I had to carefully leave the material in places where support was needed, but also remove enough for the notepad to fit. I left enough material in the lower section to act as a bottom floor, and a small tap on top to help keep the case in closed position. It was also important to keep enough thickness to add the lock feature in the next step.
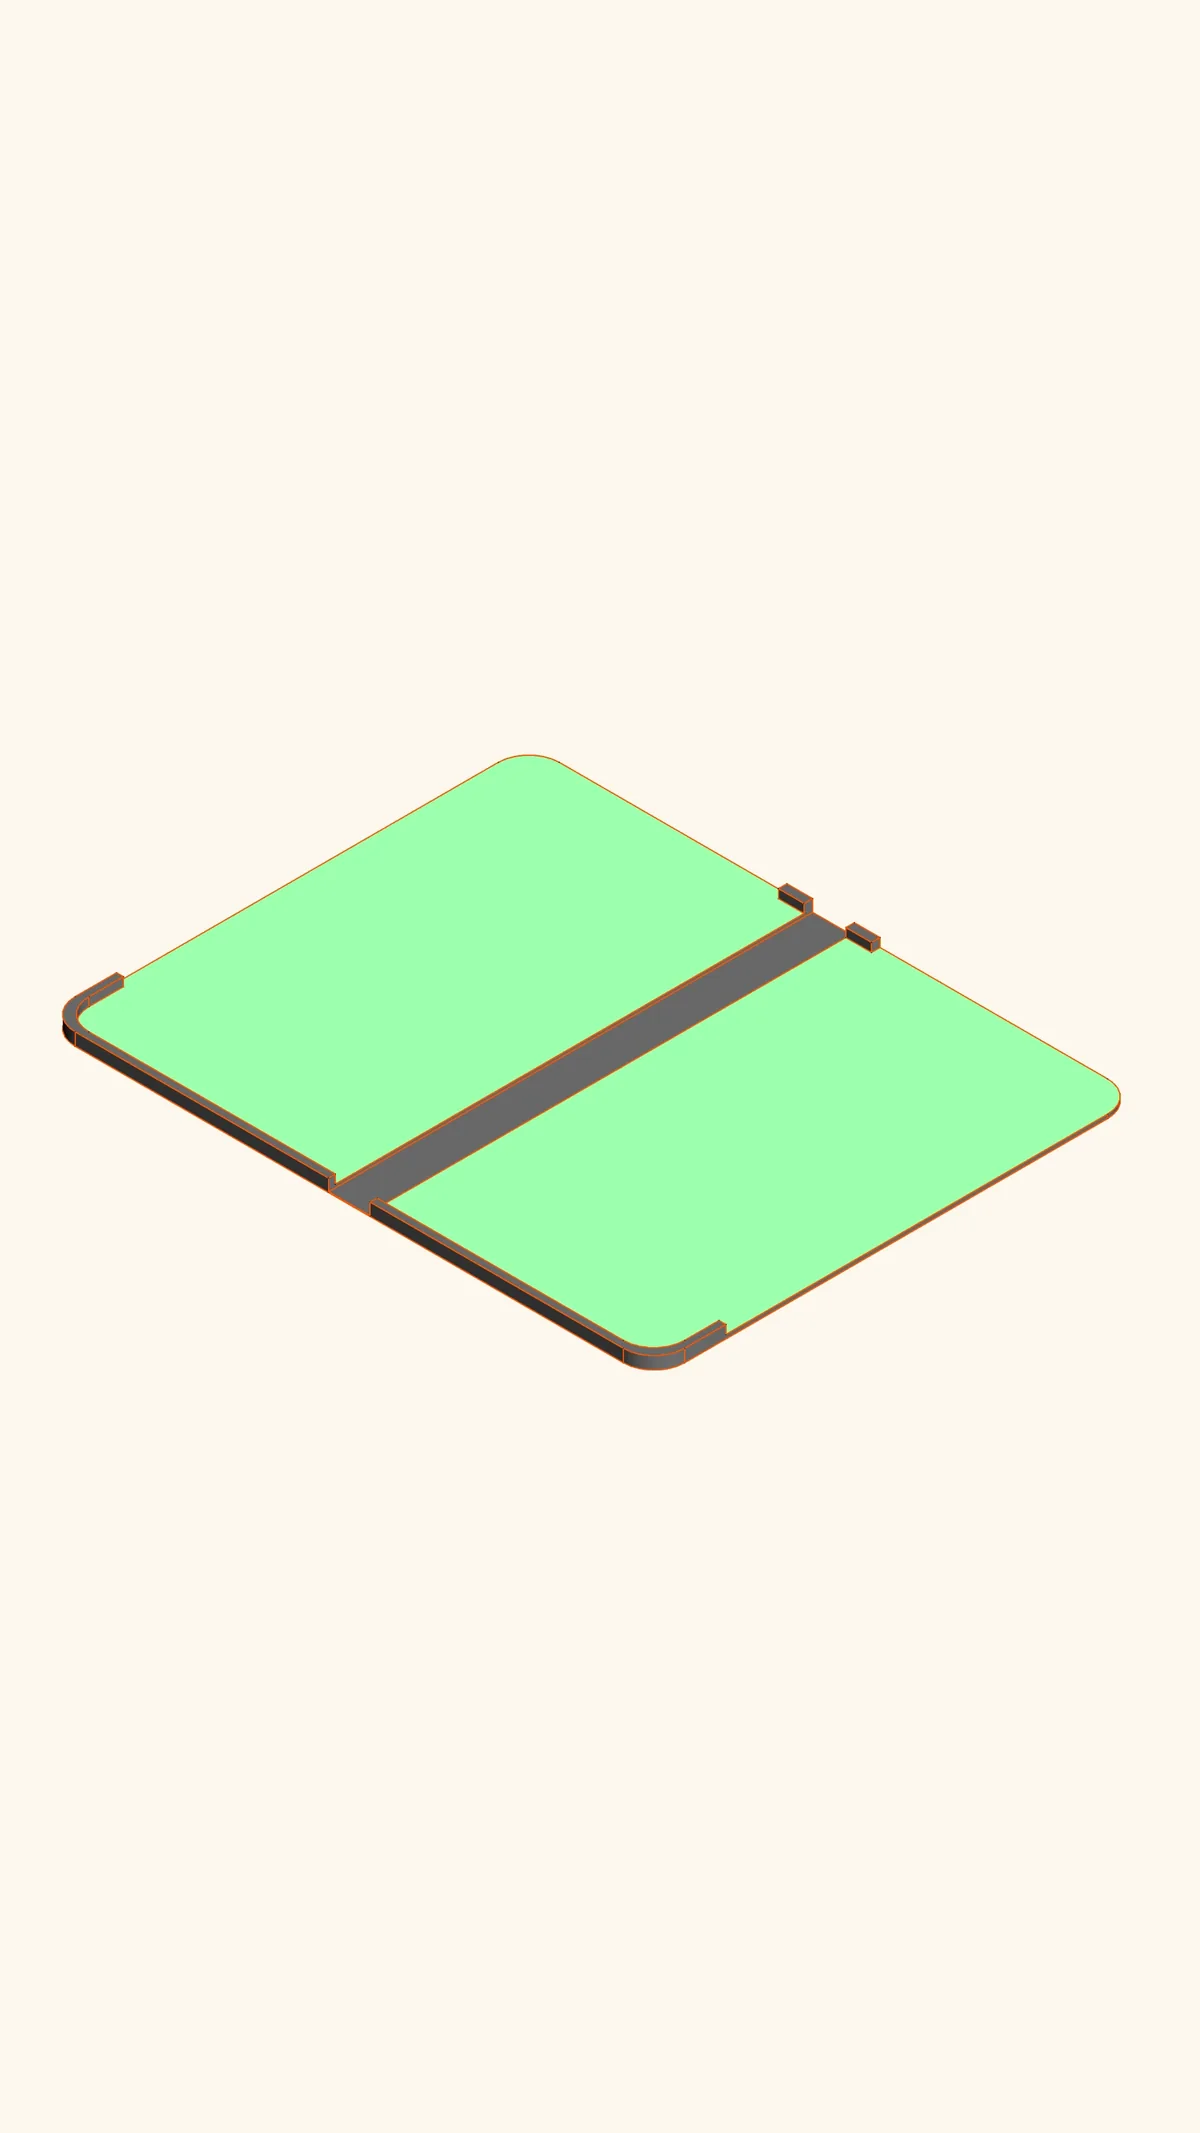
7. Lock feature - Pocket
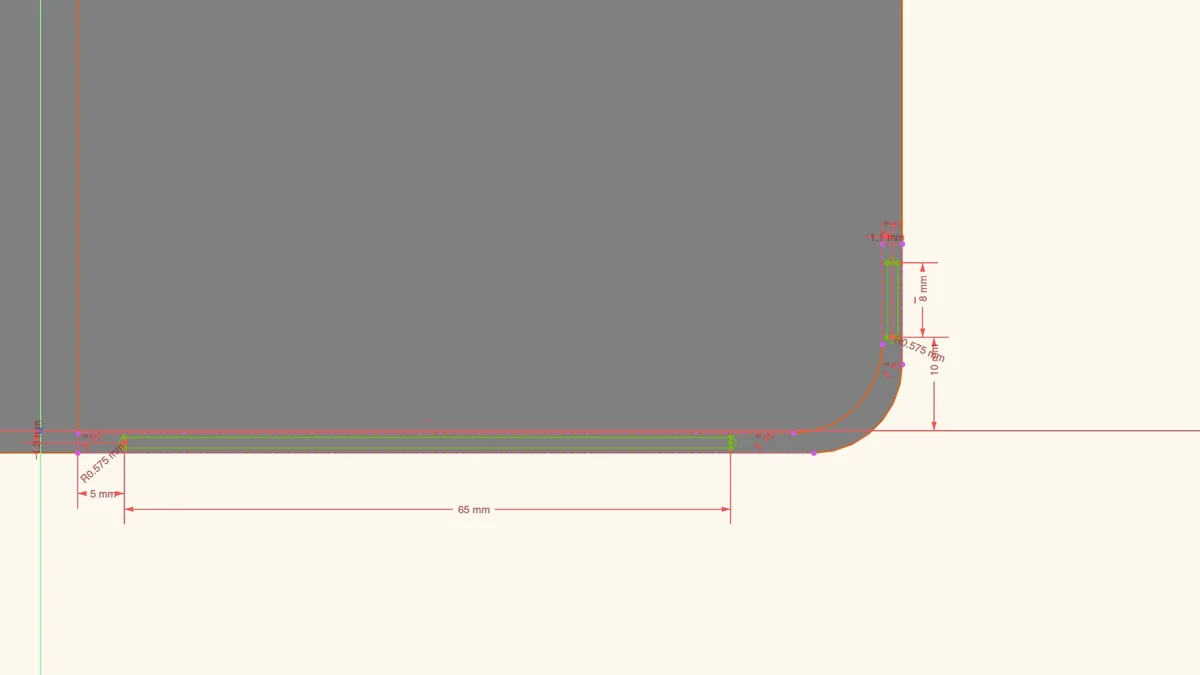
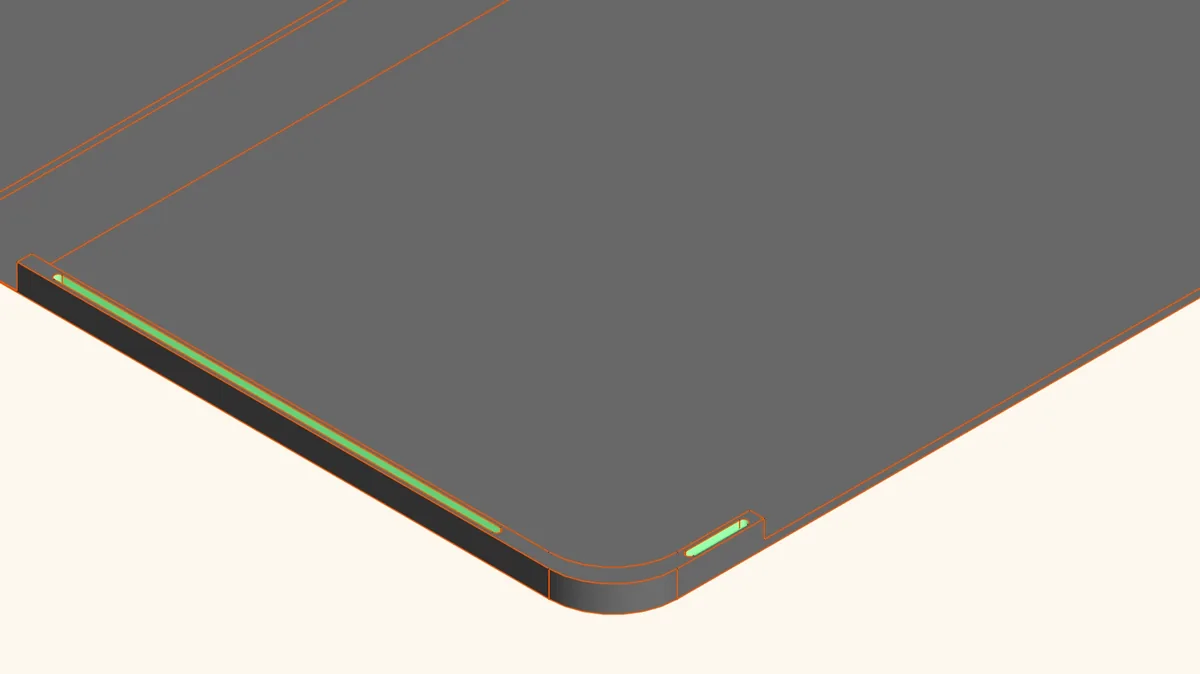
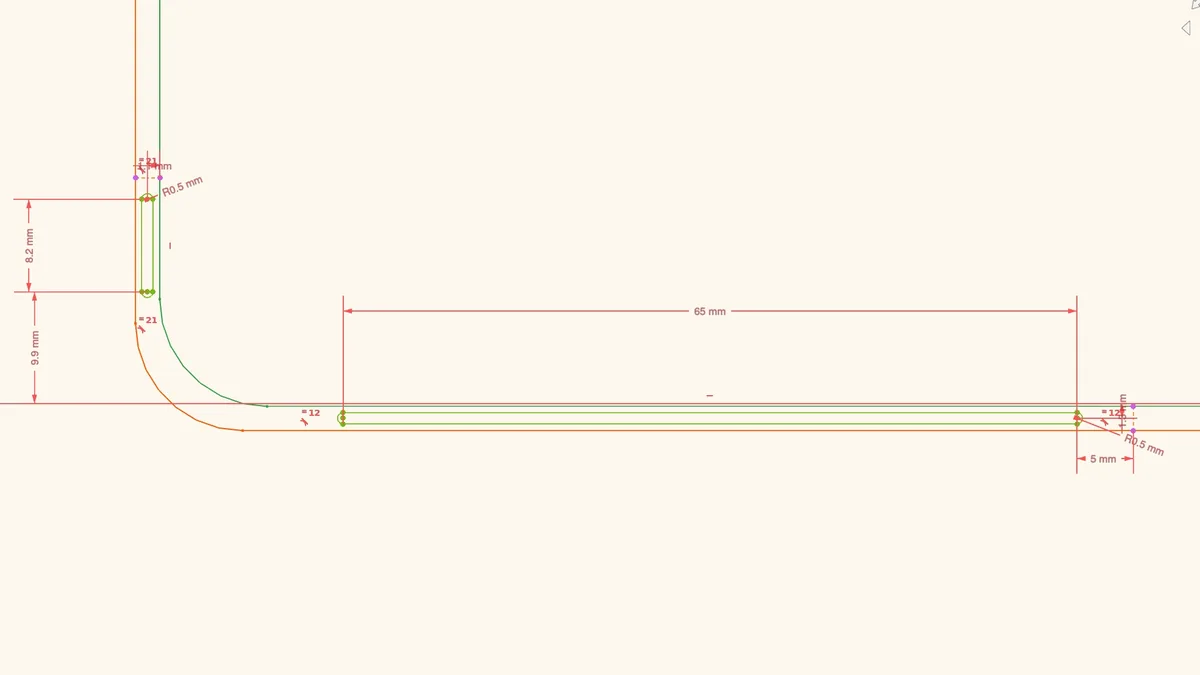
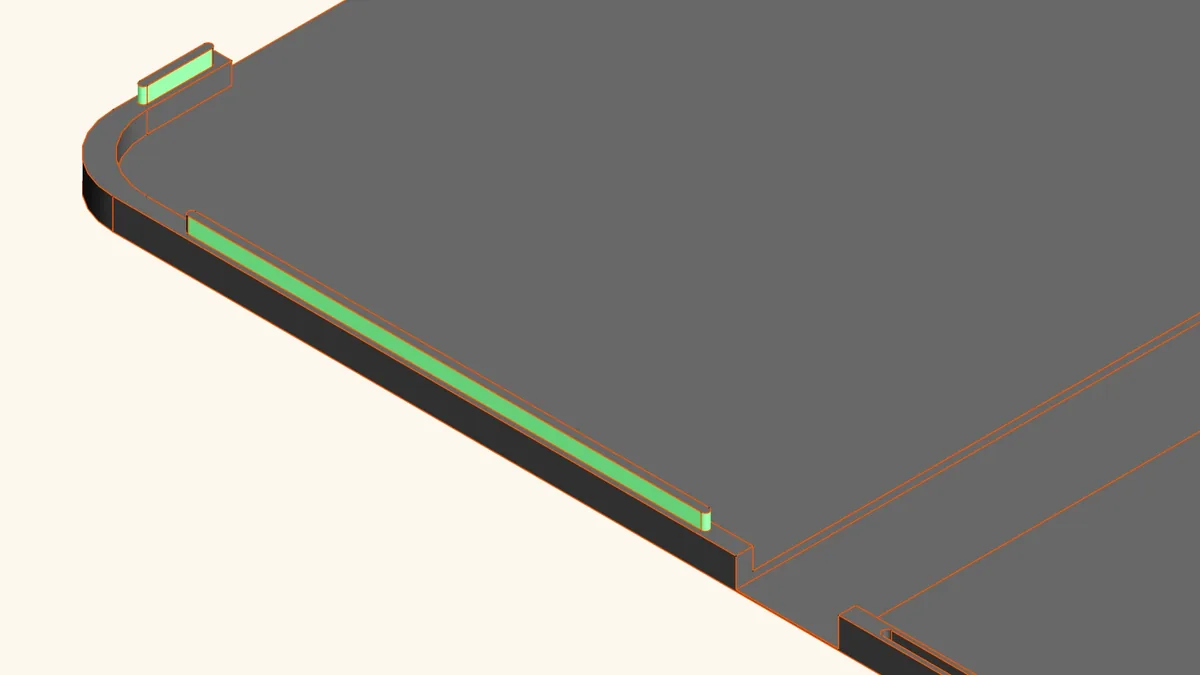
To lock the two folded halfs together I used a simple pin-and-hole feature. I had to carefully measure the tolerance of my 3D printer setup to build an openning that is big enough to to accept the pin but not too lose for the case to unfold. Another important area was the remaining wall thickness. I wanted to make sure I have at least .5mm of wall thickness for the filament diameter. My tolerance came out to be 0.75mm in total.
To be continued...


Very helpful! Thank you