Maker's Guide
Field Notes Soft Cover - Preserving Notes
A maker's guide to creating a protective case for our favorite notepads.
Maker's Guide
A maker's guide to creating a protective case for our favorite notepads.
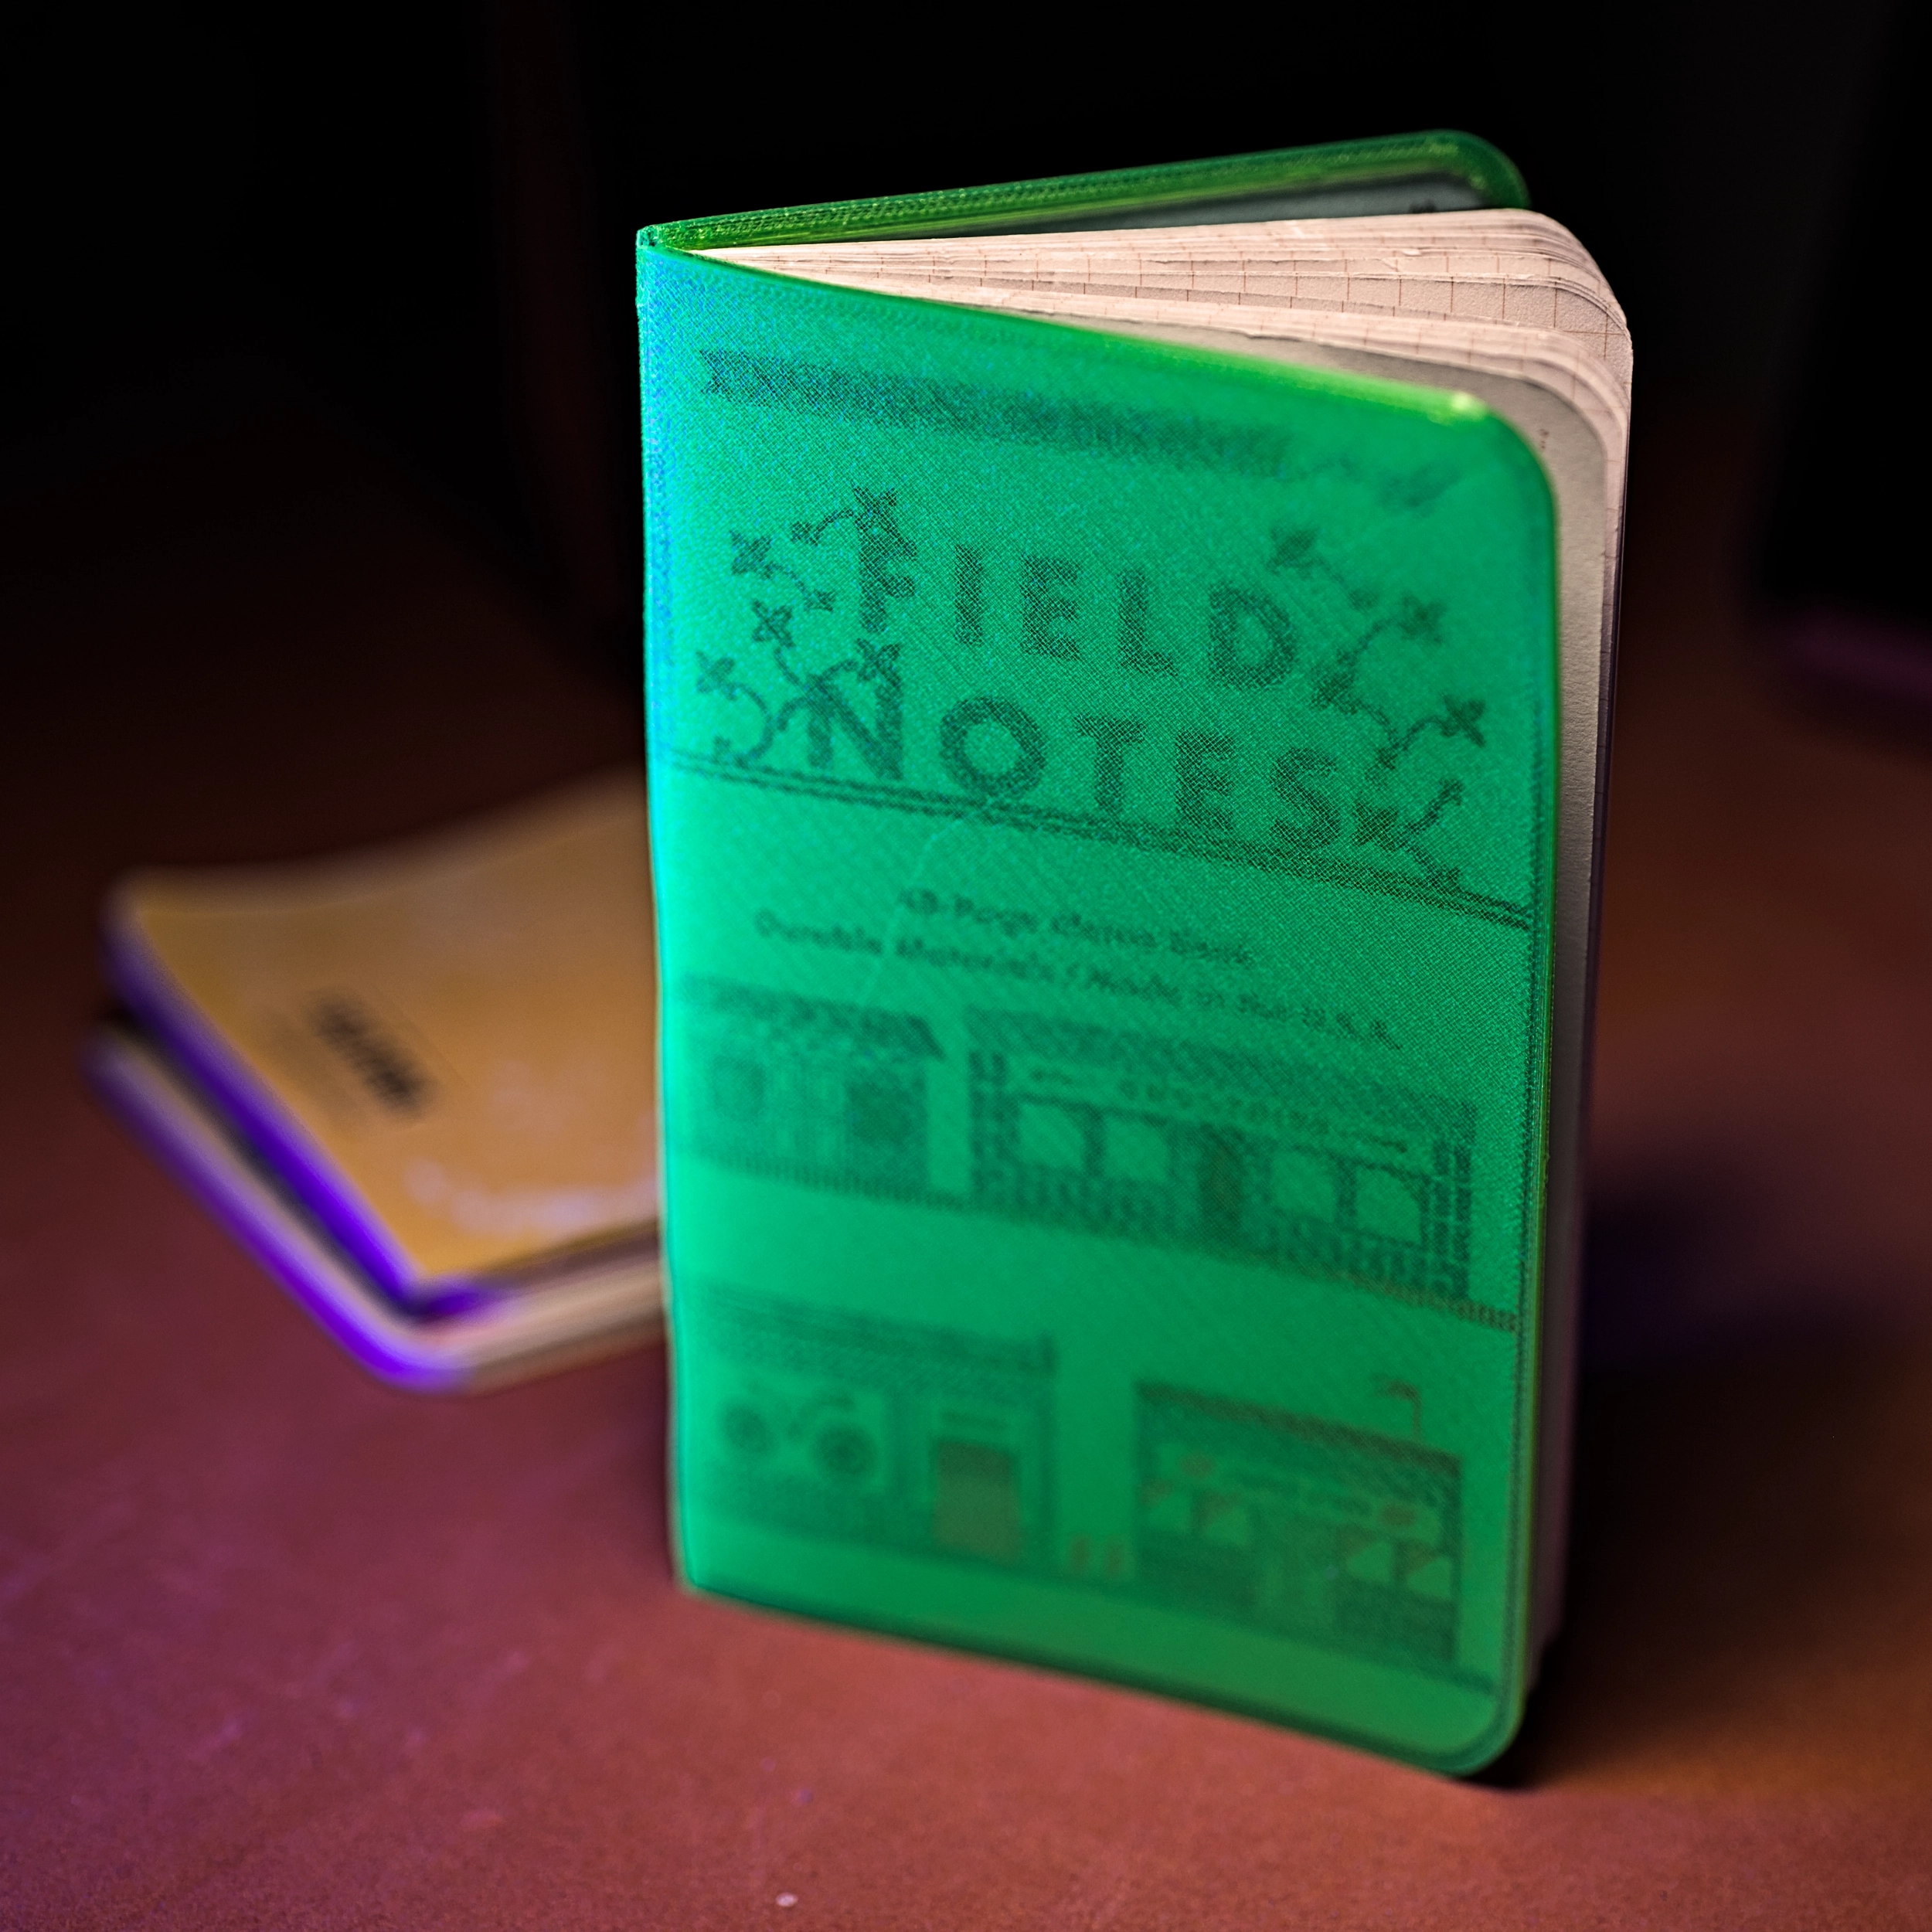
If you've read some of my previous posts, you probably know I have a soft spot for analog things—cassette players, film cameras, mechanical watches. That passion extends to writing things down. I keep notepads everywhere: by my desk, in my backpack, by my favorite chair. I really love notepads. I like Field Notes brand of notepads. They're portable, thoughtfully designed, and always unique with their cover options. I typically carry one with me everywhere, and while they hold up well, the wear adds up over time. To preserve them just a little longer, I wanted to design a protective case I could 3D print. Think of it like a passport cover—slip-in style, low profile, flexible, and easy to print. For the material, I used Inland TPU, which I've had good results with before.
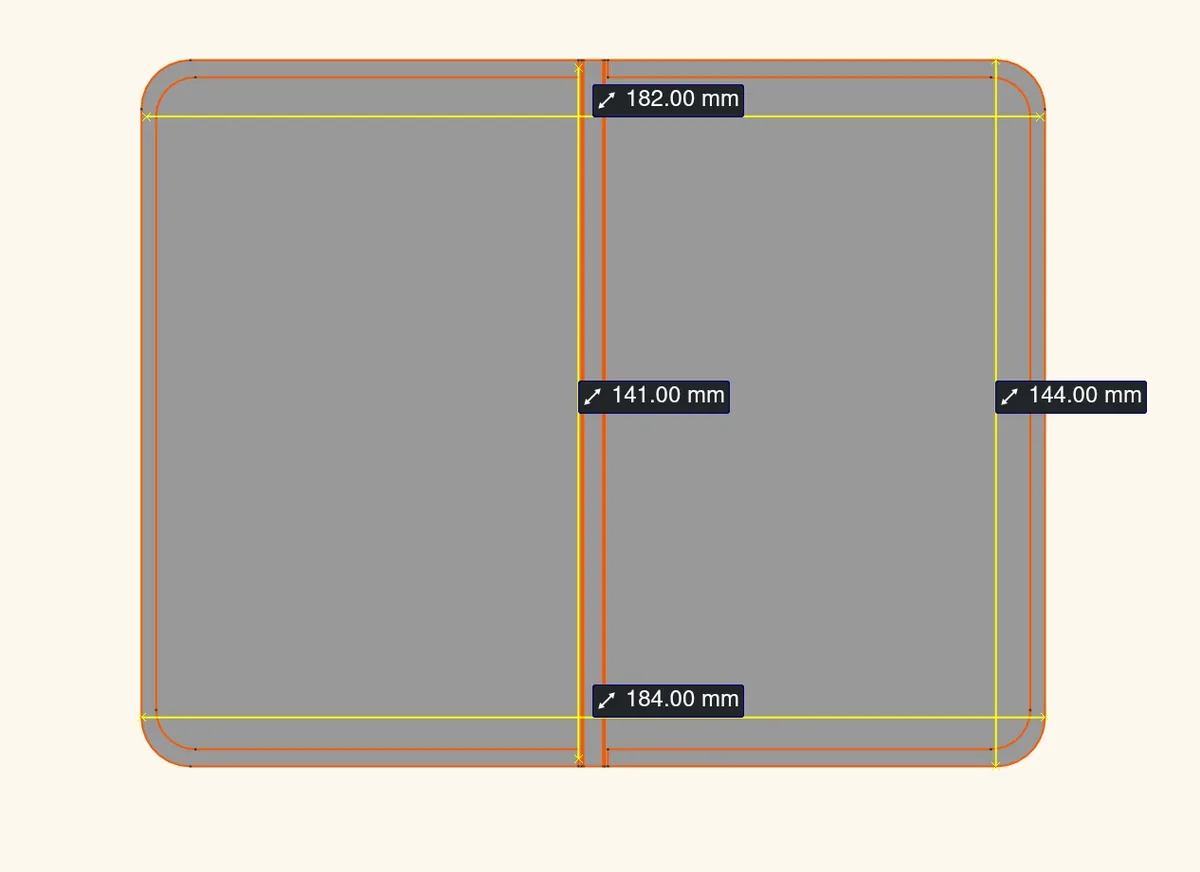
I started by measuring the notepad I carry most: Field Notes. Opened flat, it's about 180mm wide, 140mm tall, and 5mm thick. I used these dimensions as the basis for my design. In FreeCad, I created a sketch on the top plane. To allow for a bit of material thickness, I added 2mm to each side, making the sketch 184mm x 144mm. I padded this to 0.6mm—enough for three layers of filament and a good flexible base.
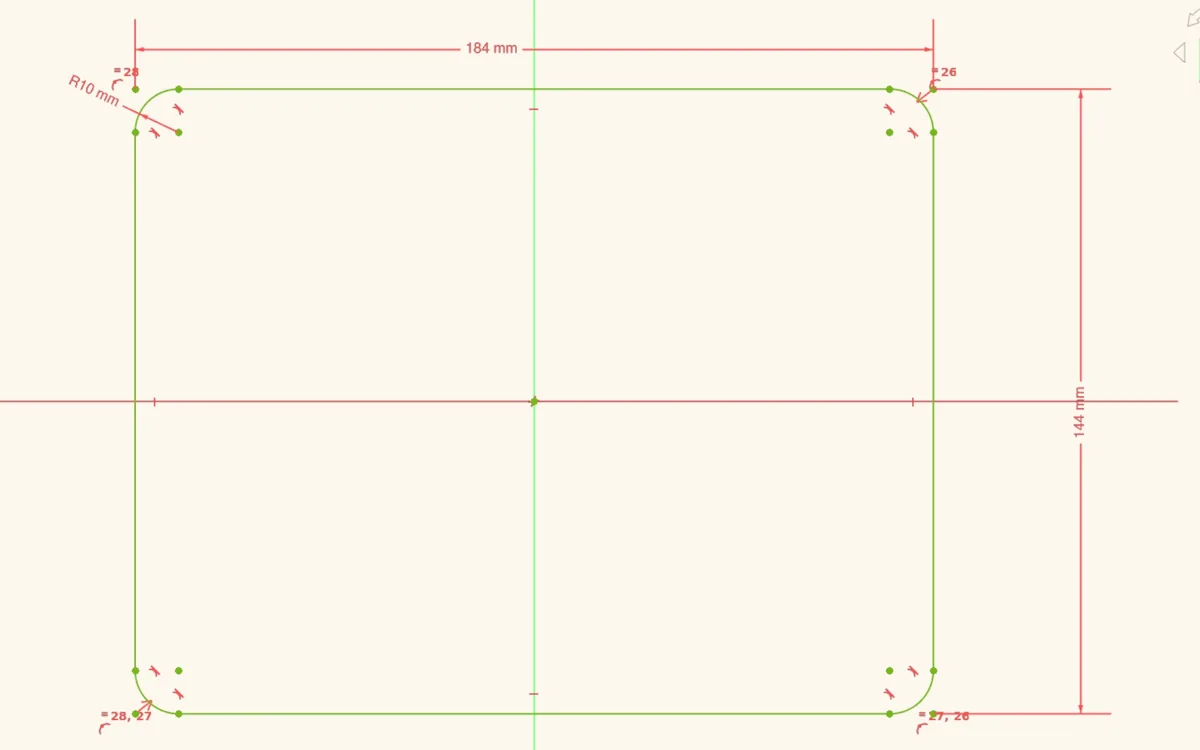
Sketch outline of the case
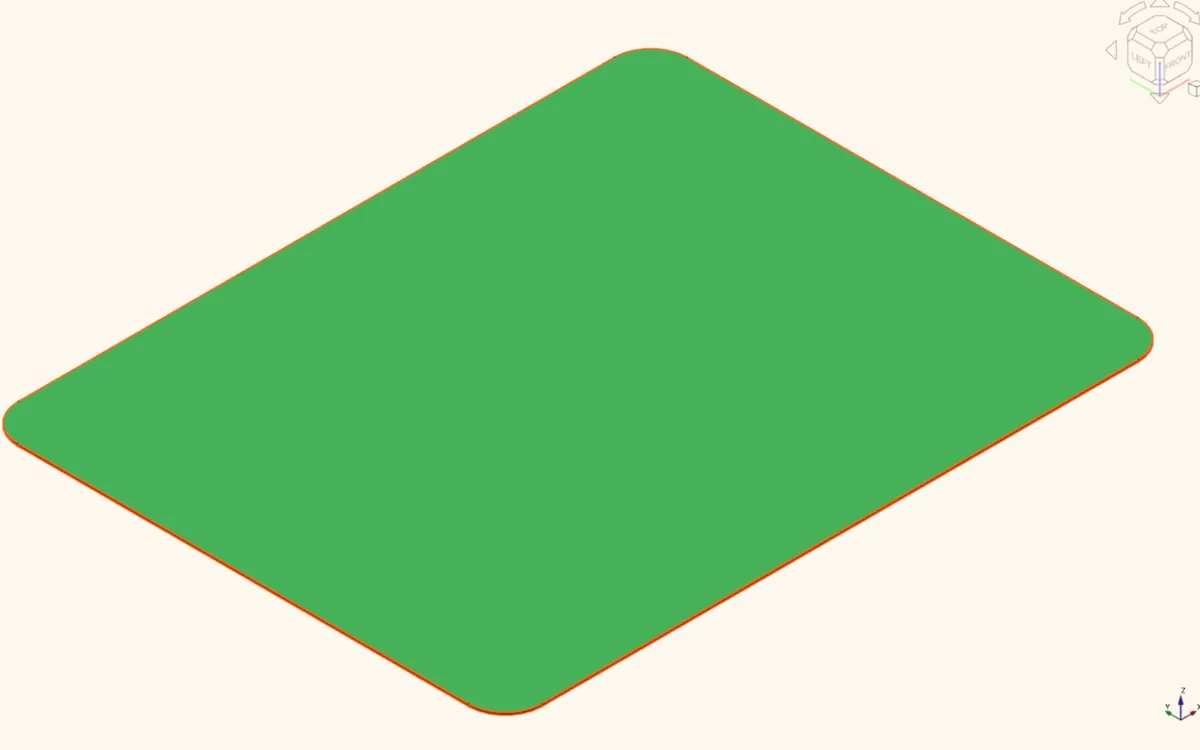
Pad 0.6mm
Next, I created the section that would hold the notepad cover. I designed a border pad slightly smaller than the notepad dimensions—178mm x 137mm—allowing for a 1.5mm groove around the edges. To allow the case to flex along the spine, I split this border sketch in two, leaving a 6mm gap in the center. I padded this sketch to 1.4mm. This thickness provides enough height to support features in the next step.
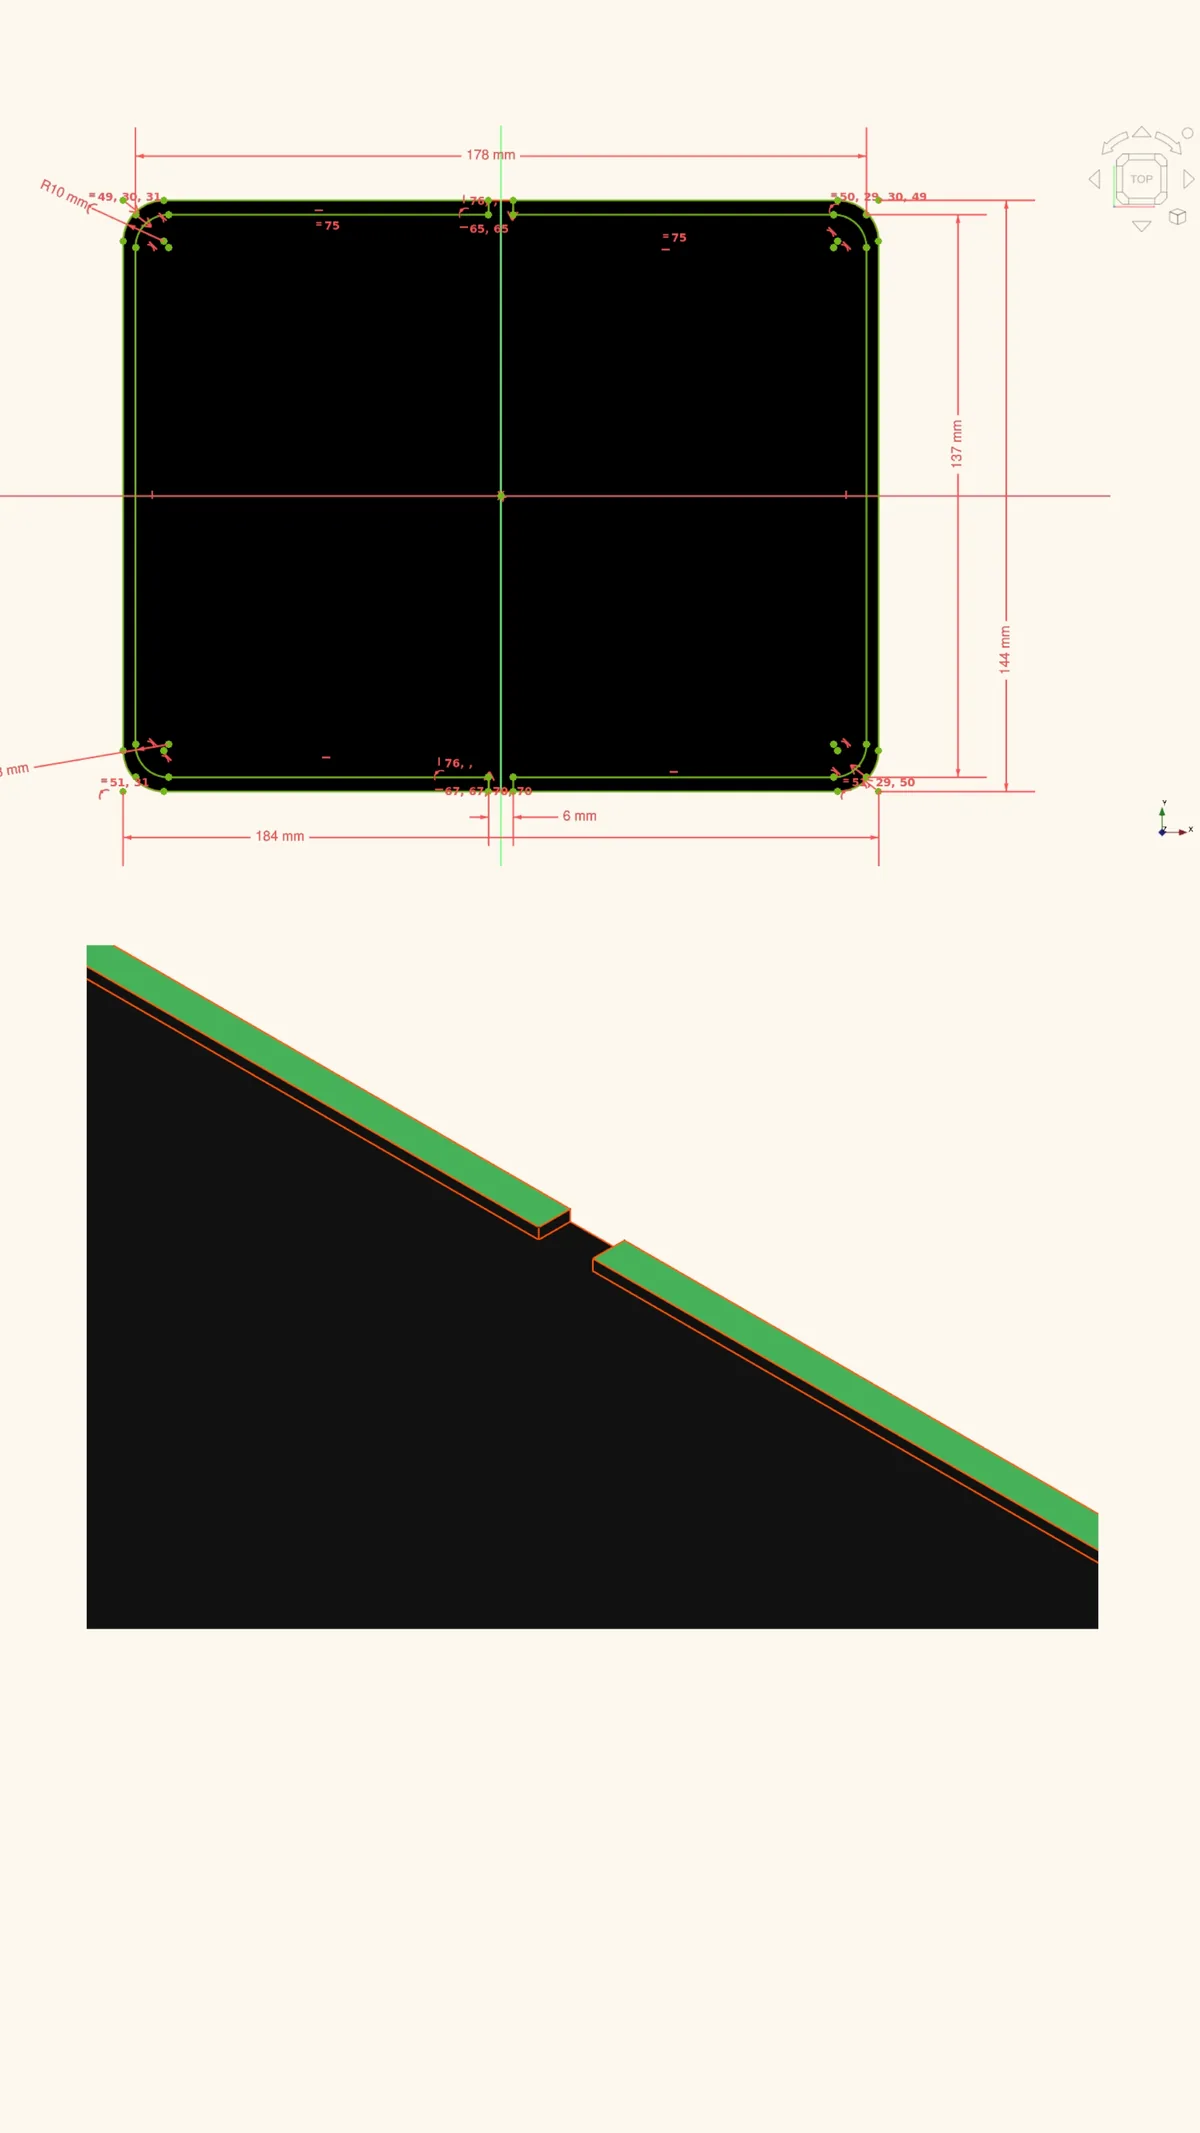
For the page groove, I used a subtractive pipe feature. I created an angled sketch with a height of 1.4mm and a base reaching 70.5mm from the center. This gives a solid groove to hold the page edge securely. After closing the sketch, I selected it and chose the Subtractive Pipe tool. In the tool settings, I selected edges (Add Edge) along the inner border, stopping at the central gap. I repeated the process for the second half of the case.
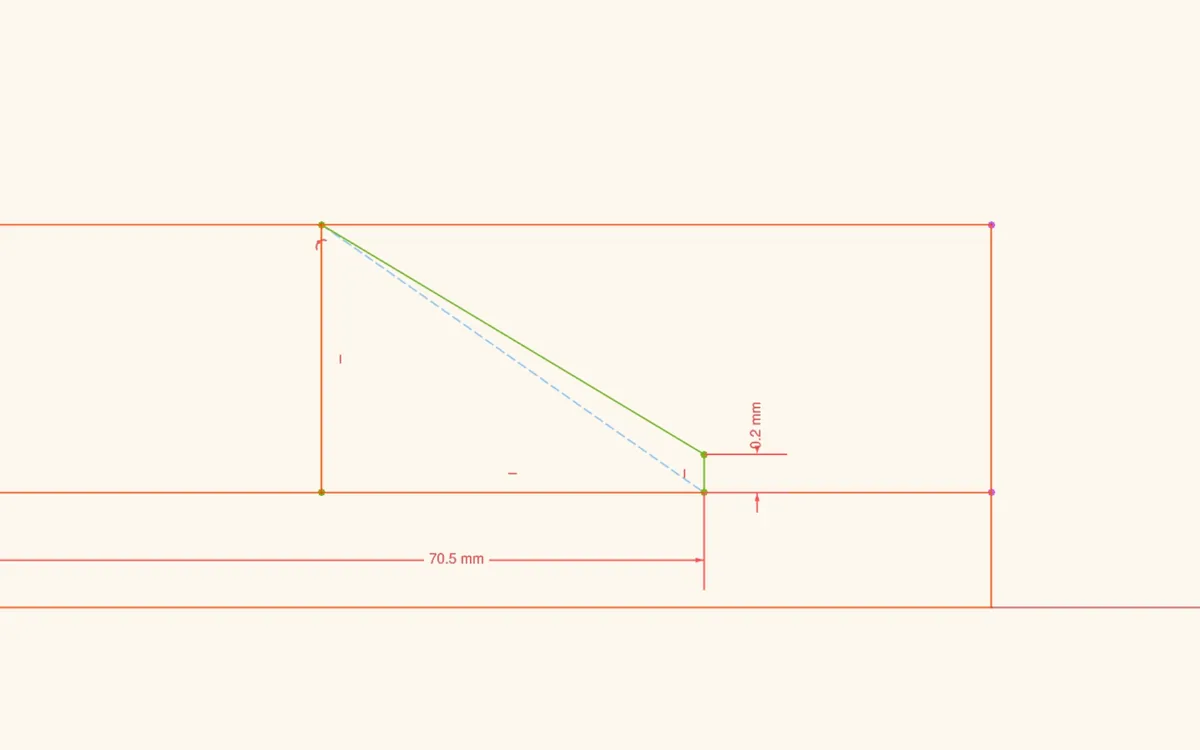
The groove cutout
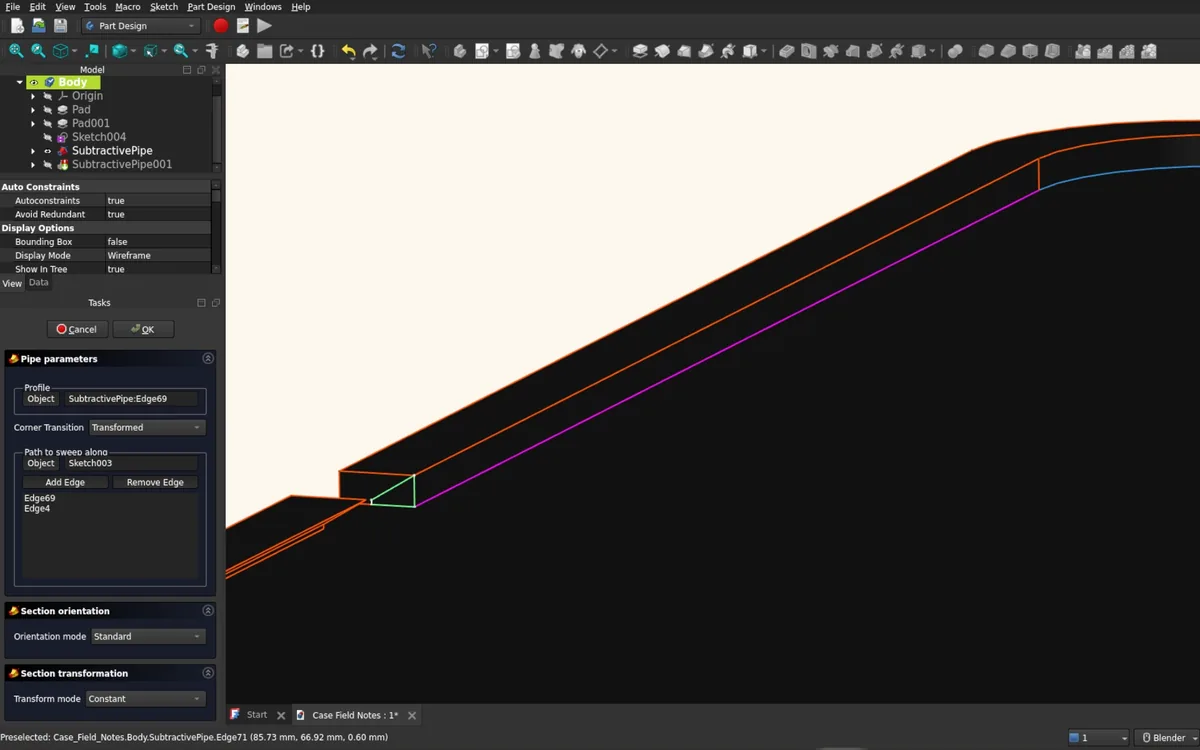
Sketch (Green) + path (purple)
To increase flexibility along the spine, I added a shallow pocket. I sketched a rectangle 140mm tall by 4mm wide and pocketed it 0.4mm deep into the original 0.6mm pad. This leaves a thin 0.2mm layer of TPU, which flexes easily. I also chamfered the inner spine edges slightly to avoid sharp corners.
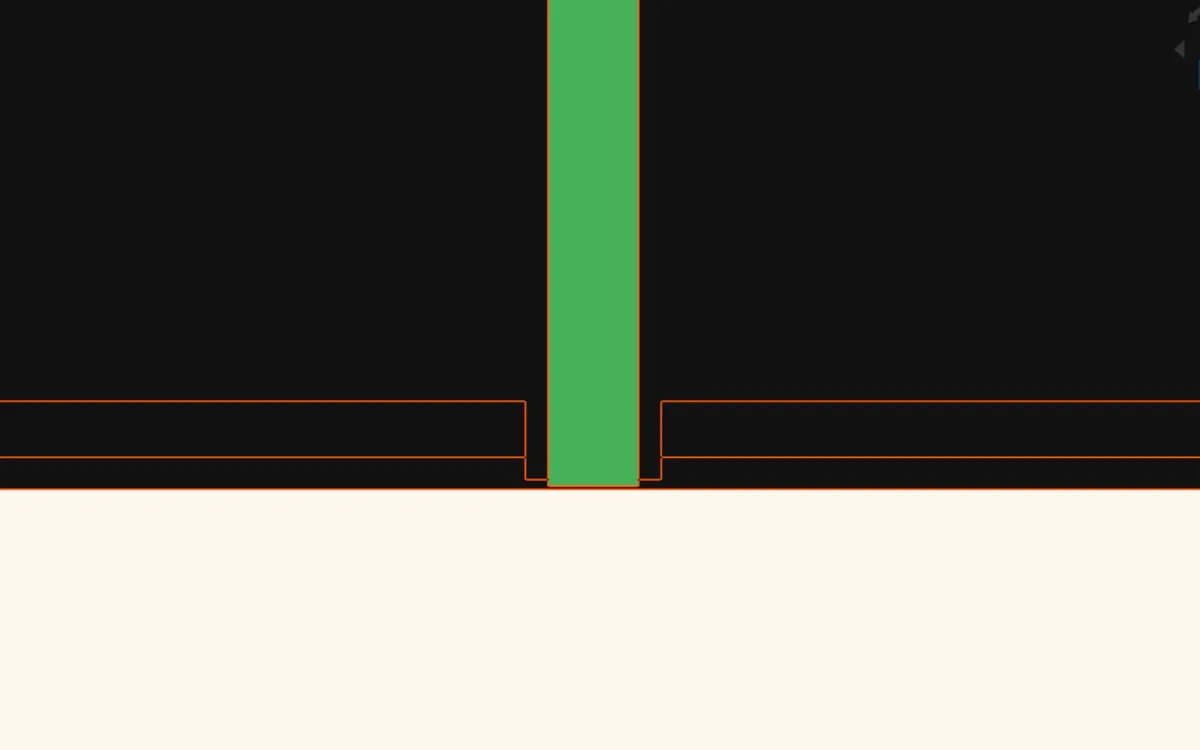
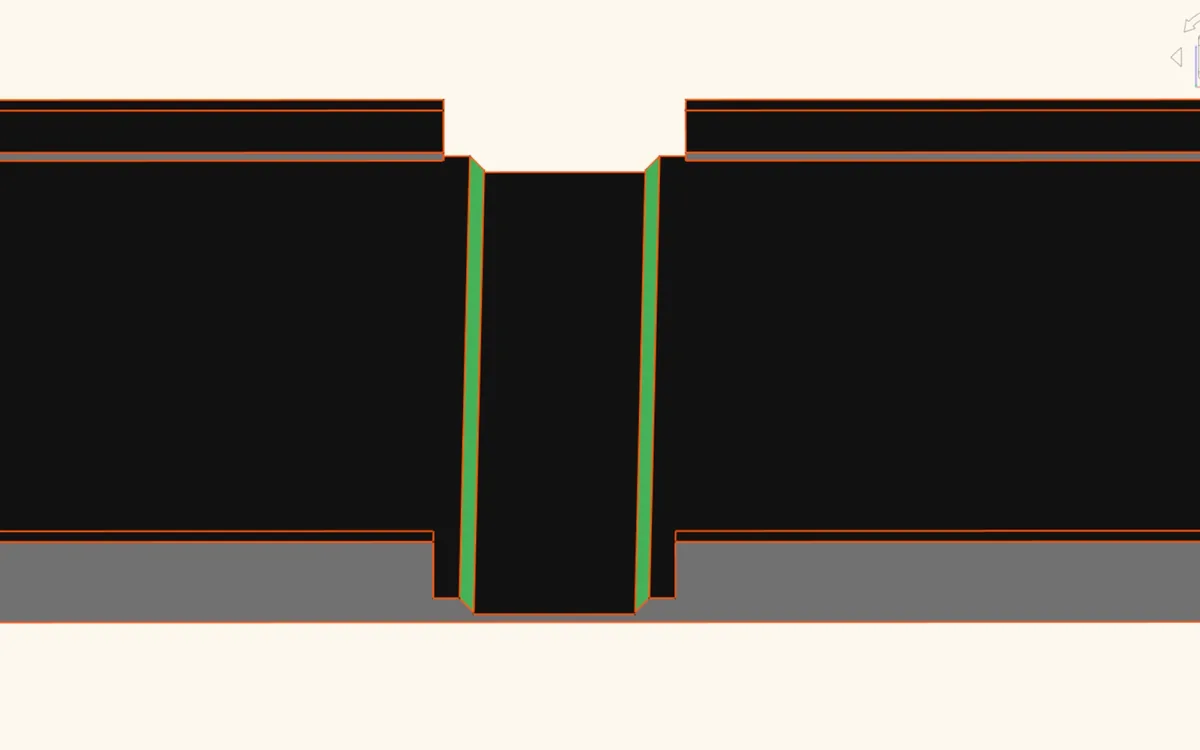
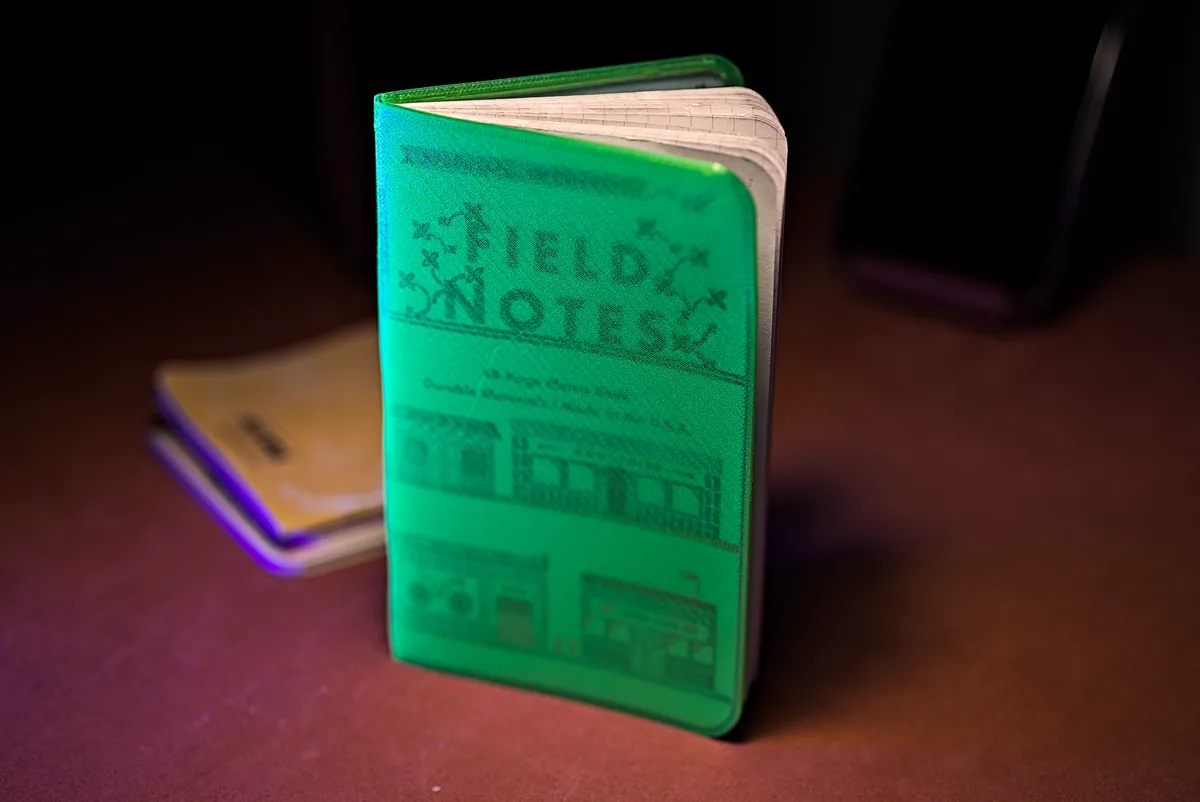
You can customize the outer cover with a sketch or text, much like we did in the Phone Holder project. I left mine plain. I'm using a slightly translucent green TPU, so the Field Notes artwork shows through the case.
After exporting the body as an STL or STEP file, I printed the case at a height of 2mm. No supports are necessary. Just be sure to adjust your print speed appropriately for flexible filament.
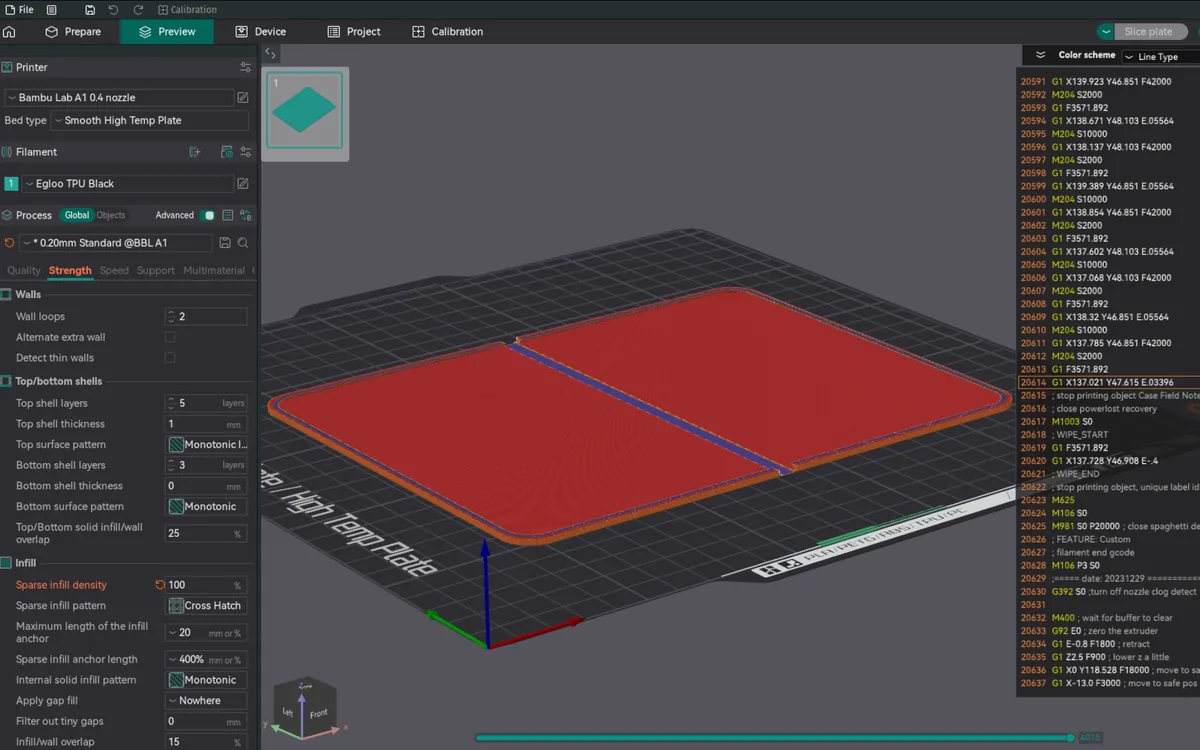
My 3D print settings
To insert the notepad, fold the covers back and slide them into the grooves, both at the same time. The final result is a slim, protective cover that keeps your notepad safe and gives it a bit more permanence. Durable, printable, and tactile. Thanks for following along. I hope you find this guide useful. Have fun modeling and 3D printing!

Comments (0)
No comments yet. Be the first to share your thoughts!